2 | Make More Sucs
Make More Sucs: Intro
“You mean to tell me that one little leaf can grow a whole ‘nother plant?”
Yep! And this is just one way to propagate your succulents. When you start a new plant by taking a cutting or a leaf, you are really making a clone, so select your hardiest, happiest specimens. A few simple preparations will increase your odds of a successful propagation, but it’s still a numbers game so always set out with as many leaves, cuttings, or seeds as you can handle.
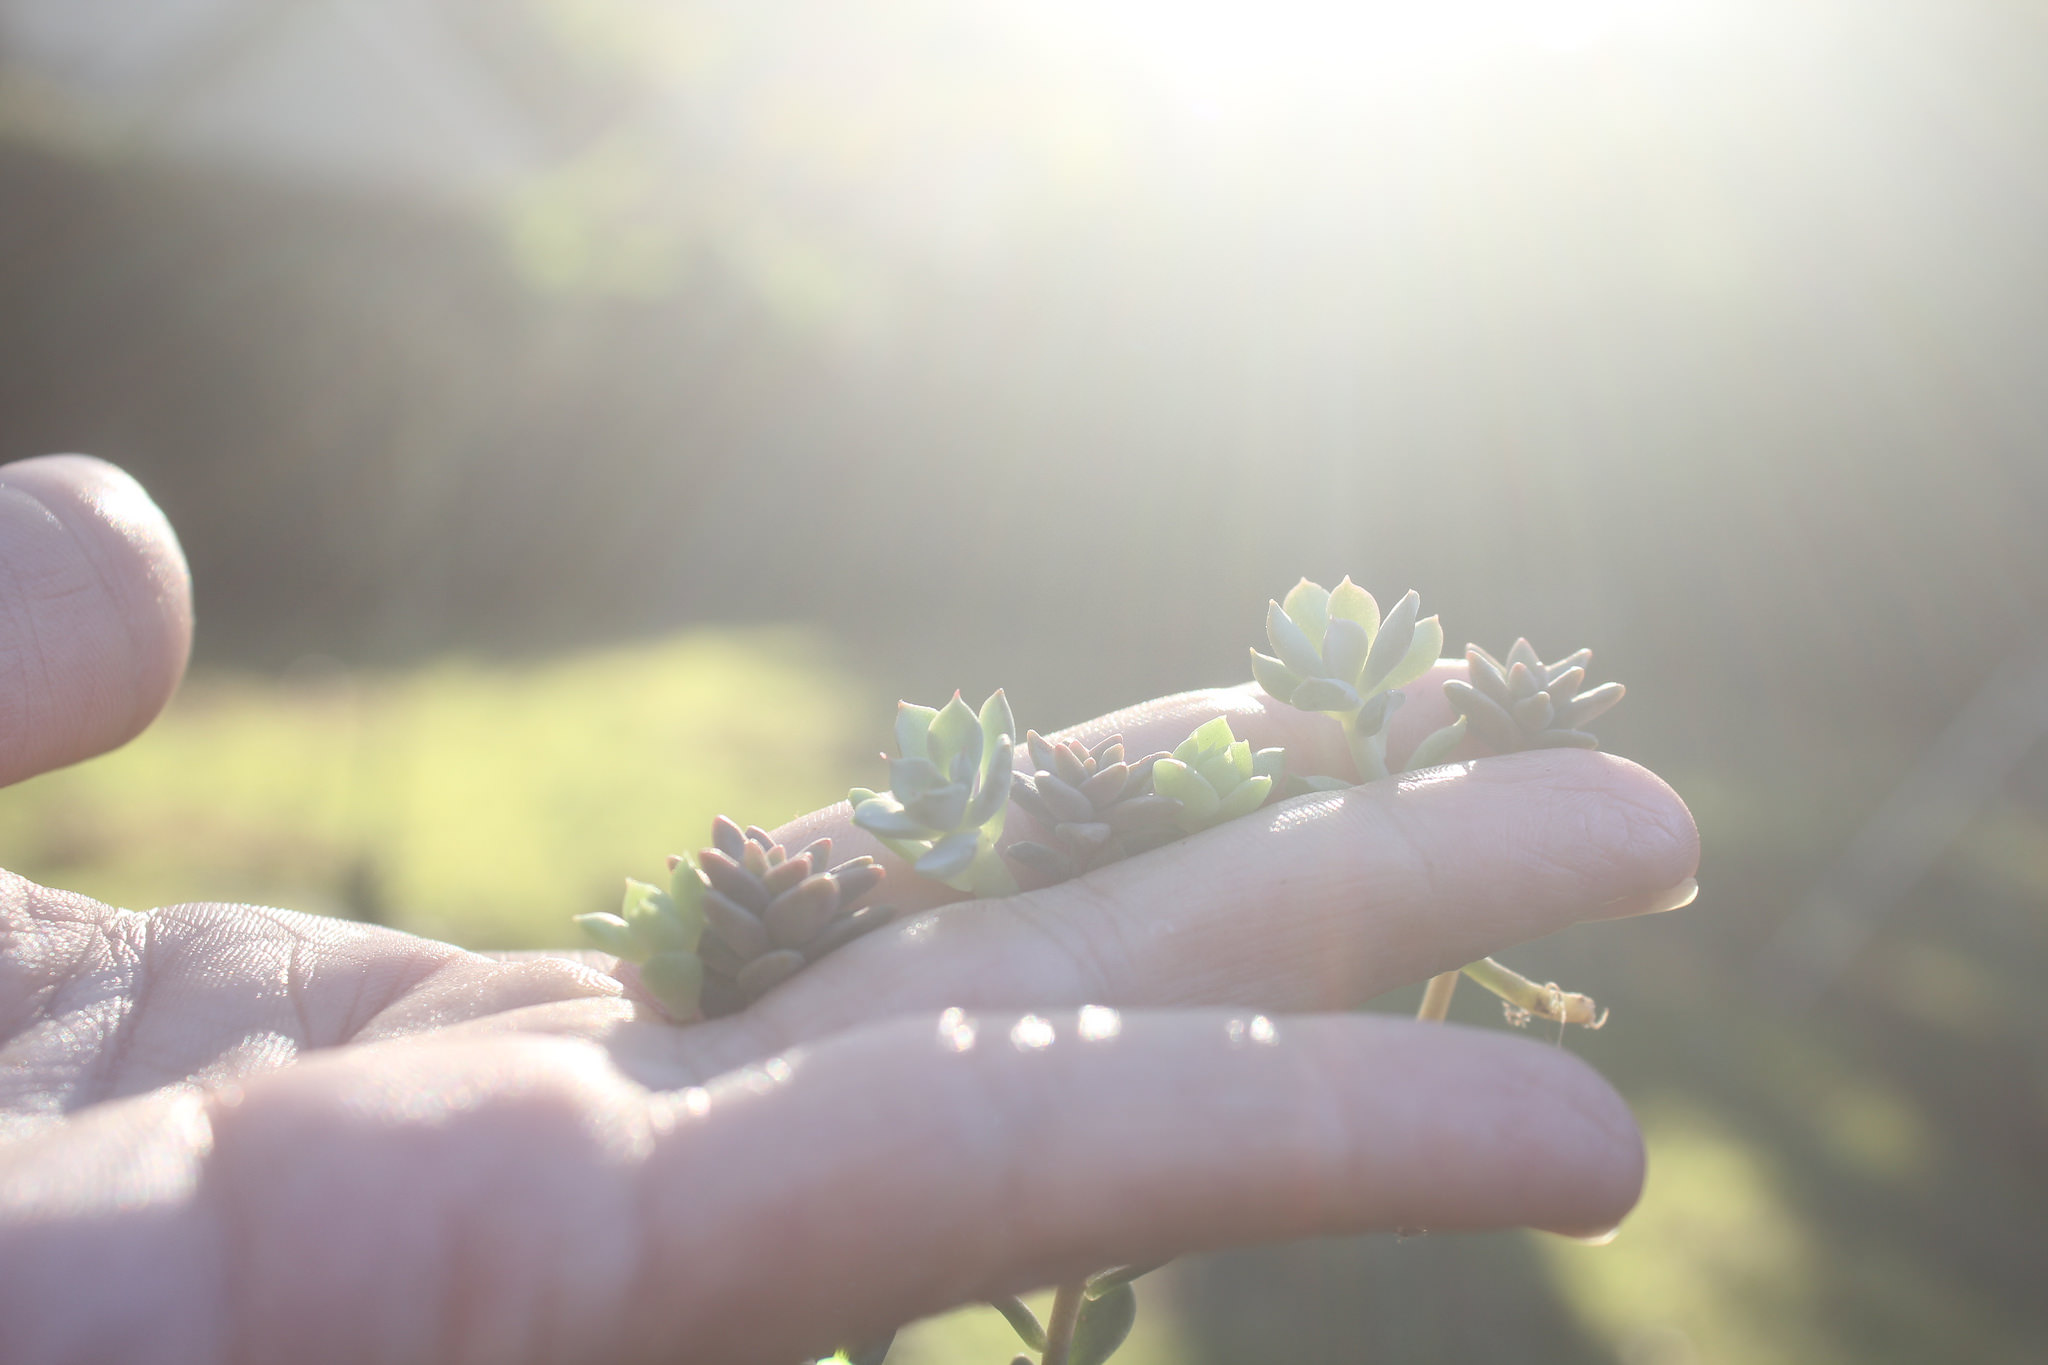
Remember our little chat about growing seasons and dormancy? Good, because it’s an important factor in plant propagation. If you take cuttings or start a tray of leaves in winter, you’re going to be in for a long wait before you see any signs of roots. On the other hand, if you start the same tray in early spring, the results happen so quickly it’s almost magical in comparison. If you’ve tried propagating without much success in the past, do try again during a growing season and see how your luck improves.
When propagating any part of your succulent, be sure it’s hydrated. Watering a day or two before taking cuttings or leaves will give them time to uptake the water, helping ensure the propagations stay juicy long enough to put out new roots. How quickly you’ll see new growth depends on the season and the variety being propagated. Some leaves, like Graptopetalum paraguayense, may show roots in as little as a week, while others can take several weeks or longer, especially outside of their growing seasons. It really helps to have a lot of other plants to distract you while you wait. After all, it seems a watched prop never grows…
Propagation by Leaf
If you remove a leaf from the stem without damaging the tip, it will grow a brand spanking new plant. This clonability is seriously the neatest thing about succulents. Of course there are a few caveats: Many varieties cannot be propagated from leaves, and not all the leaves that do have this potential are going to cooperate. However, after reading this and experimenting at home, you’re going to be up to your neck in propagations. Gift shopping will be reduced to needing to buy more soil and pots. Everyone will know what you’re giving them for their birthday, and you sure hope they like succulents—hint hint!
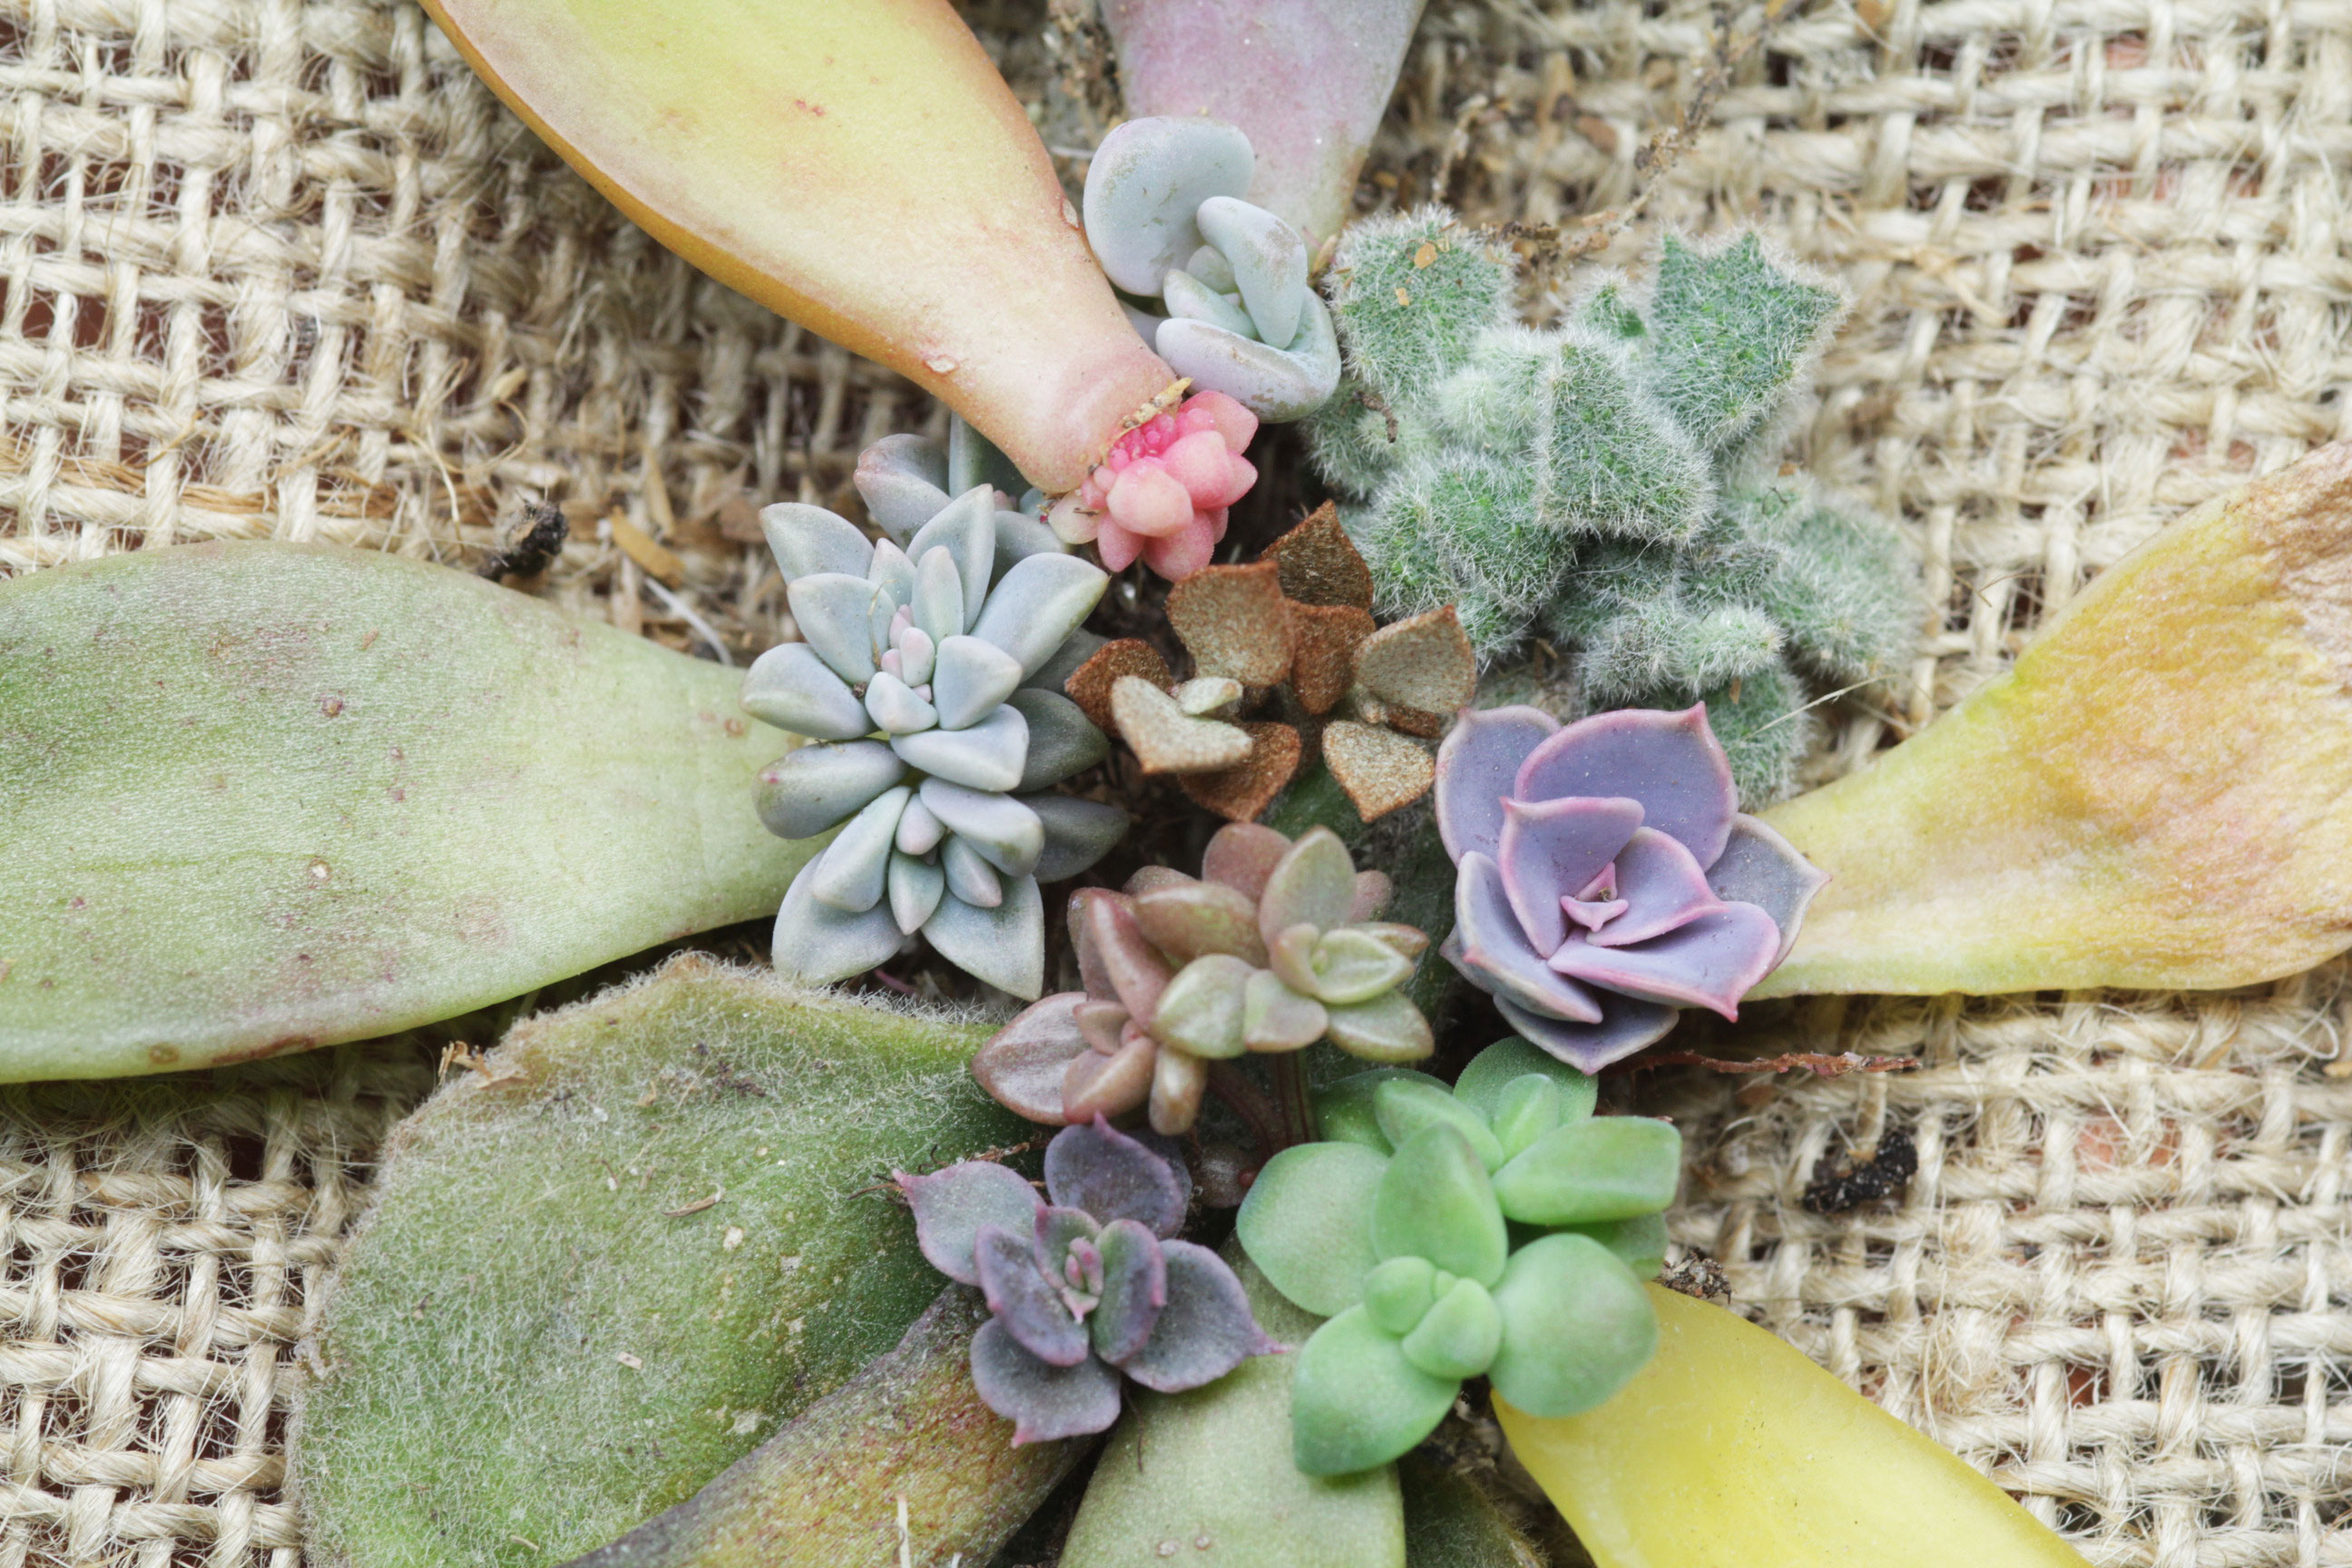
Ready to start a fresh batch of leaves? Recipe and instructions coming right up.
Supplies:
Succulent leaves
A tray
Bright indirect light, mild temperatures
Water/Succulent dirt (optional for now)
Succulent leaves: You’ll need a succulent that can be propagated by leaf. You can also find online sellers who will send you a variety of leaves if you want to try your hand at different types without purchasing a bunch of individual potted plants. Either way, I suggest you begin with types known for their eagerness and ease to grow. Most genera of Echeverias and their hybrids like Sedeverias and Graptoverias, along with Graptopetalums, Graptosedums, and the larger Sedums are all a great place to begin.
One commonality these share are their thicker leaves, which is often a good indicator you can propagate them. I’ve found there are several colorful favorites that do very well for myself and others including Graptoveria ‘Fred Ives,’ Graptoveria ‘Debbie,’ Graptopetalum paraguayense ‘Ghost Plant,’ Golden sedum, Echeveria lilacina, and of course the pretty purple Echeveria ‘Perle von Nurnberg.’ These are just a few examples out of many.
If you’re not sure whether your succulent can propagate by leaf, do a
simple internet search including its name and the words ‘propagation by leaf.’ If you don’t know its name, you can refer to see ‘Identification,’ ask someone online, or just hope for the best and start a few leaves.
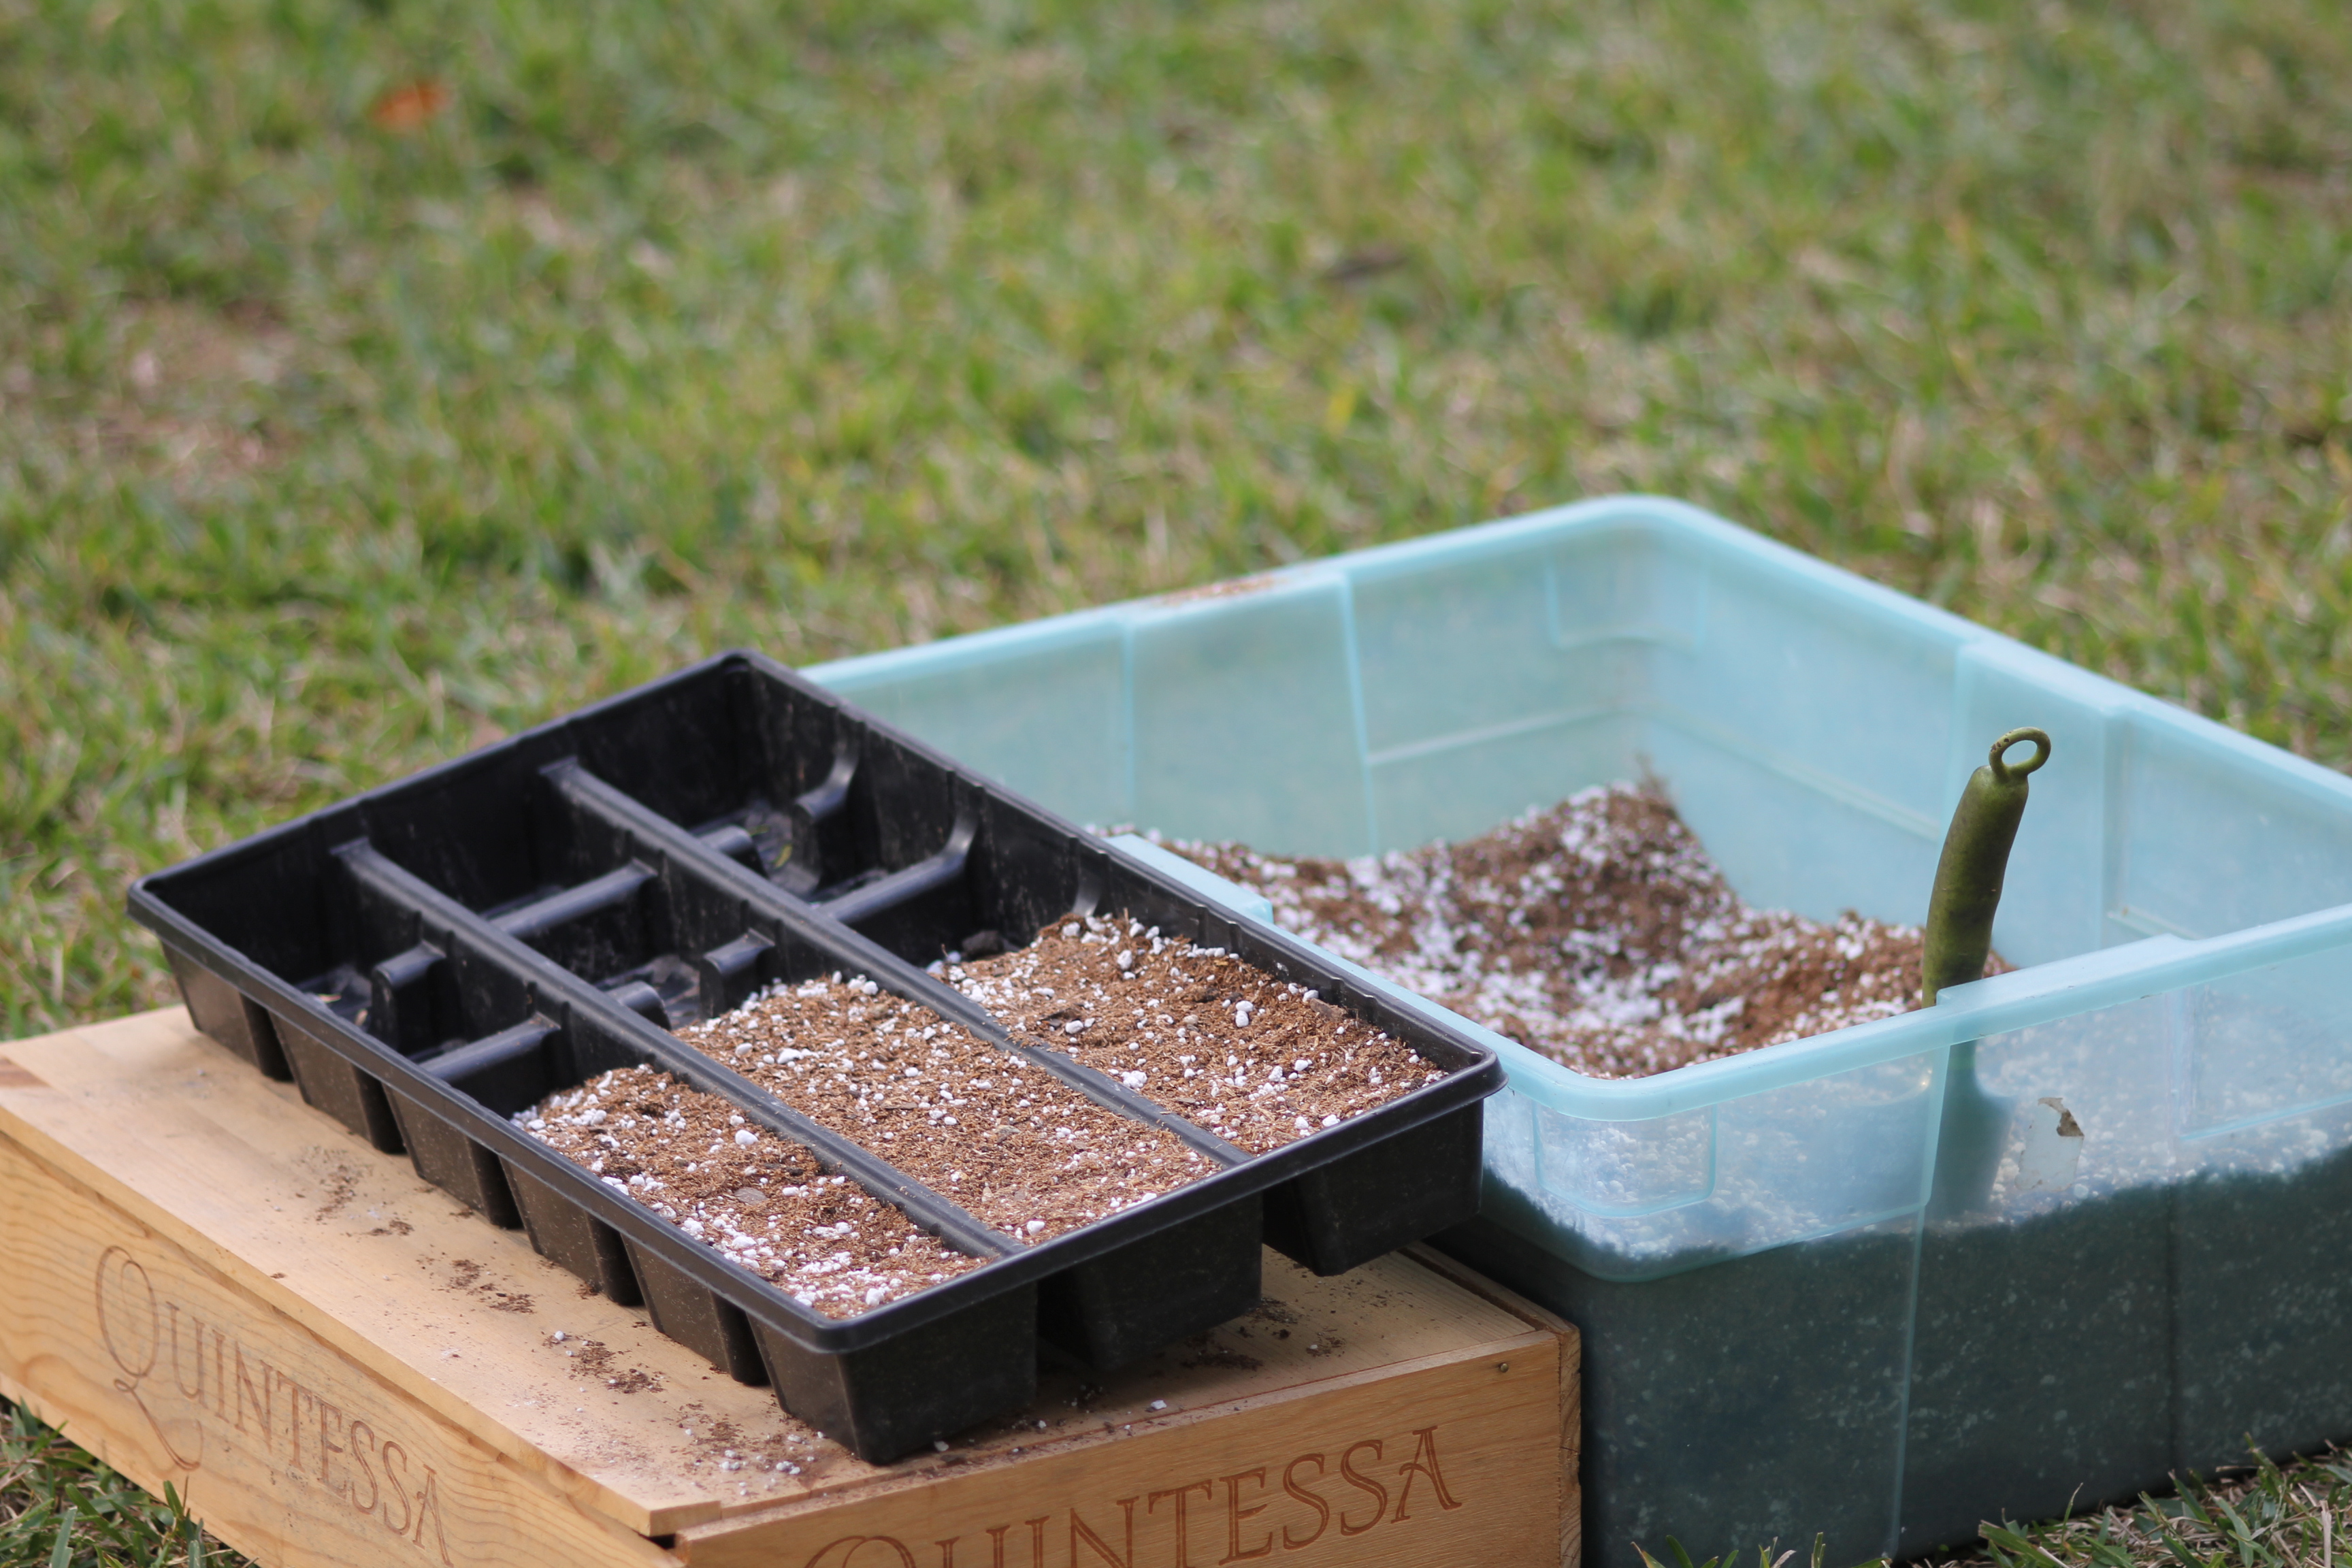
A tray: It should be easy to find something you already have at home to repurpose as a tray. I’ve used shallow cardboard boxes, large terracotta saucers, nursery trays lined with newspaper, an old drawer, a wooden wine crate, and even just the window sill. None of these items will retain water and all afford a decent amount of airflow around the leaves. Avoid direct contact with plastic, metal, or glass, as these can retain too much heat and prevent moisture from evaporating.
Bright indirect light:
eaves are not very hardy and the more light and heat they’re exposed to, the more they will struggle to produce new growth. Experiment with where you place them a few times to get it right. I do recommend growing them outdoors but if you keep them inside, you’ll have a bit more difficulty providing them enough natural light to keep their growth compact. Either way, be careful about exposing them to full sun unless you like your succulent leaves blanched and poached. (You don’t—no one does.)
Soil/Water: Do not introduce any water to your succulent leaves before they’ve had a chance for their tips to dry out. This includes damp soil. The leaves don’t need dirt or water until roots begin to form. If your climate is warm and dry, you may need the assistance of some lightly dampened soil to keep your leaves plump, but stick to the rule about not getting them wet before the ends have a chance to heal. When the time comes, use your best judgment or set up one tray with dirt and one without to really gauge what works best for your situation. When choosing a substrate to lay your leaves on, opt for something that dries quickly without dehydrating the leaves. Straight pumice or Turface can be too drying, as can terracotta, so include some organic materials in your tray such as soil, coir, or sphagnum moss.
Instructions on removing leaves
Water the plants you want to propagate at least a day ahead of time. Pluck some leaves. Put them on a tray. Wait. Wait some more…It’s truly as simple as that, but removing the leaf correctly is the most important step in this manner of propagation. If the tip breaks off or is damaged in the process, it’s usually going to be a dud. And there will always be duds for everyone, so don’t let them get you down. Just keep at it and you’ll be a non-stop propagator before you know it.
Start with a leaf from the lowest row. With one hand, brace the pot or the stem at the base so you don’t pull the whole plant out. Of course you can unpot the plant if it’s too awkward to safely remove leaves without breaking them, or if you already plan on topping the plant.
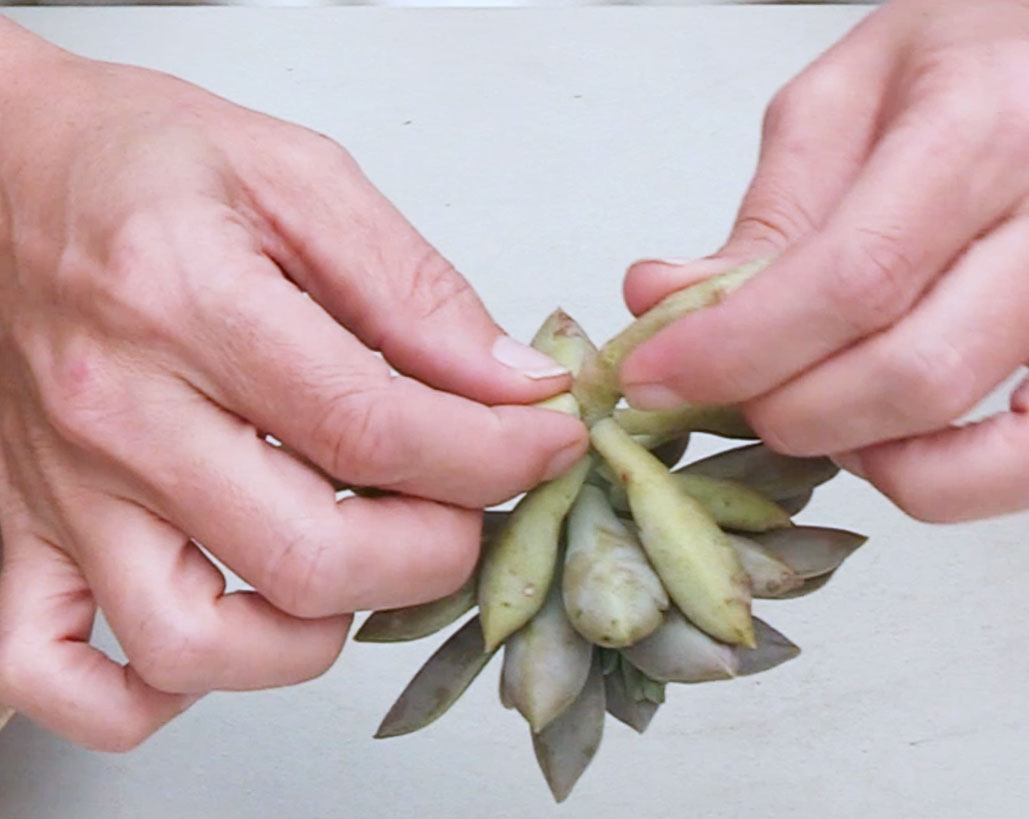
Lightly grip the leaf where it attaches to the stem and gently twist it left to right. The motion should be like turning a key. Wiggle it up and down, side to side, twist some more if necessary. If it doesn’t readily detach, stabilize the leaf with your fingers and with your other hand, tilt the whole plant side to side, forward and back. You can also loosen one side of the leaf tip by using your nail.
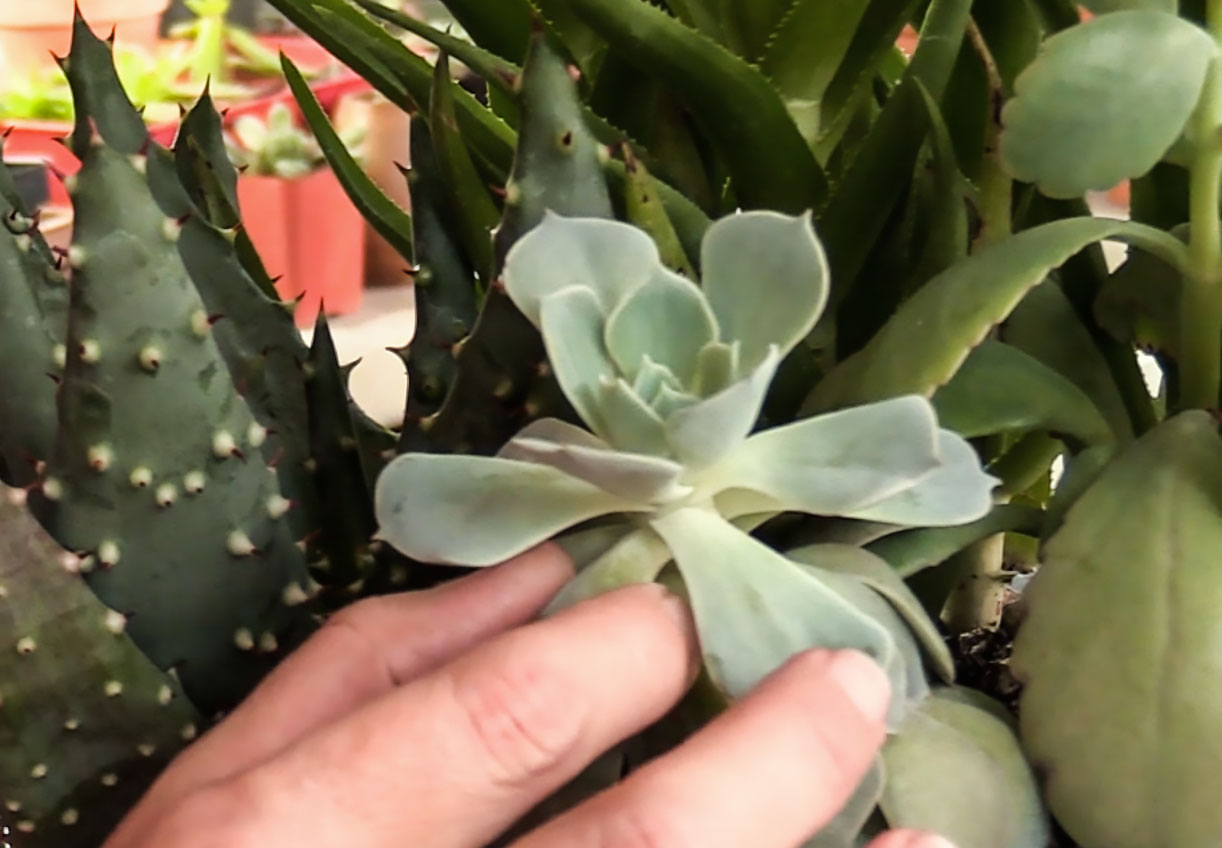
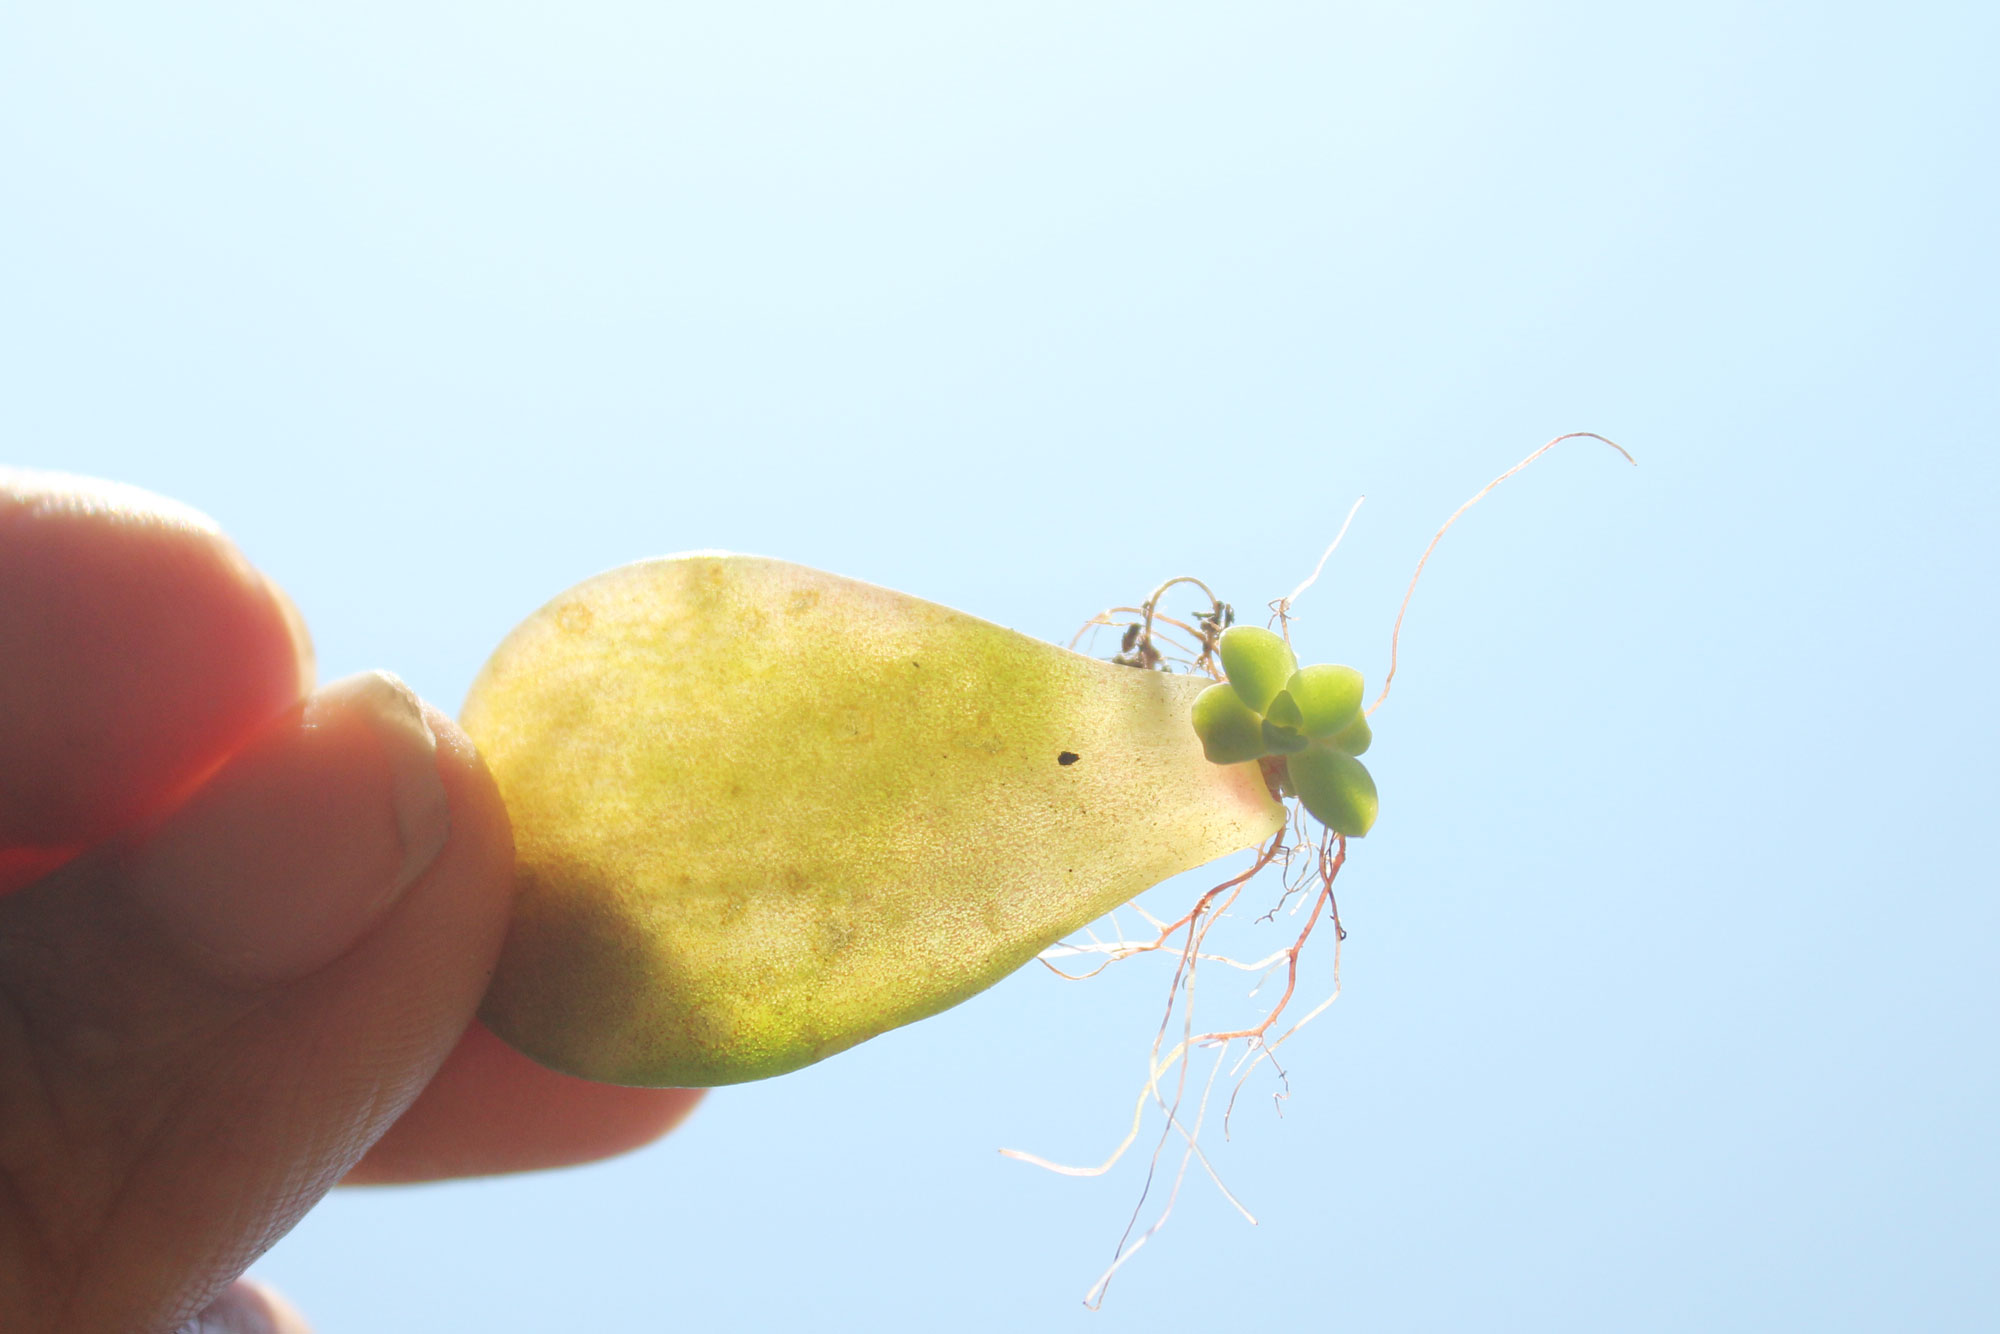
Most leaf tips have a certain look when removed properly. There’s usually very little sign of moisture, if any, and it retains the shape of the stem it was taken from. It’s quite like when a baby tooth is ready to come out, giving little resistance and pulls away clean.
Leaves acquired! Now what?
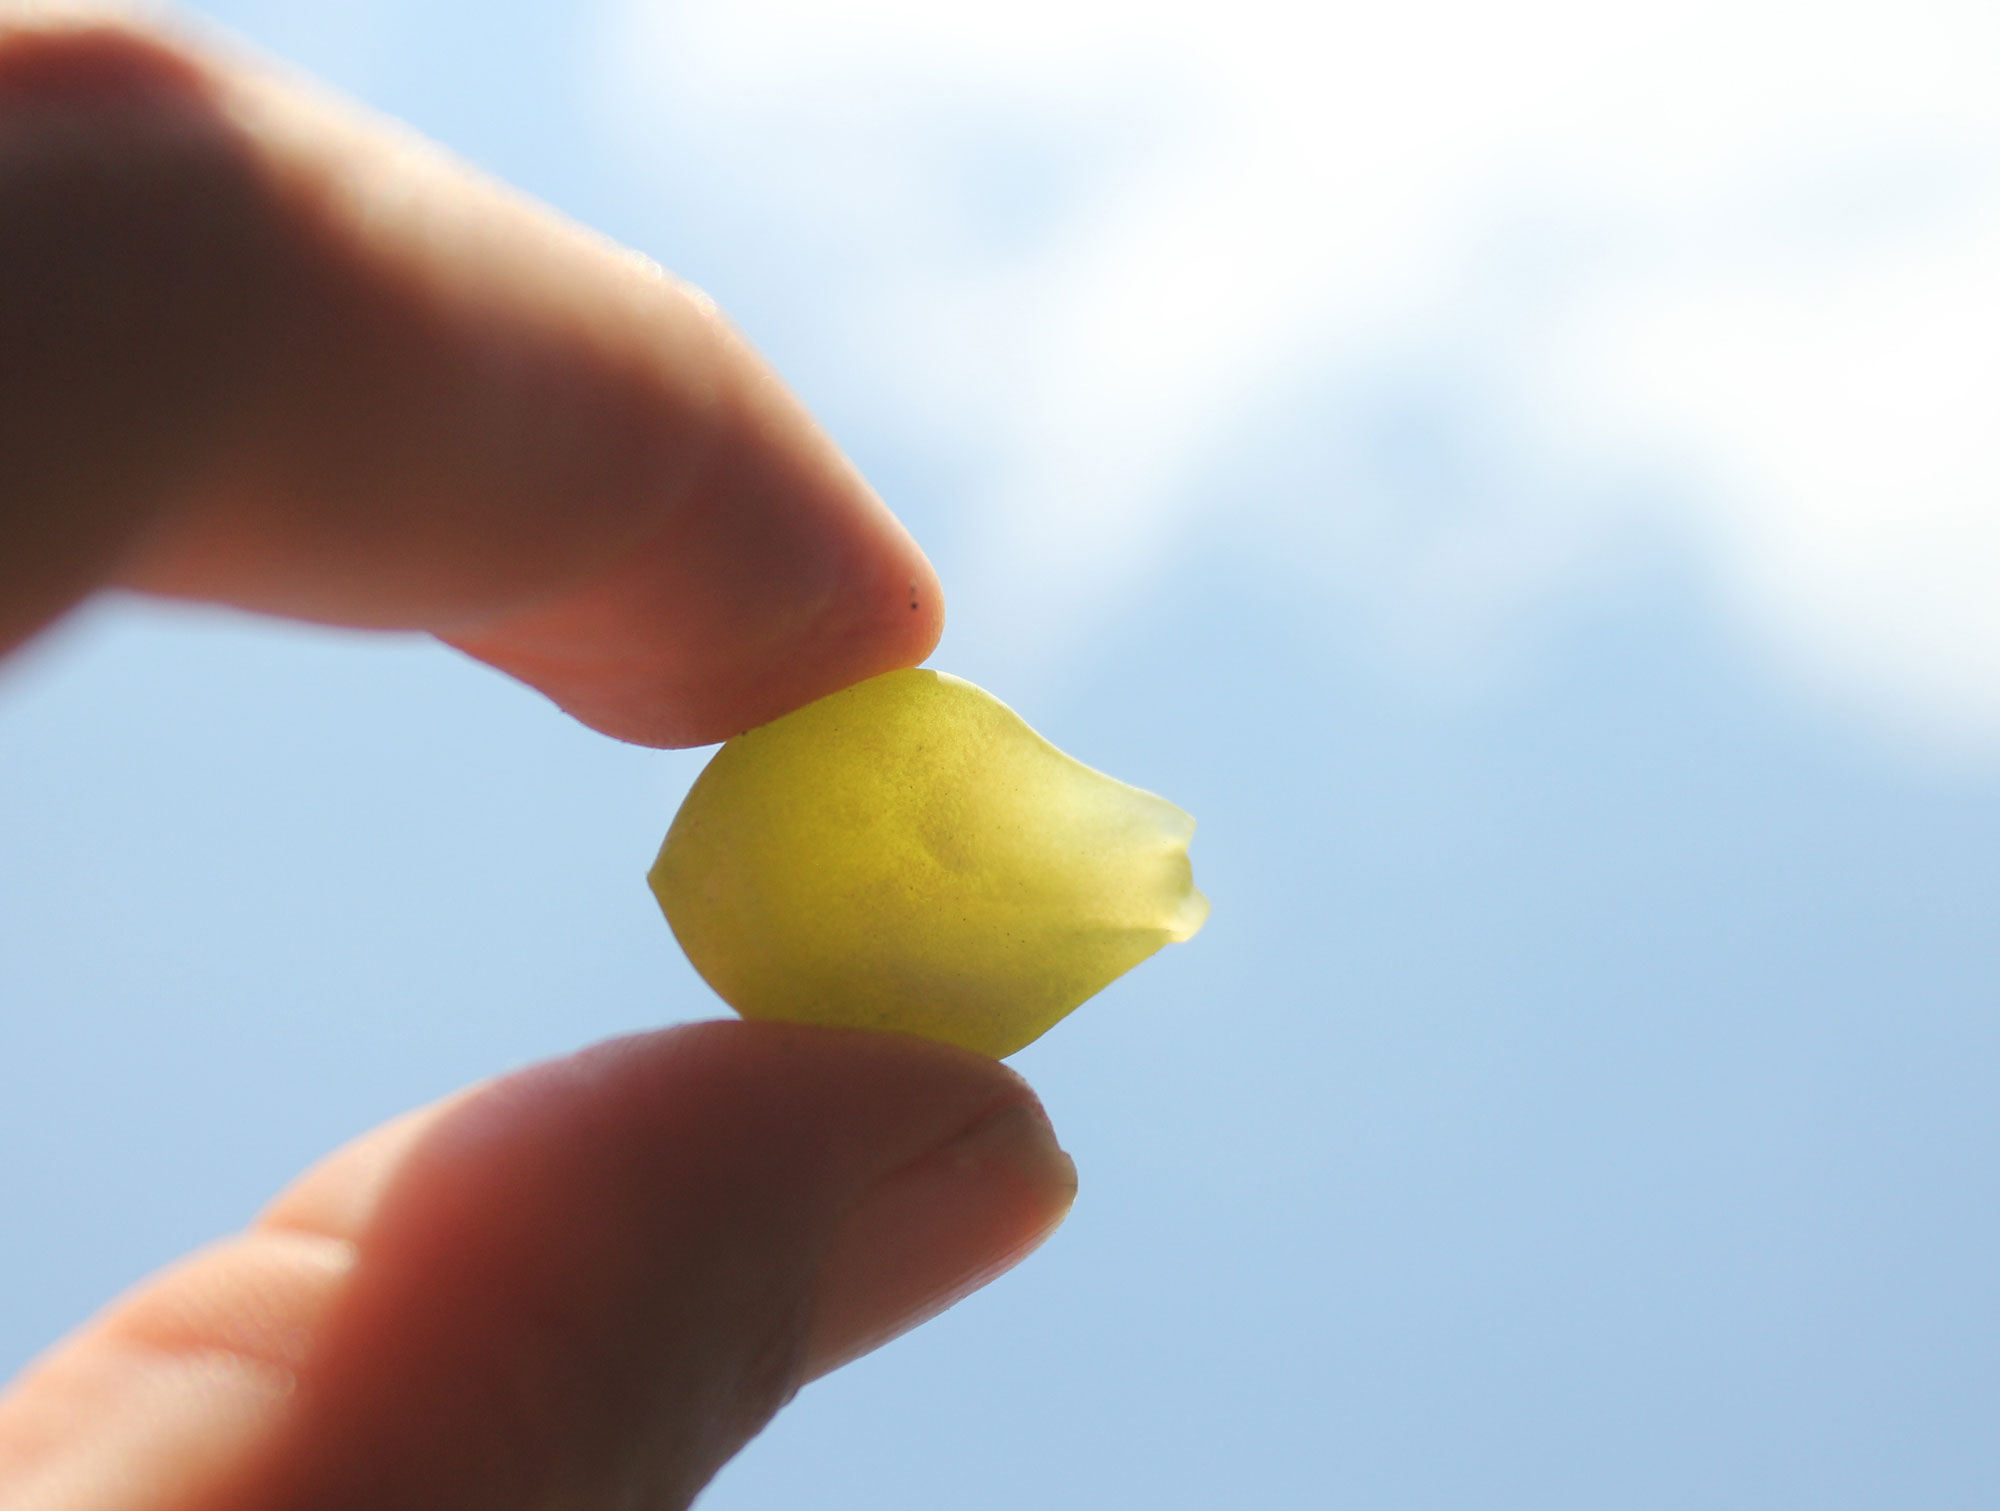
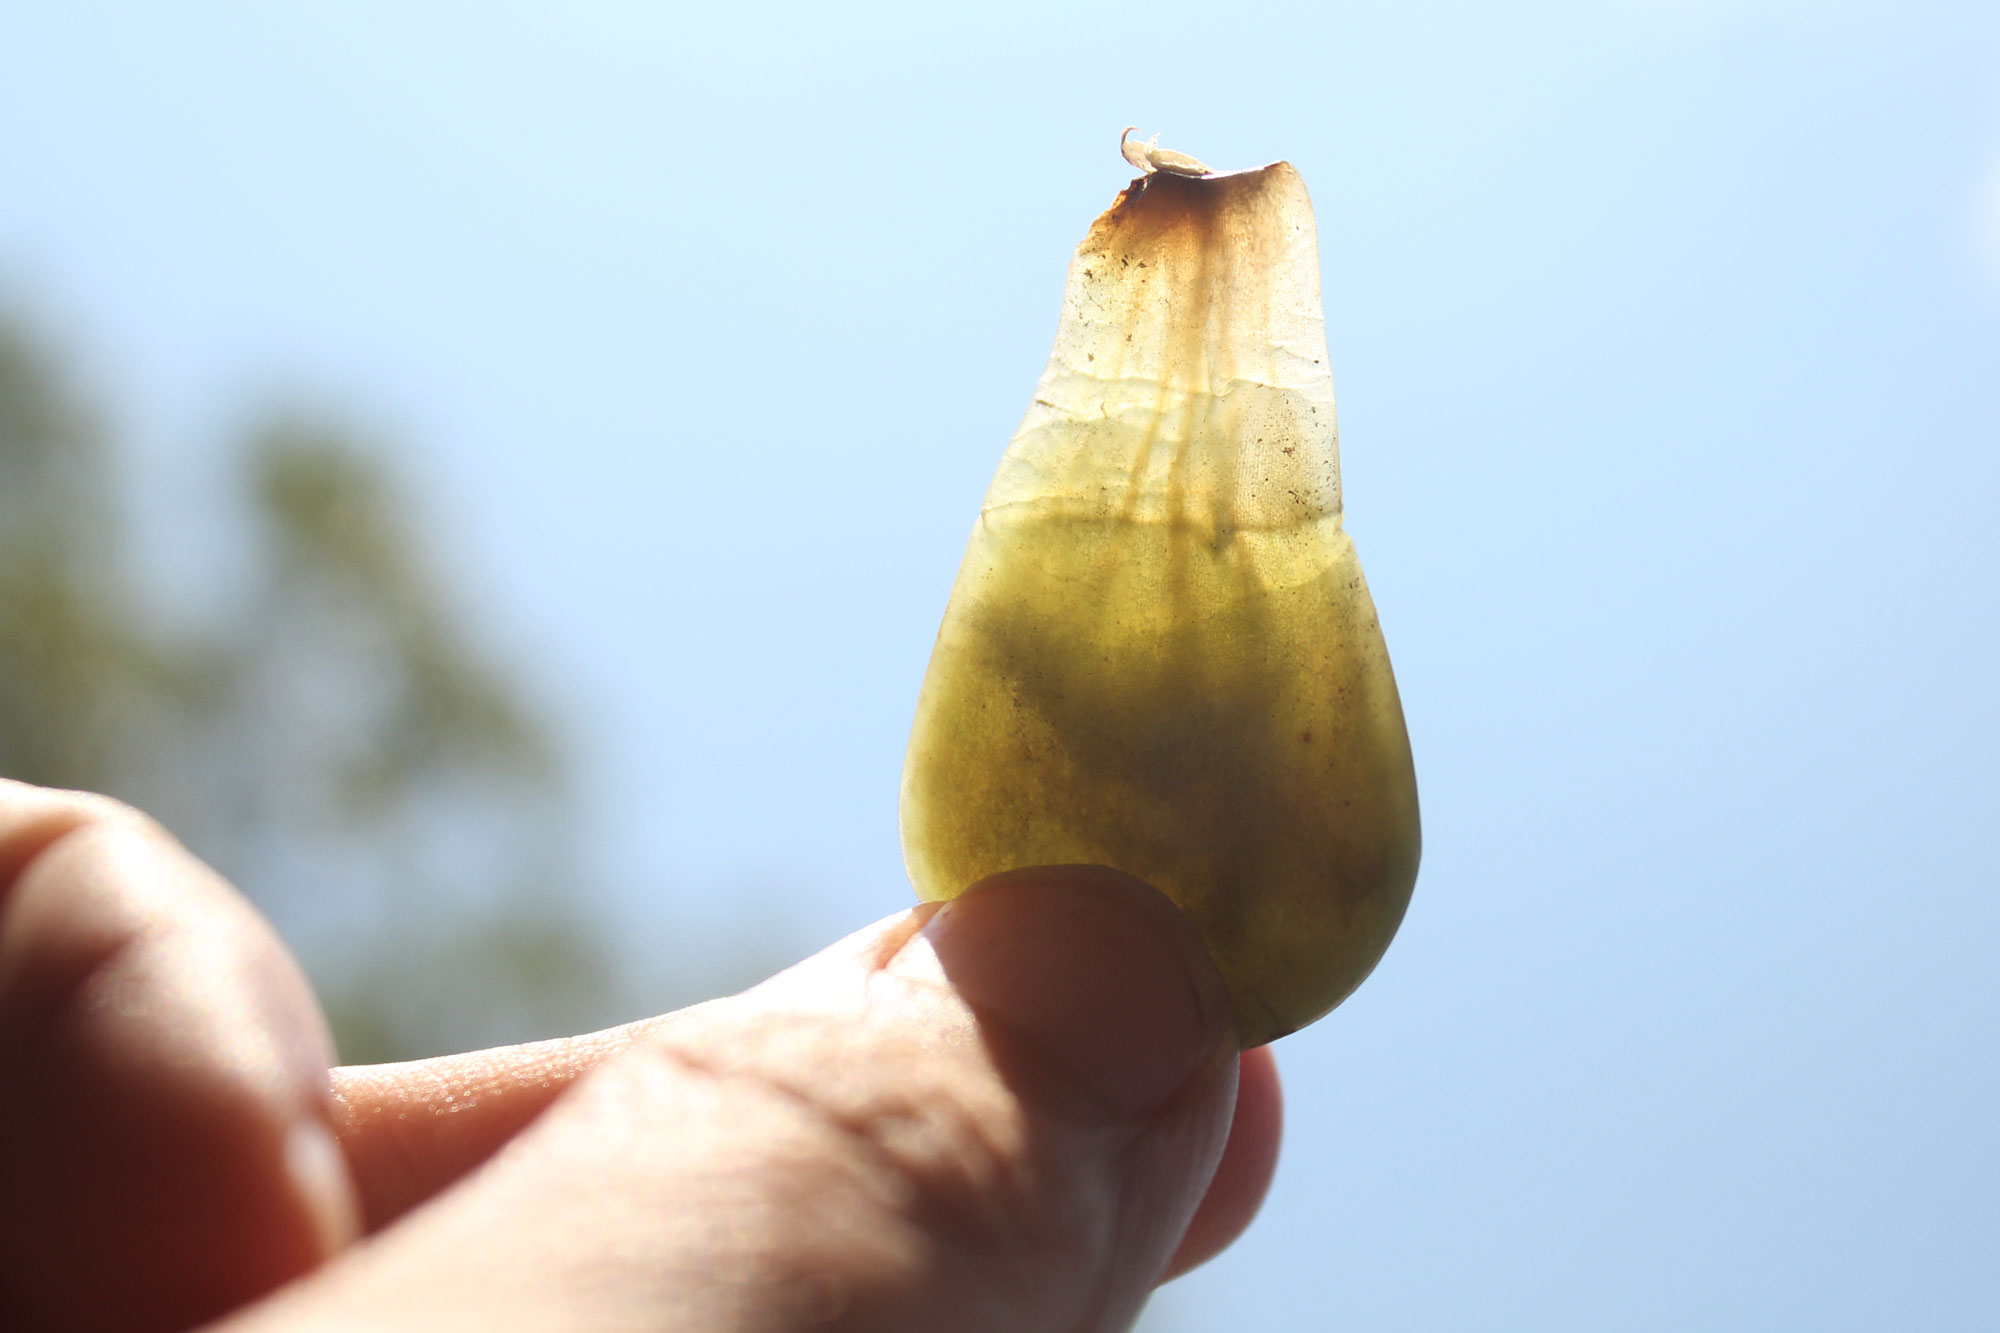
Now all that’s left to do is lay out the leaves on your tray of choice and wait. Most people place them facing the same way they grew from the stem, but they’ll grow no matter what side you choose. Remember to protect them from moisture until the end of the leaf has dried. You can tell when it’s safe to introduce water by examining the tip that was attached to the stem. Holding it up to a light, it should look completely dry and may have even formed a callus or scab. If you plan on using dampened soil in your tray, you can start misting the dirt around the leaves every few days, but don’t soak it. Do your best to avoid getting the leaves wet, especially if they’re going to do some time in the sun or under a grow light.
Within a week or so, you may notice some of the leaves becoming translucent. This is a sign the leaf was either damaged while being removed or was exposed to moisture too soon, but it can also happen to what seemed to be a perfectly fine leaf that hasn’t even seen a cup of water, let alone been given a sip. Watch these leaves for a few more days, but be ready to toss them in the compost bin. If a leaf tip turns brown or kind of deflates and dries out, it’s probably not going to be viable either. It’s all good though because you already knew this could happen and have plenty of other leaves to care for. Toss the duds and move on.
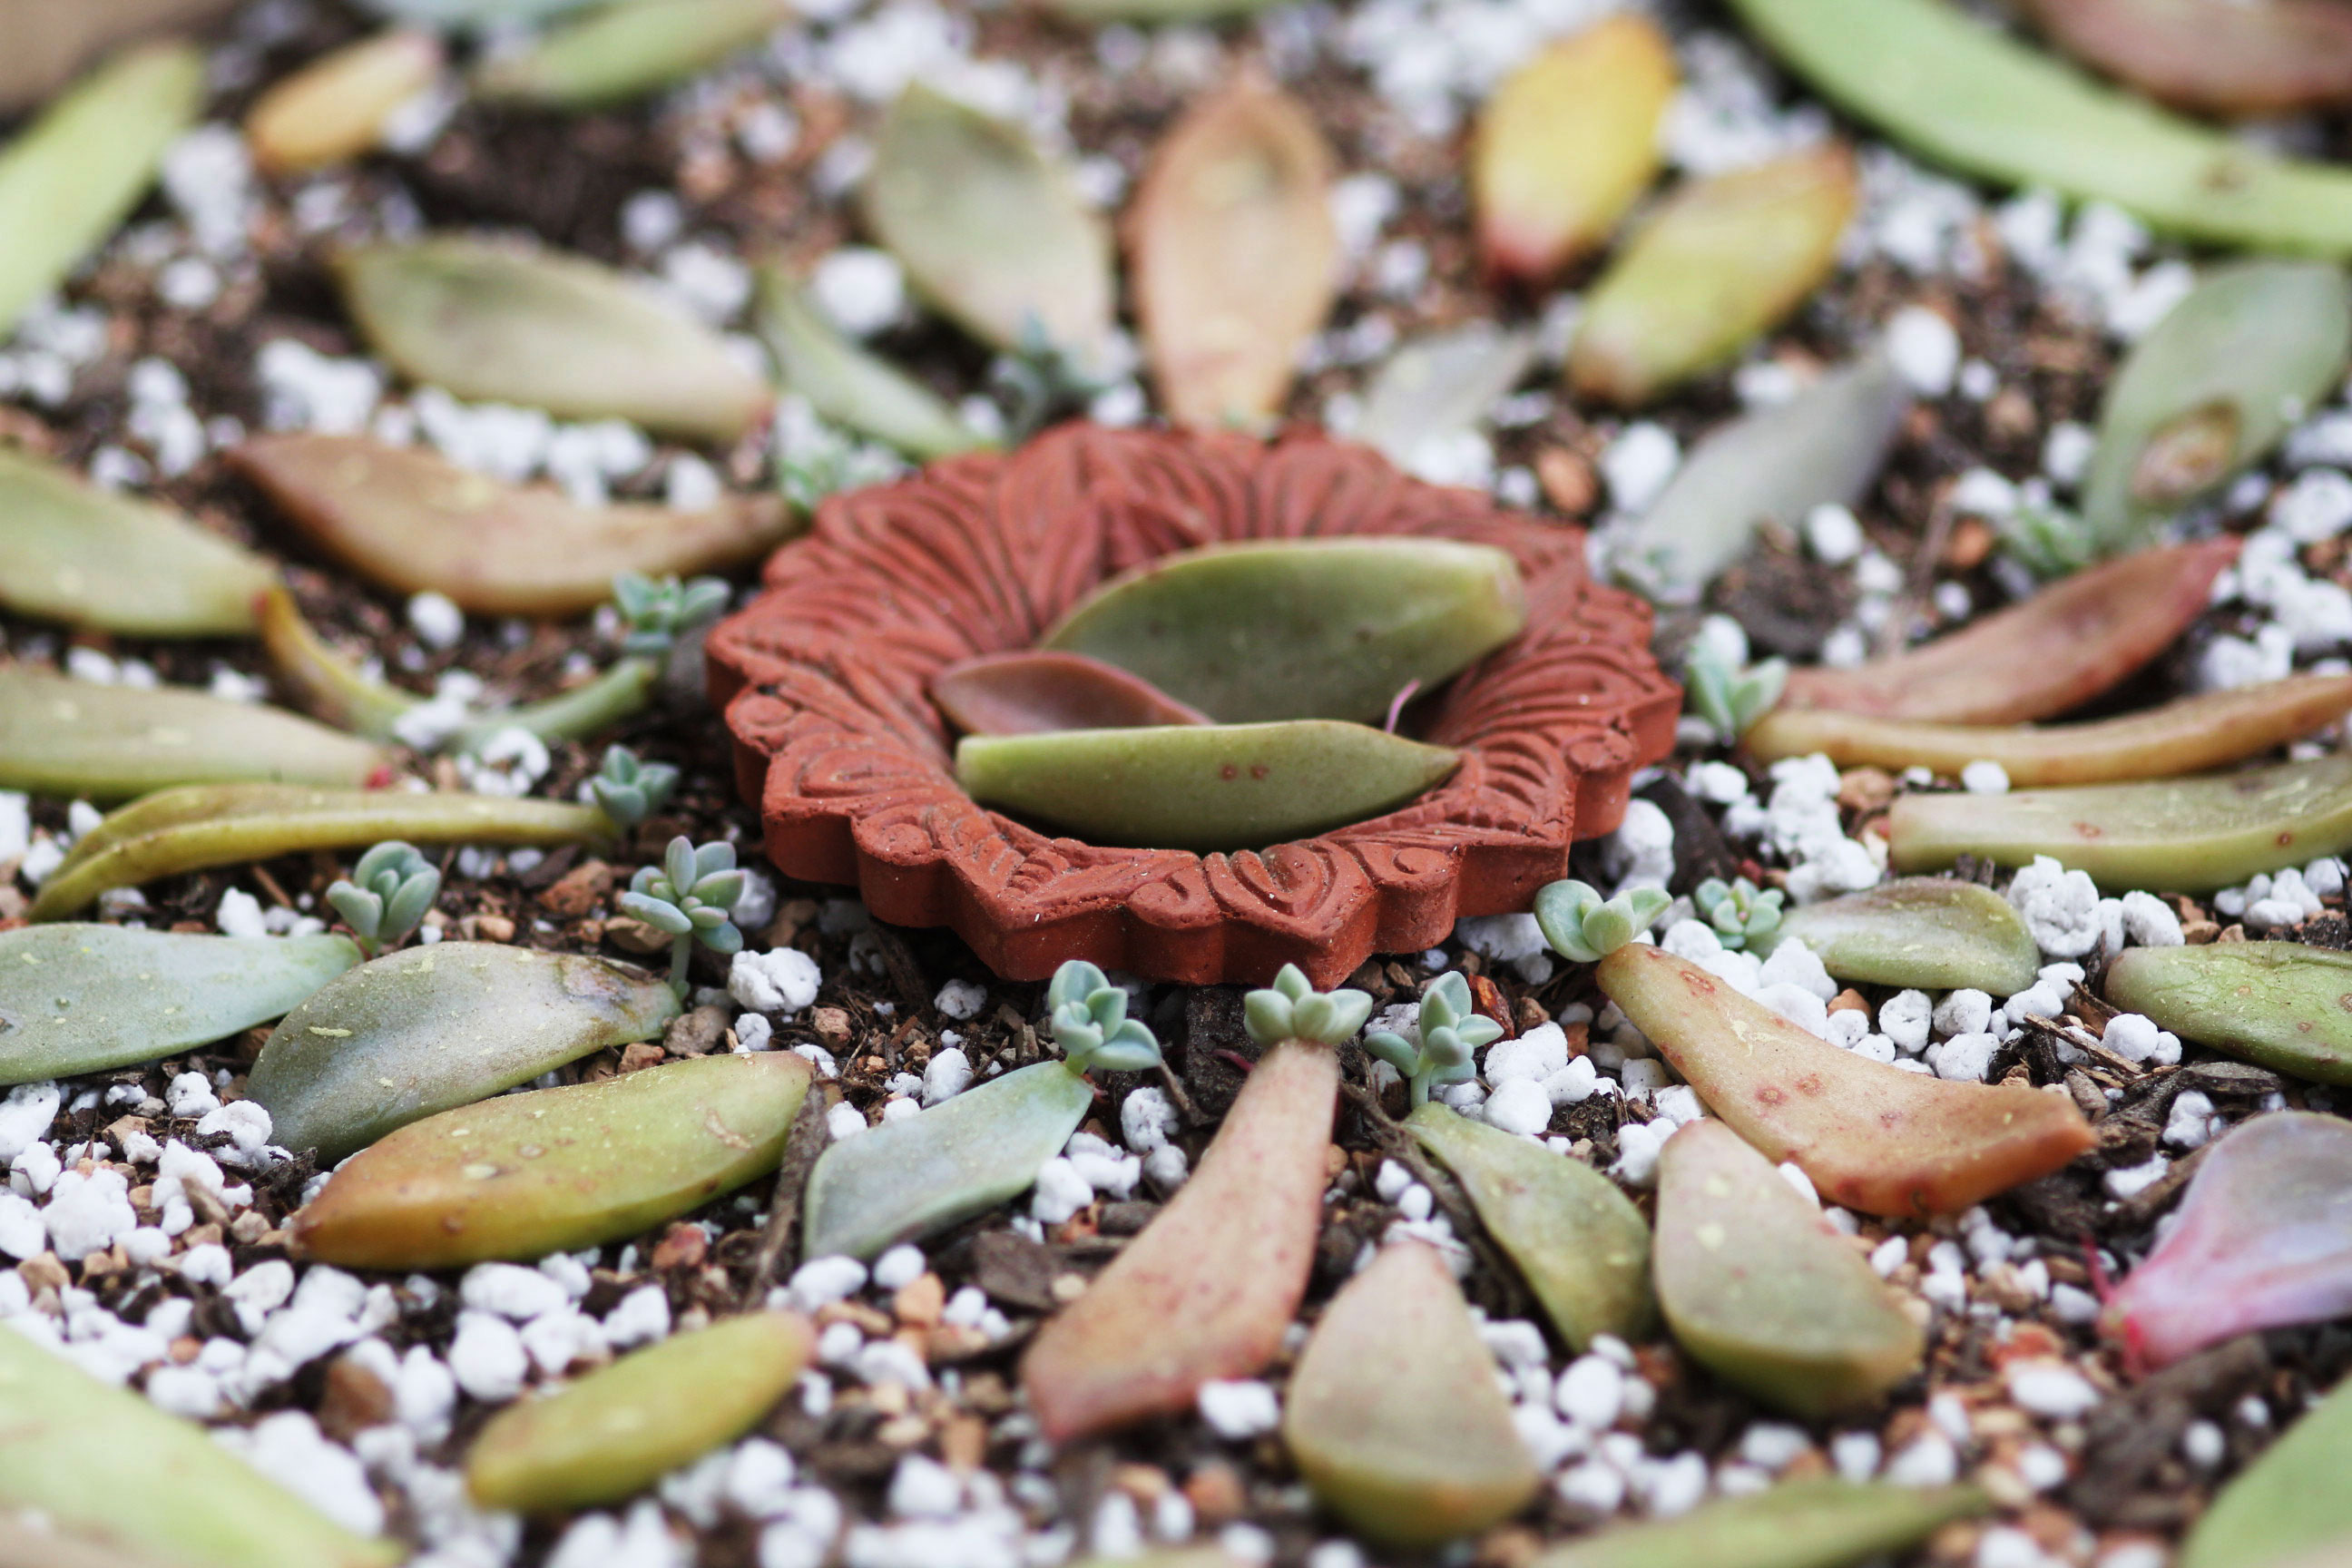
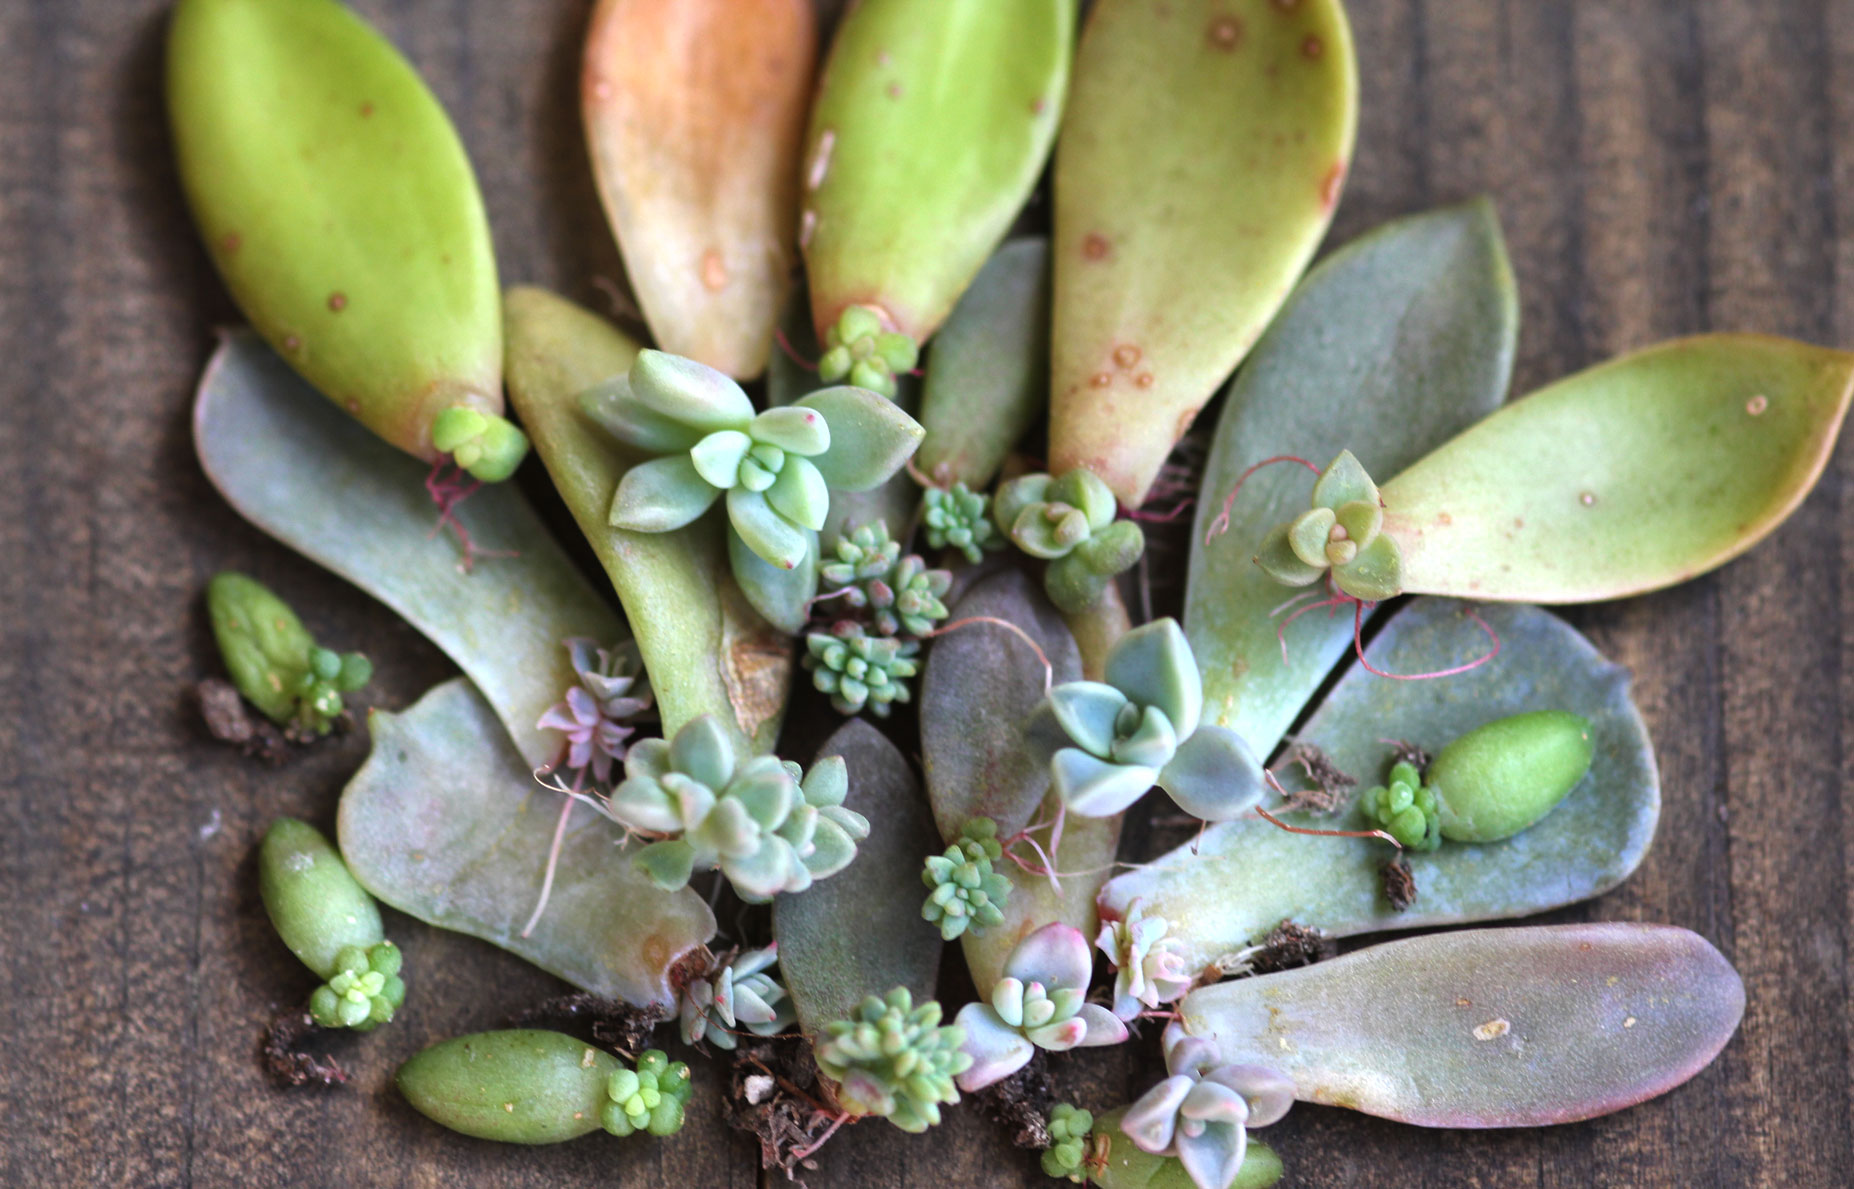
While you’re waiting for roots, you can have fun creating designs like mandalas with your leaves, using the tray as your canvas. It’s a very peaceful and pleasing way to pass the time. If you have multiple varieties propagating in the same tray, it is easy to forget who is who. I’ve tried labeling my leaves with a soft-tipped permanent marker, but the ink fades and the leaves eventually dry up, so take plenty of pictures to help your recall.
Growth Rate
Everyone wants to know how long it will take for their leaves to root but there’s no definite answer. The main factors are location and season. Sometimes they sprout new leaves long before any sign of roots. Other times, it seems like they’re rooting forever without a lick of interest in growing new leaves, and sometimes that’s all they do. All we can do is watch and wait and hope.
The most impressive rate of growth I’ve documented was in my Graptopetalum paraguayense, started late February 2016. I had taken some cuttings while cleaning up my sister-in-law’s planter and wound up with over a hundred leaves. I laid them in a large terracotta saucer and kept them outside on my back porch step, or in a bright south facing window, depending on the precipitation that day. Within two weeks all but 12 leaves had grown new leaves, roots, or both. I’m still fully stocked with Graptopetalums even after giving away the majority of them.

I’d say the longest I’ve waited to see growth was after starting a batch of leaves late fall. I would have cried if I couldn’t laugh at how much faster they grew the following spring. Some slower to start varieties I’ve worked with were Senecio rubrotinctum ‘Jelly Beans,’ Echeveria ‘Black Prince,’ Pachyphytum oviferum ‘Moonstones,’ and both Echeverias lilacina and ‘Lola.’ They tend to take longer to get growing, but they seem very determined to thrive.
Once stems form, if you’re growing indoors or on a porch that doesn’t get much wind, turn on your ceiling fan or put an electric fan nearby to mimic the natural breeze they’d be getting outdoors. Wind provides resistance that will help their stems grow thicker and stronger and trains them to grip the dirt a bit tighter with their roots. Without this ‘workout’ their little necks can stay too thin to support their heads and nobody wants wimpy, floppy succulents.
What’s Next
After the baby plants have roots, you’ll be wondering what to do next. Most of the time it’s best to just let them keep growing in place as long as the main leaf is still attached. It will usually dry up and fall off on its own, but sometimes they’re so plump, they become part of the new plant.
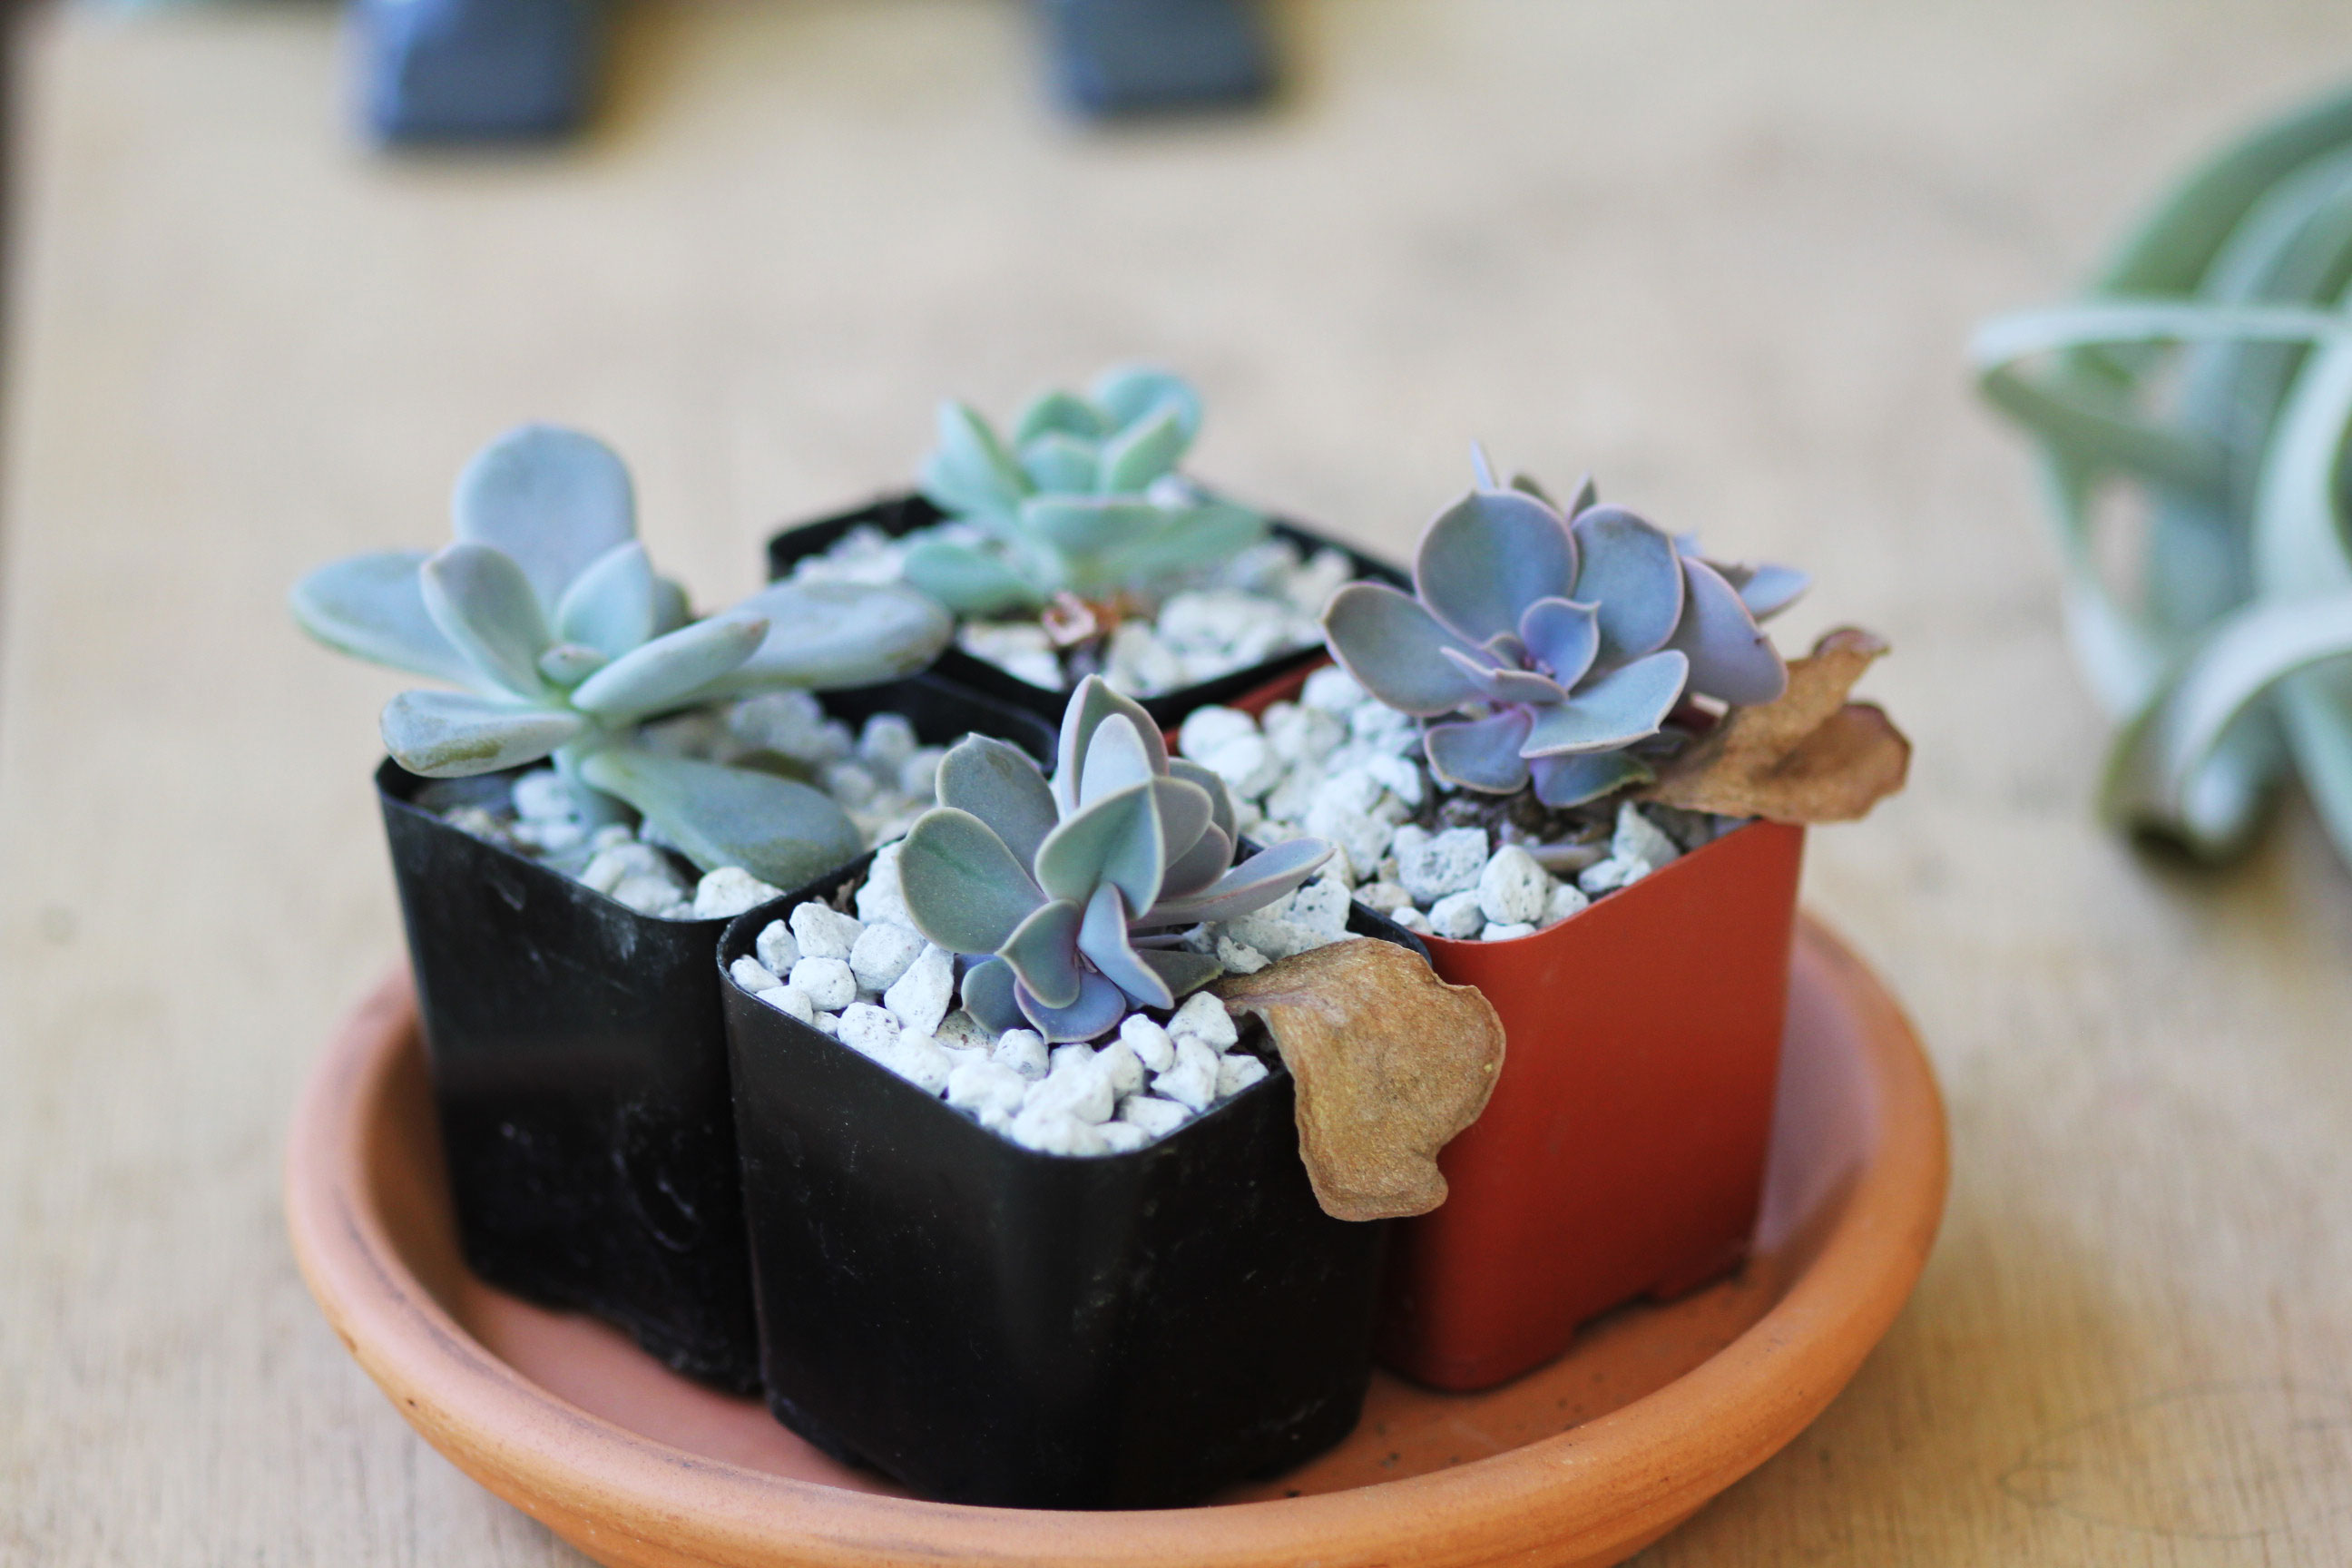
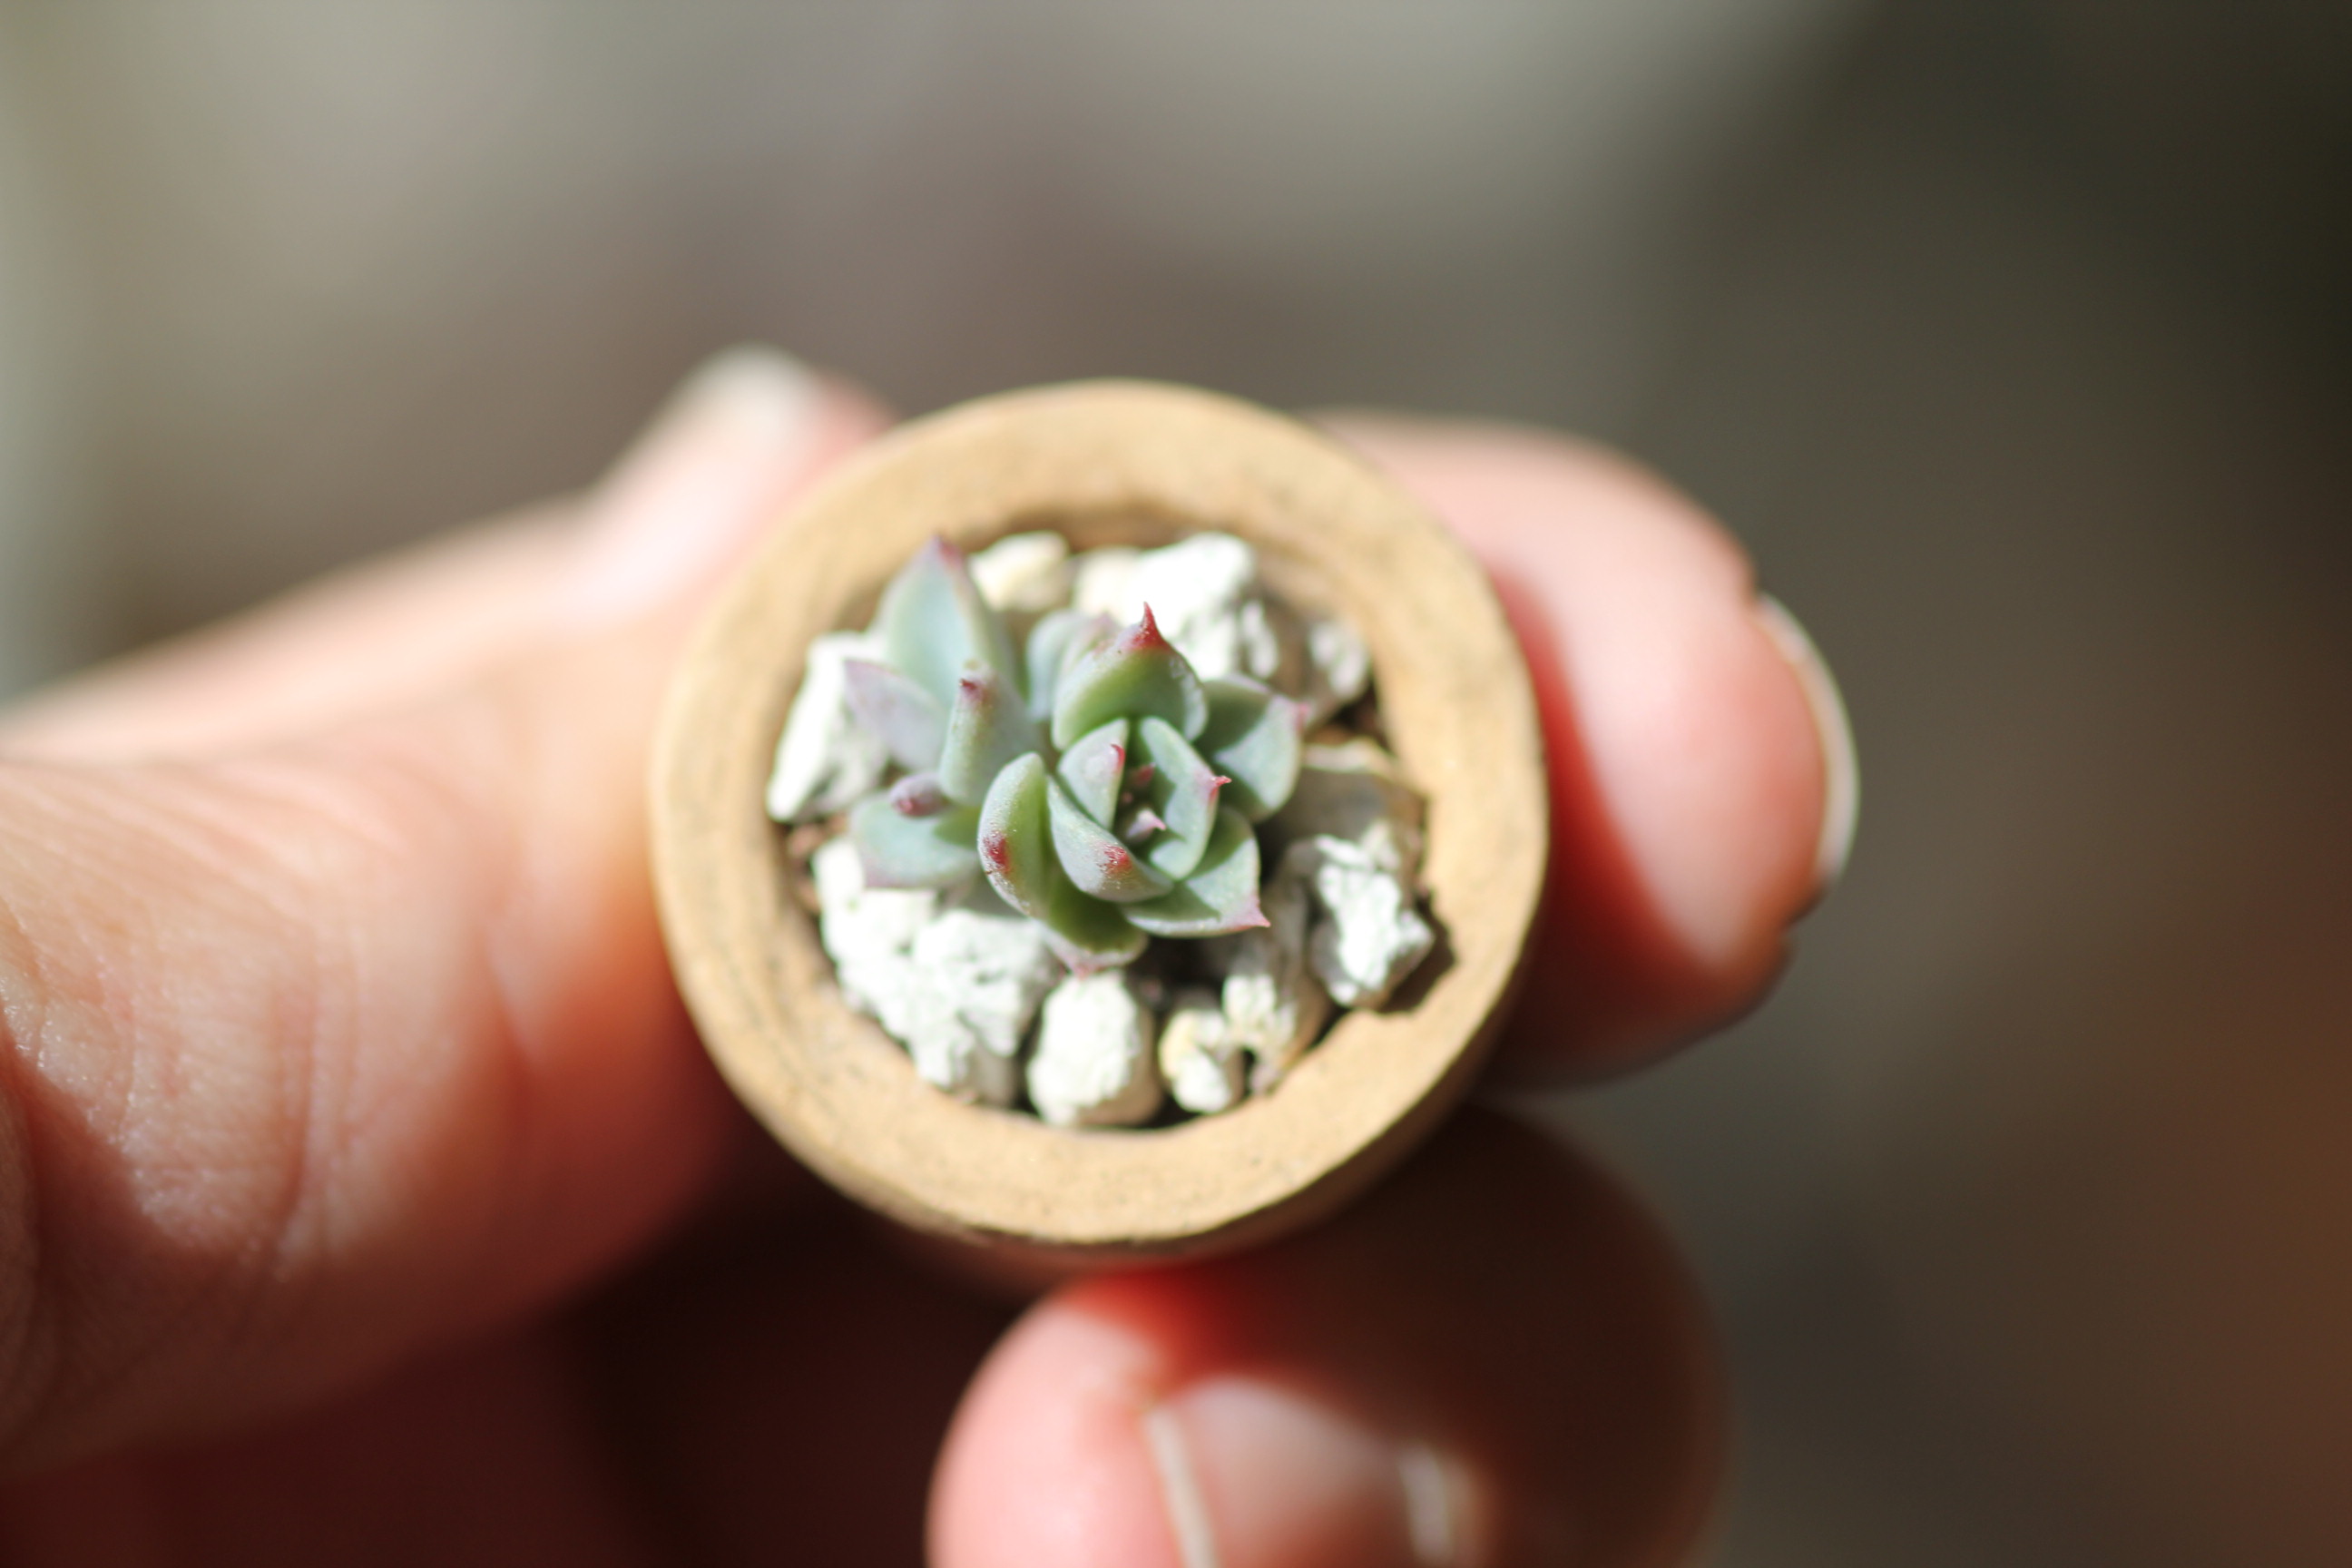
Once roots are established, simply treat the plant as an individual. Carefully remove it from the tray by gently loosening the soil around its roots. Pot it up, give it bright indirect light, and let its soil dry between waterings just like the rest of the gang. There are so many fun projects you can make with your tiny succulents like mini arrangements, cork planters, and temporary jewelry using Flora glue. See ‘Tasks and Projects’ for some ideas. Just remember that a lot of plants conform to the size of their containers, so if you want bigger succulents, give them a roomier pot.
Leaf propagation troubleshooting
The following are questions people have reached out to me with about their leaf propagations and possible solutions.
My leaves never do anything. No roots, no new leaves, nothing. After asking a few questions, it turns out they were cutting the leaves from the stem with a scalpel instead of twisting them off. This severed the leaf tip that contains the cells needed to grow a new plant. I advised them on how to remove them correctly and with a little practice, they were successful. It also turns out they were a surgeon by day…
I have a few propagations growing new leaves, but no roots. This is a common occurrence and I have two theories. First, there’s something going on at the cellular level that is holding the roots back. It could be damage related, biological, or both. It could also simply be a result of there not yet being a need for roots if the leaf is still full of water. I suggest refraining from moistening the soil around that leaf for at least a week or two to see if it puts out roots in search of water. Or…
All I’m getting are roots– no new leaves, just lots of roots. I do think this is more directly cell-based. If a few months pass and you’re still not seeing any sign of new leaves, it might be a dud despite putting out so many roots. If you’re patient, keep tending to it to see if it grows leaves—succulents are full of surprises and sometimes march to their own beat, you know?
The roots on my propagation leaves dry out and nothing else happens. Make sure the leaves aren’t in direct sunlight. Some may need help burying their roots to keep them hydrated, particularly in drier climates and when growing indoors. You can prop them up with a stick or rock so the leaf tip is directed in the dirt. You can also try shallowly planting the leaves up and down like carrots once the tips are dry.
My propagations are growing but their little stems are too thin to stand up. I’m in Chicago and grow my succulents indoors. This is probably due to two factors: Not enough light to keep the growth compact and not enough wind to strengthen the stems. Increase the amount of light they get and offer them a workout via a fan.
I just checked on my propagation tray and several of the leaves are turning clear or mushy. Am I overwatering? I mist them every other day. I don’t like using the words ‘misting’ or ‘spritzing’ for watering succulents as this implies wetting the whole leaf, and succulents want dry leaves. It sounds like these leaves got wet while sunbathing and freaked out. When watering to moisten your soil, avoid the leaves. To water leaves that are rooted, aim a gentle stream from a spray bottle directly at the roots. Avoid allowing any water to stand on the leaves, especially if they’re in the sun. Add a fan to your set up if this is a common problem. Laying your leaves sideways (on its margin) can help reduce standing water as well.
Propagation by Division
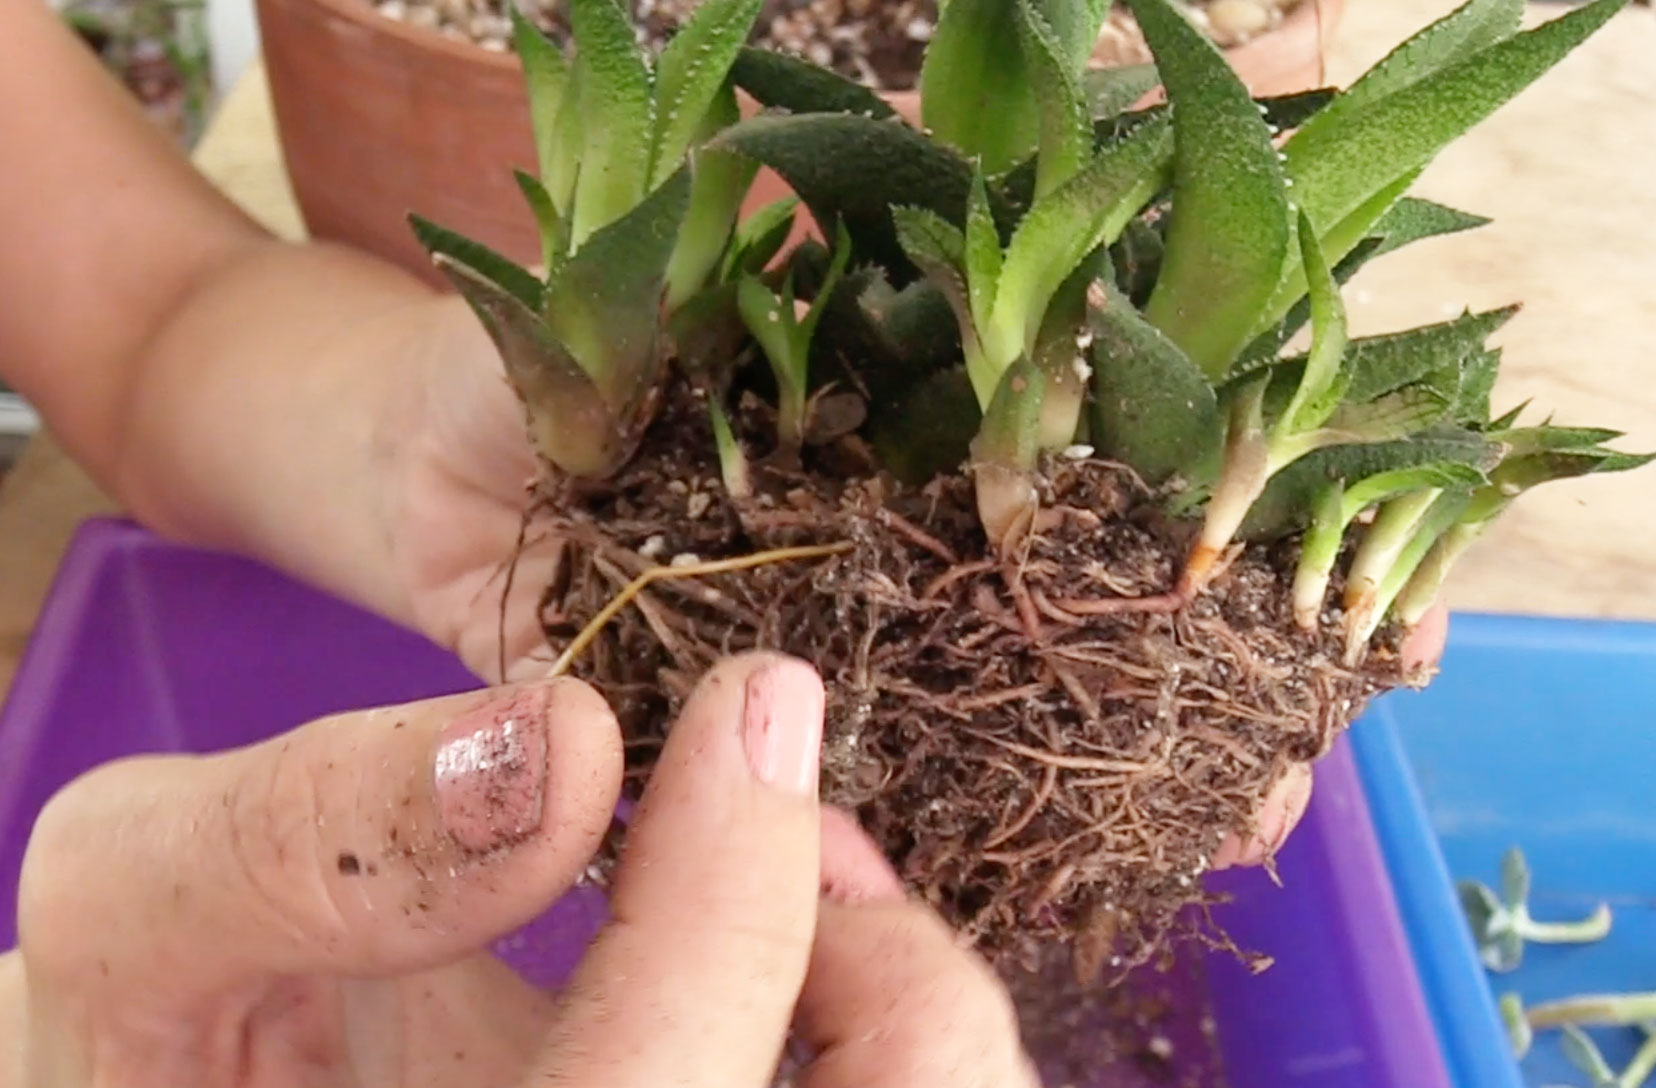
The terms ‘offsets’ and ‘pups’ each refer to a method by which succulents reproduce new plants. ‘Offsets’ also describe another way succulents multiply that you’ll easily recognize in Aloe vera. Aloes and Haworthias send out underground shoots that spring up as new plants. These are also called suckers, or pups, and while these terms are often used interchangeably, ‘suckers’ are almost always used to describe new plants that shoot up from roots or the portion of stem tucked beneath the soil.
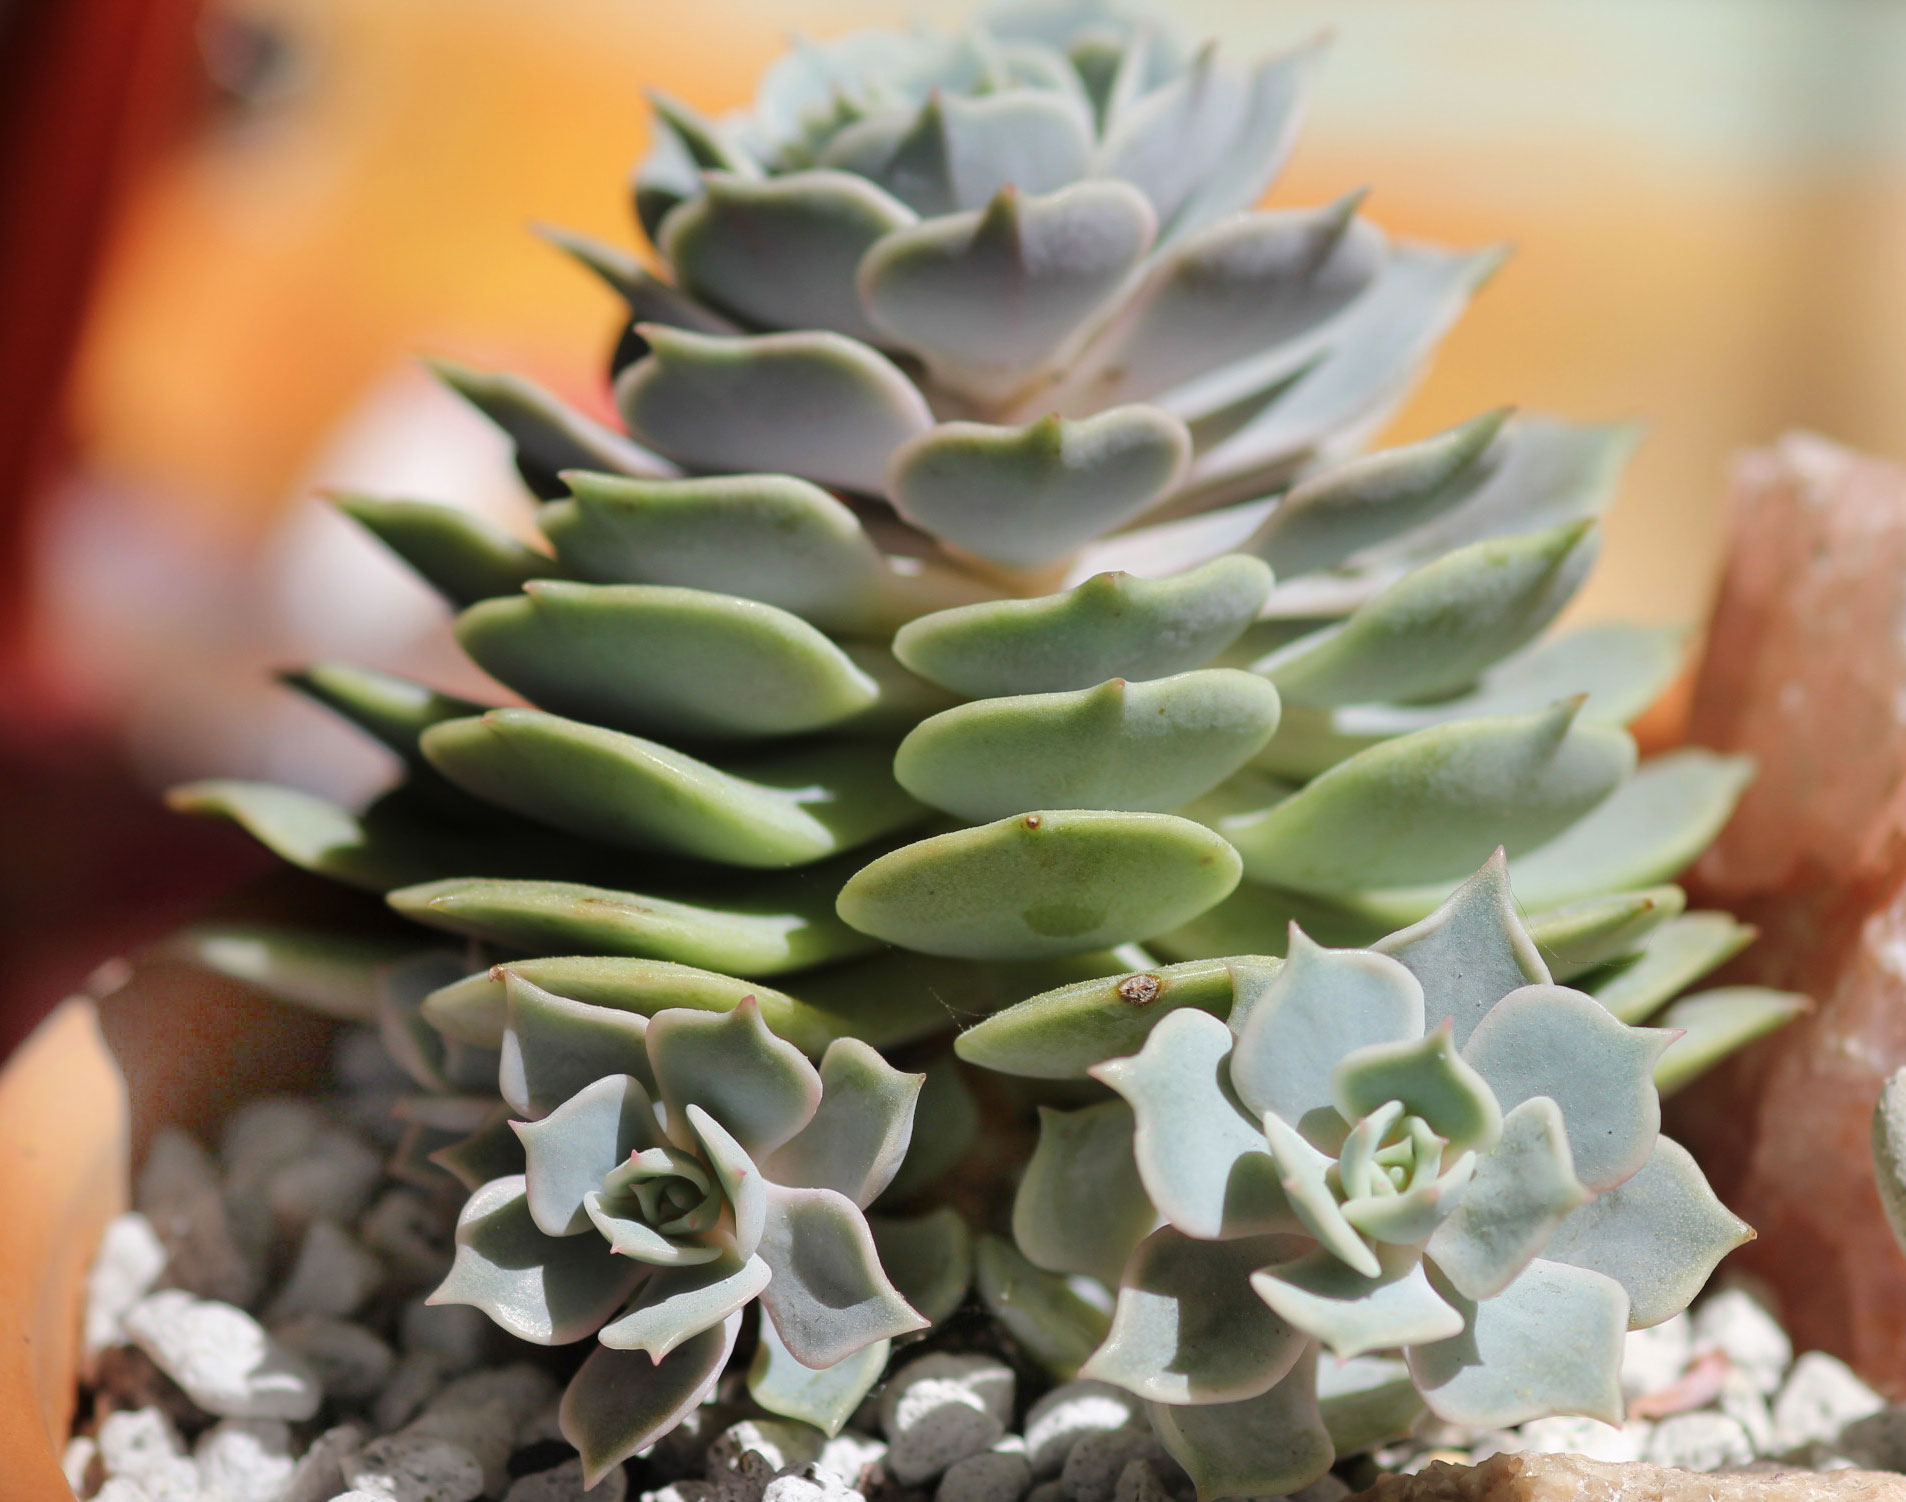
New plants that form at the base of the stem above the soil line or higher up are called ‘offsets,’ as with the ‘hen and chicks’ type of Sempervivums and Echeverias. In both cases, it’s typically easier to unpot the plant to access the offsets for removal. While offsets may have already produced roots, they will still need to be treated as a cutting until the point of division has healed to avoid rot.
Prepping for division
As with propagation by leaves and cuttings, working with a pre-watered plant will help keep the offsets hydrated long enough to establish roots, and the season can affect the time it takes to them grow. Sterilize any blade you may use with diluted bleach or rubbing alcohol. I prefer a straight edge for some offsets and scissors or just my fingers for others.
Unpot your plant if necessary and place it on a flat surface or in a shallow bin. Remember you’ll be creating small cuts and any water that gets in can cause rot, so plan on not watering it for a few days or more after dividing.
Hen and chicks offset division
A baby begins as a tiny rosette along the mother plant’s main stem, usually at the base. It soon develops its own stem and might even start growing aerial roots that will more than likely dry out before it’s time to pot the offset, but that’s nothing to worry about.
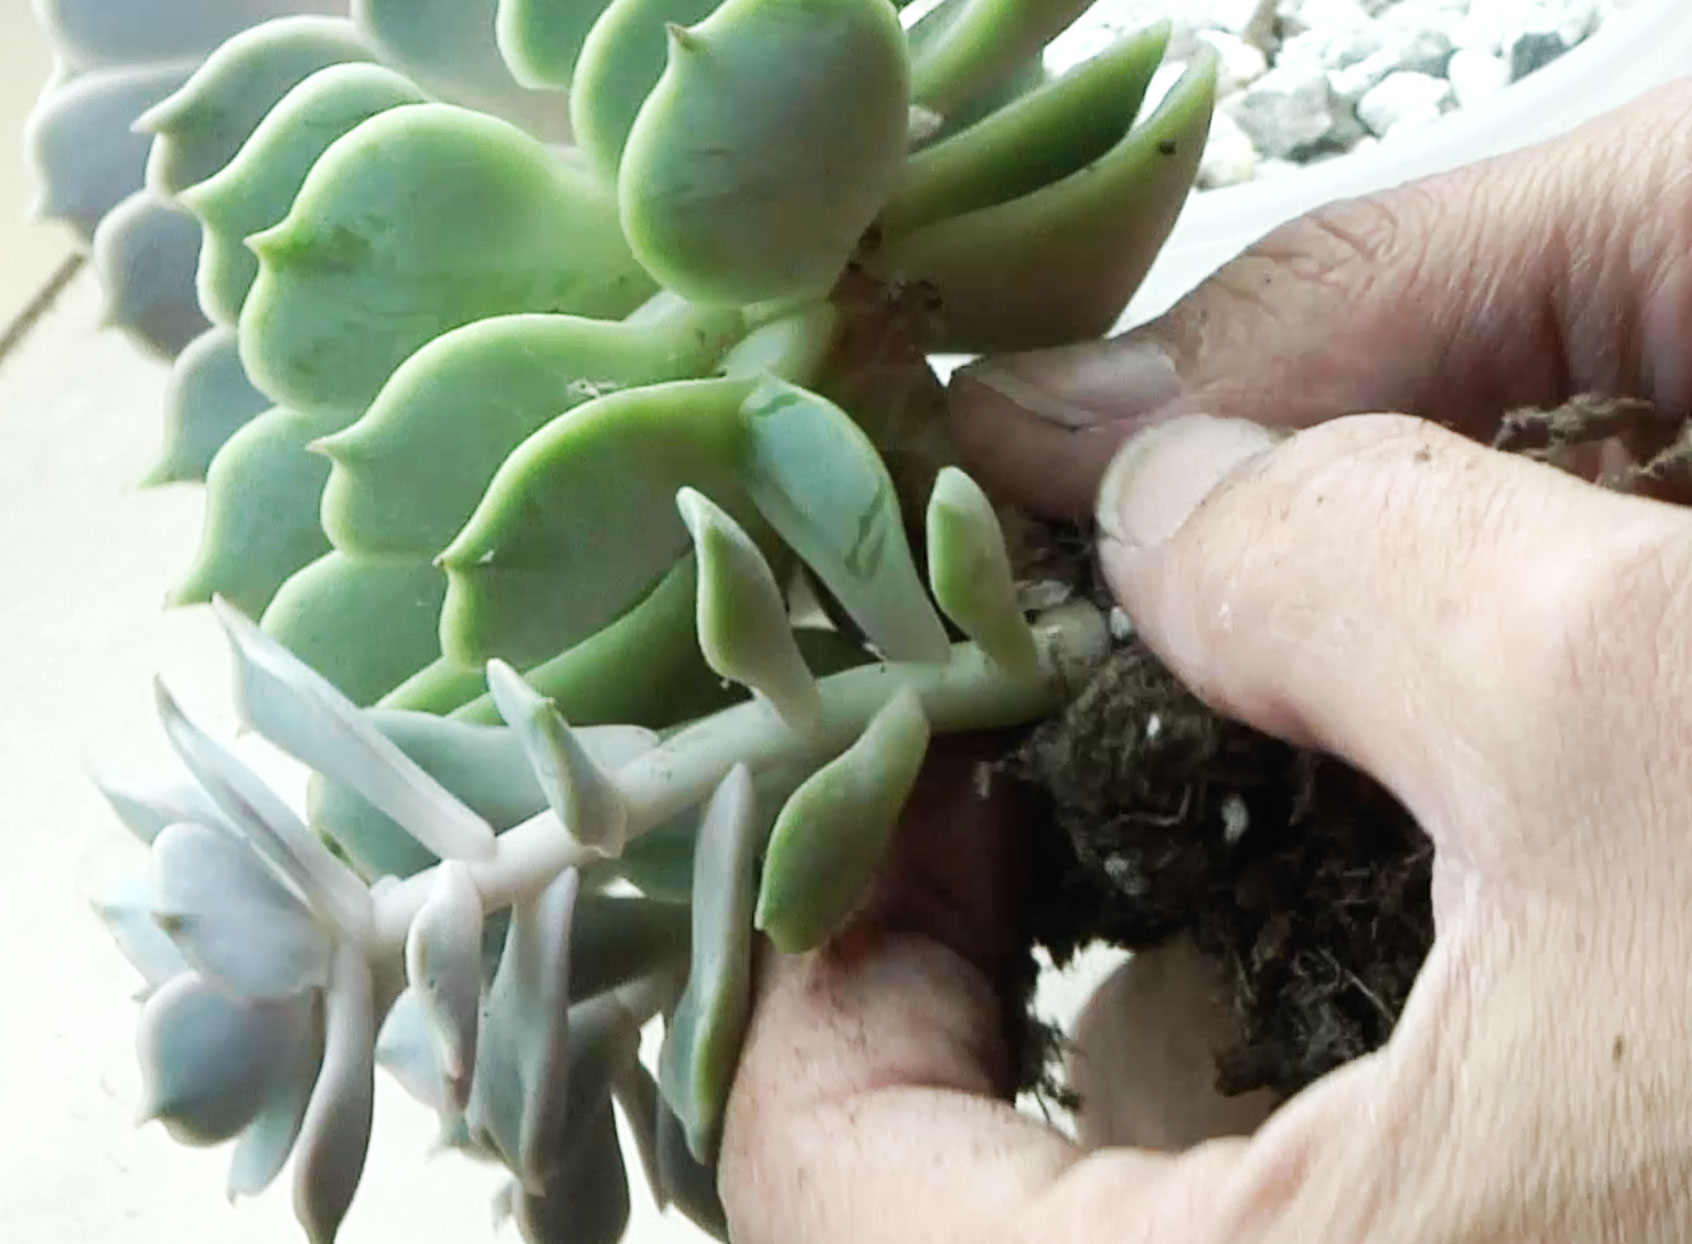
Look for an offset with a stem long enough to access its base without damaging its tiny leaves. With one hand, stabilize the plant just above the offset you want to propagate. Occasionally you’ll be able to remove it with just your fingers by using the same technique for ‘plucking’ leaves for propagation. Grasp the base of the offset’s stem and see if it wants to come away easily. Sometimes there’s a small notch where you can slide your nail under the offset’s node and detach it. Use a blade when you can’t reach the base with your fingers or if it’s too thick or fragile to make a clean cut without a sharp edge.
Pups and suckers division
These babies begin as new growth beneath the soil and push their way up as they mature. They remain attached to the main plant via the root system while generating their own roots.
It is best to wait until they have their own roots before detaching, however many varieties can be treated as cuttings.
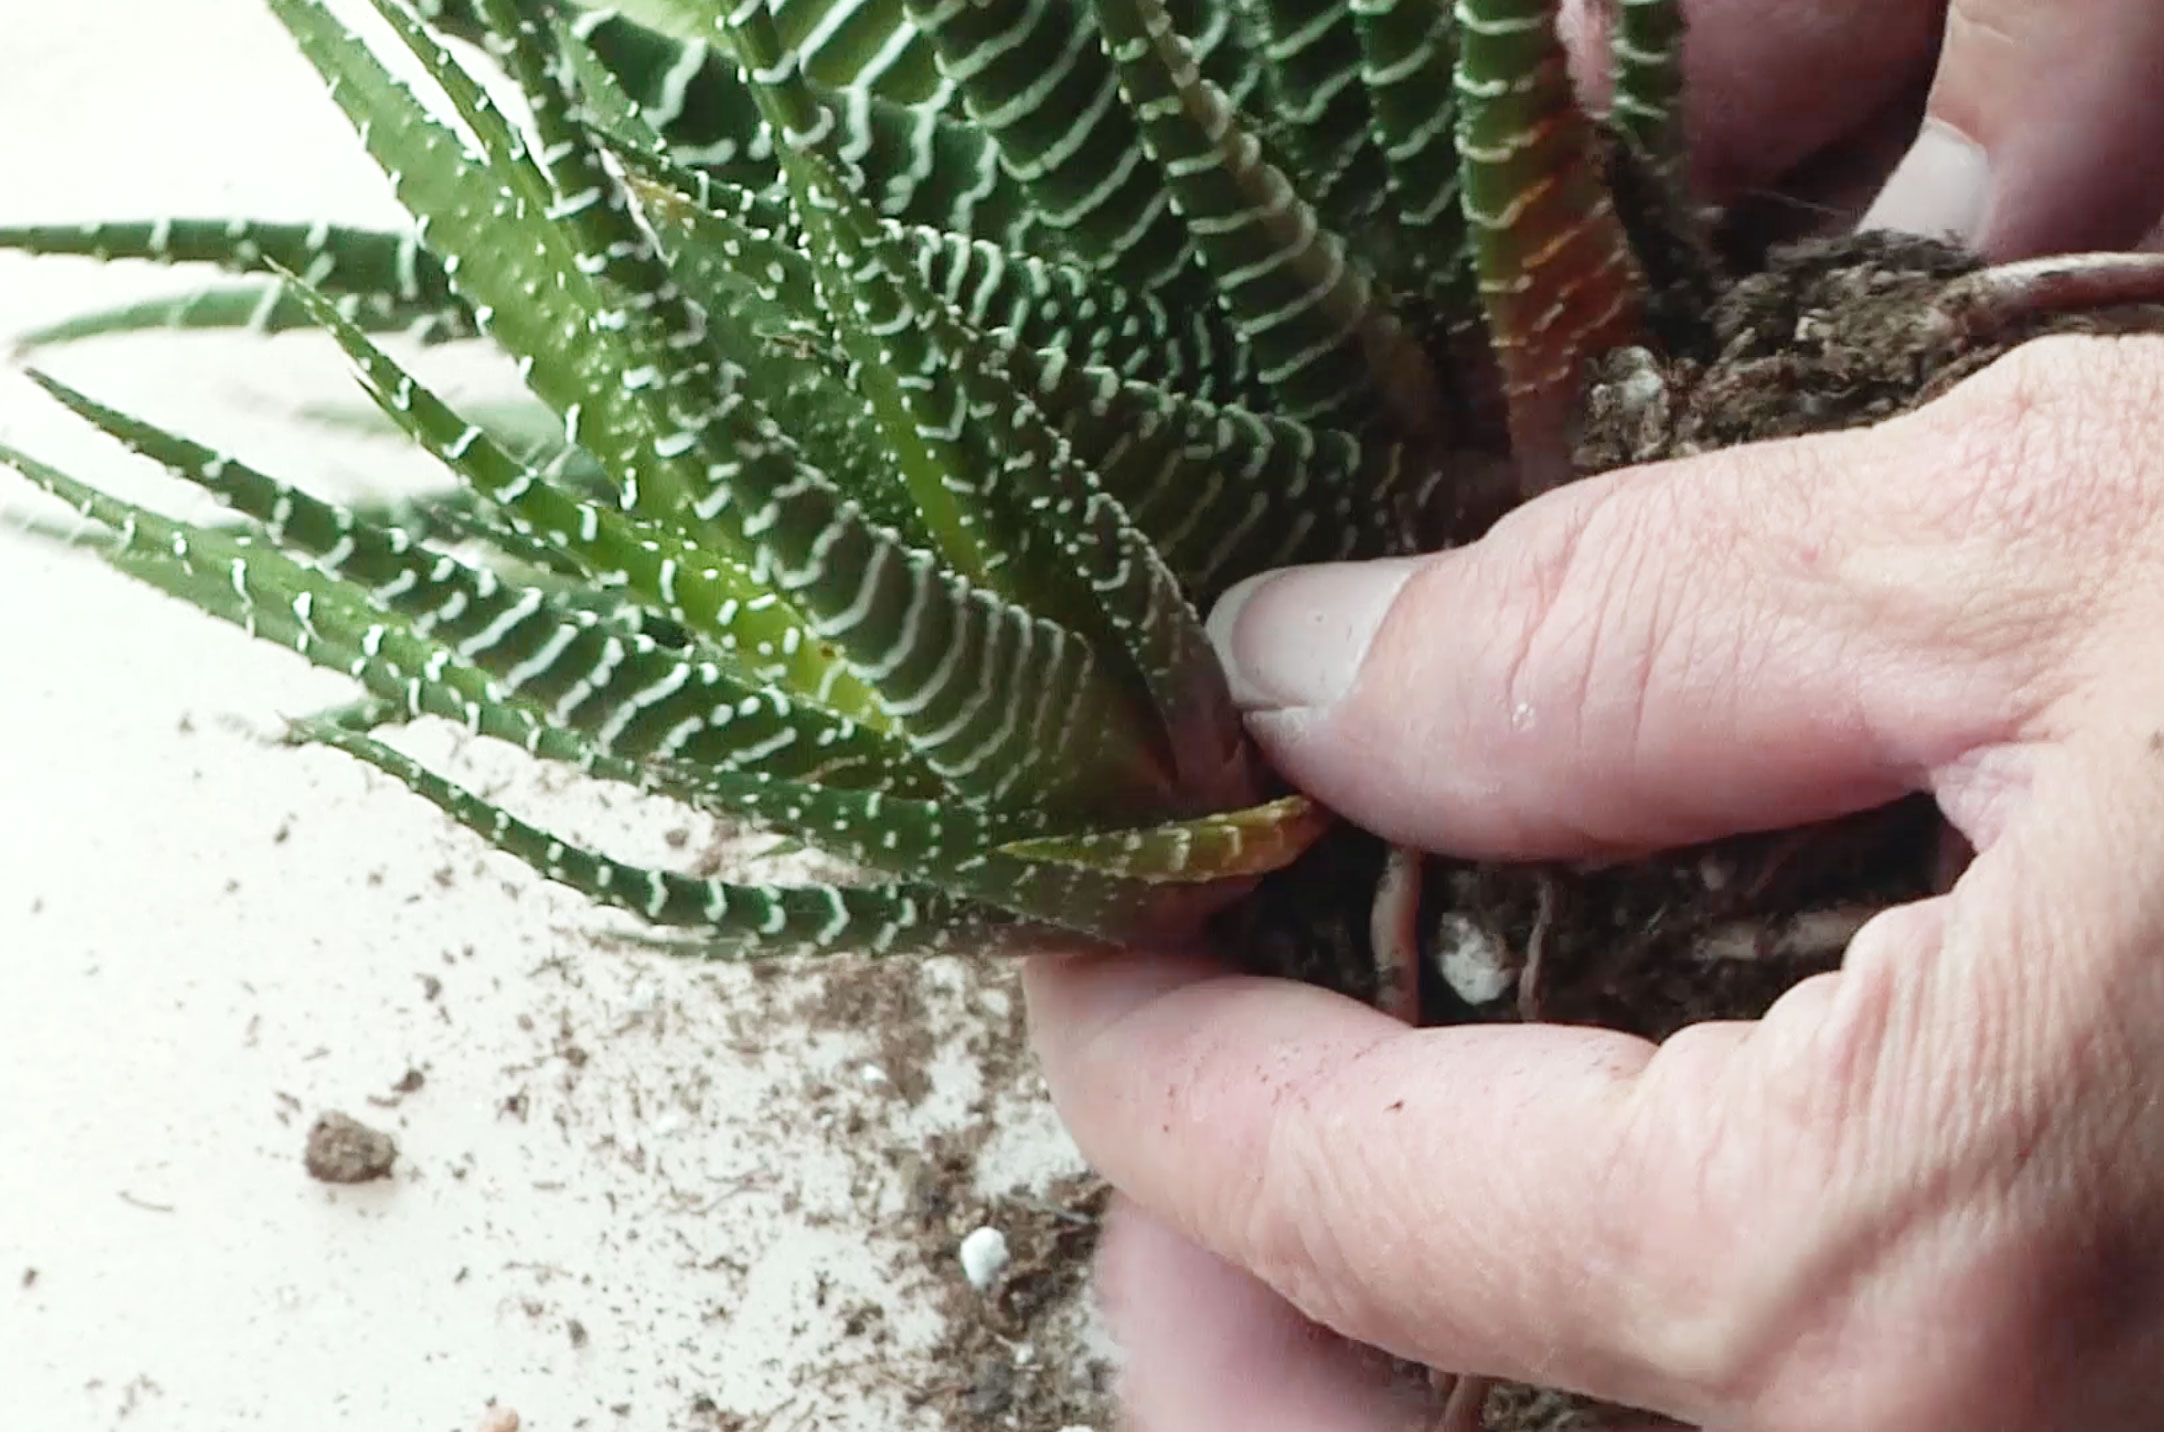
Place your unpotted plant in a shallow bin or on paper for easy clean-up. Inspect the offsets for health, viable roots, and maturity. If their leaves are a paler green compared to the main plant, give them some more time to mature before removal.
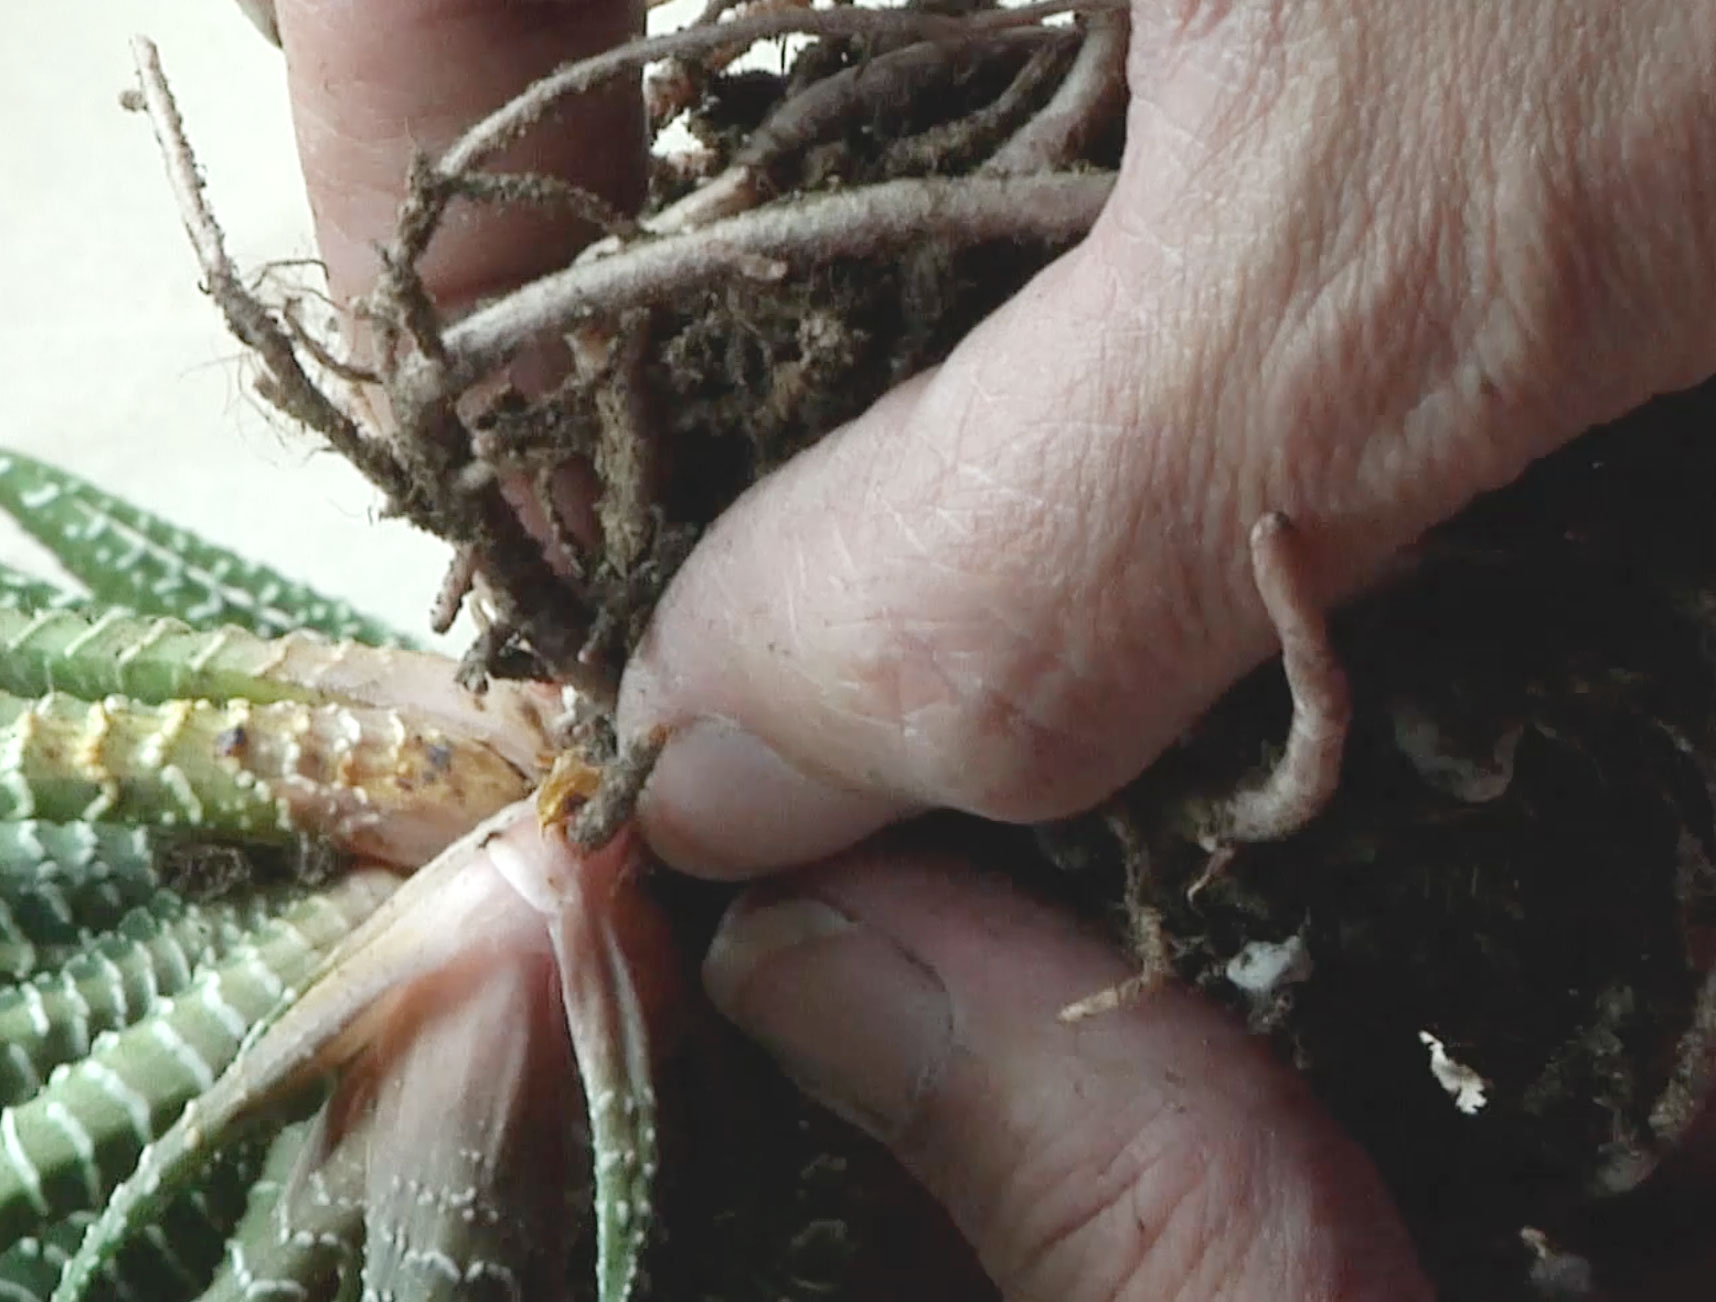
Follow the base of the pup along the roots to the main plant while looking for a good place to remove it. If it has its own roots, do your best to leave them intact. Some pups will pull away freely with their new roots. Otherwise, use a sterilized utensil to cut it free, and try allowing at least 1 in/2.5 cm of the main root to remain attached to it when possible.
Trim away any dead or dried roots from the main plant, and as with cuttings, allow the offsets and the main plant to completely dry and heal before potting them up.
Propagation by Cuttings
There are several good reasons why you may want to take cuttings, be it for pruning unwieldy plants, topping an etiolated rosette, or just to make more succulents, which is great because then you can share, right? Play along with me…Right!
Many rules carry over from propagating by leaf to cuttings. As with leaf propagations, growing seasons influence how soon a cutting will take root. It’s best to aim for spring through early fall, while taking a break if your summers tend to be above 90°F/32ºC and you’re growing outdoors. You can still try during mid-summer but it could be a bit more difficult to keep the plant alive long enough for it to root.
Not all succulents will be suitable for propagating by cuttings simply due to their lack of stems and branches. The following method is best suited for varieties that grow branched or trailing forms. Some examples of branching succulents include several of the varieties previously mentioned in the section ‘Propagation by Leaf.’ Graptopetalum paraguayense, Graptoveria ‘Debbie,’ Golden sedum, Jade, and Euphorbia ‘Sticks on Fire’ are good examples of succulents that form branches and often need a trim. Cuttings are perfect for managing trailing and tall-growing unruly varieties like Kalanchoe fedtschenkoi ‘Lavender Scallops,’ Sedum morganianum ‘Burro’s Tail,’ and Senecio rowleyanus ‘String of Pearls.’
Making the cut
Prepare by watering the plants at least a day in advance. Use bleach or rubbing alcohol to sterilize your blade of choice, such as a pair of small hand pruners or scissors. You can cut at just about any point along the stem of a succulent and rightfully expect it to make a new plant. If you’re working with a longer piece, you may need to turn it into a few shorter cuttings of 6 in/15 cm or less to make sure each piece has enough energy in reserve to root. Making angled cuts assist in preventing any standing water staying on the cut of the main plant.
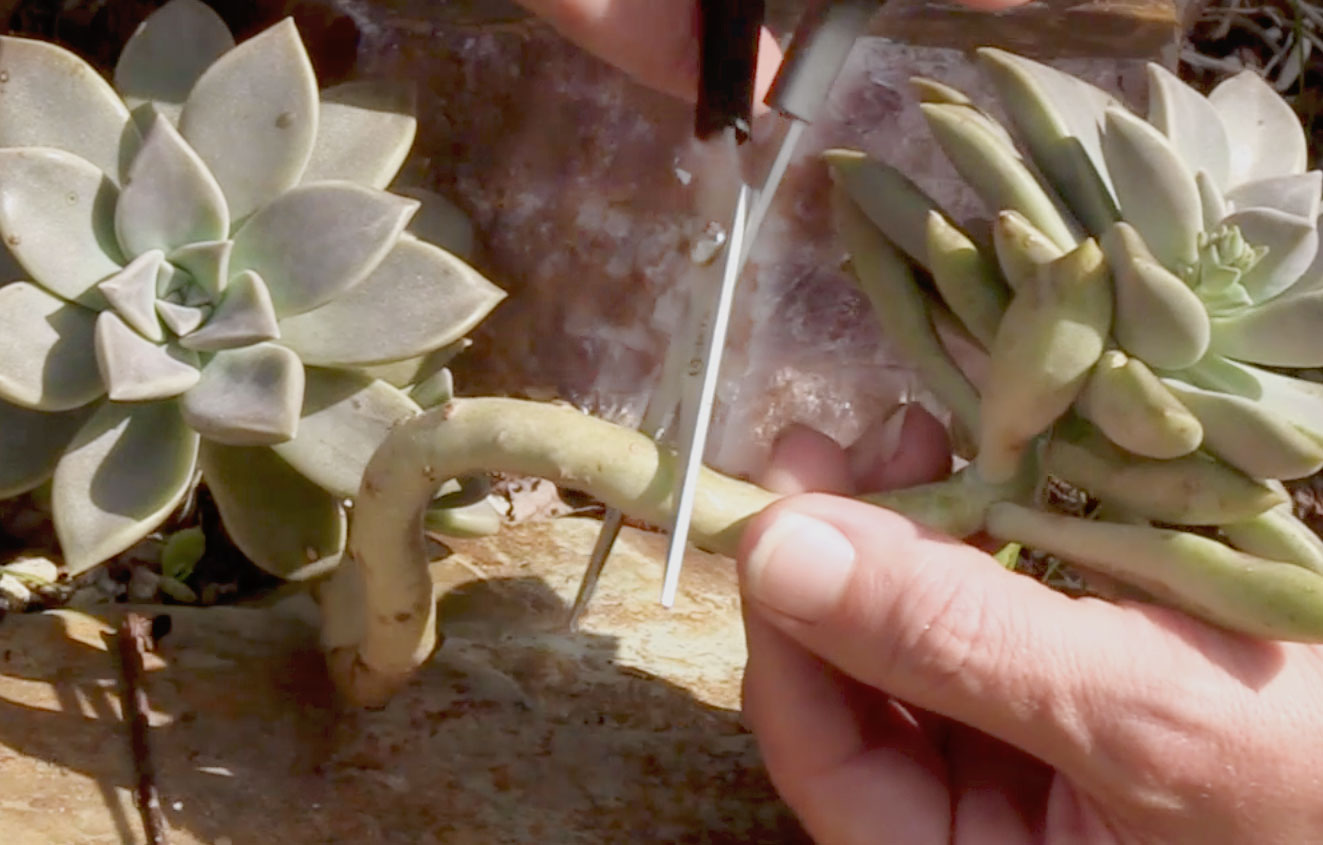
Prepping a new cutting
It helps to remove a few lower leaves to expose more of the stem so it’s long enough to support the plant when potted. Do this at the time you take cuttings so everything is healing and drying simultaneously. After taking your cuttings, allow the stem to dry where it was severed. It will exhibit a callus, usually as a light brown scab, totally enclosing the wound. You shouldn’t see any sign of moisture at the tip and little to no green when held under a light. Depending on the thickness of the stem, it can take three days to a couple of weeks for it to dry.
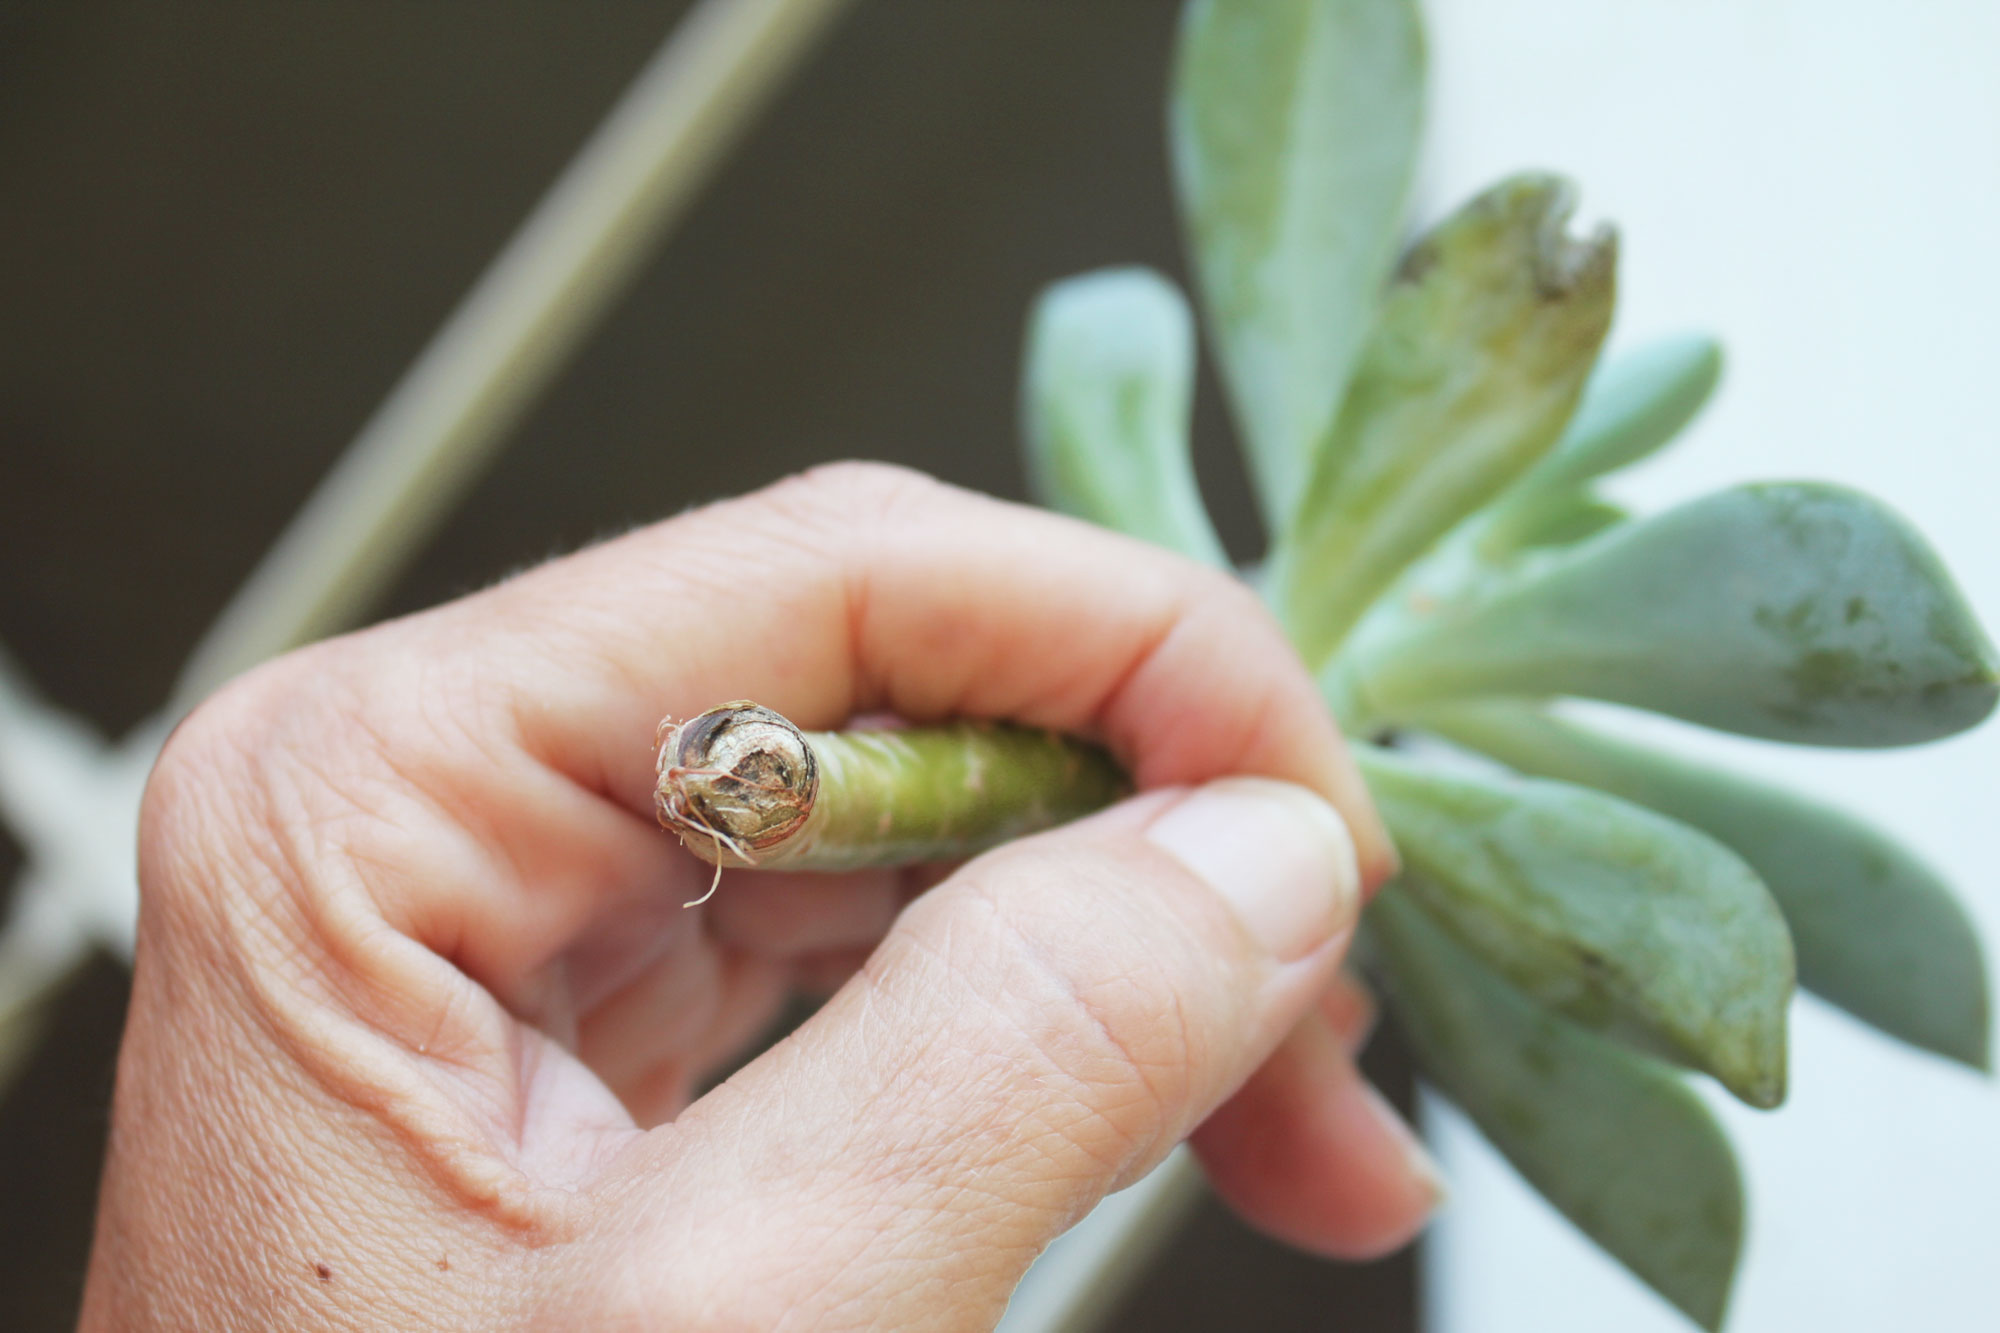
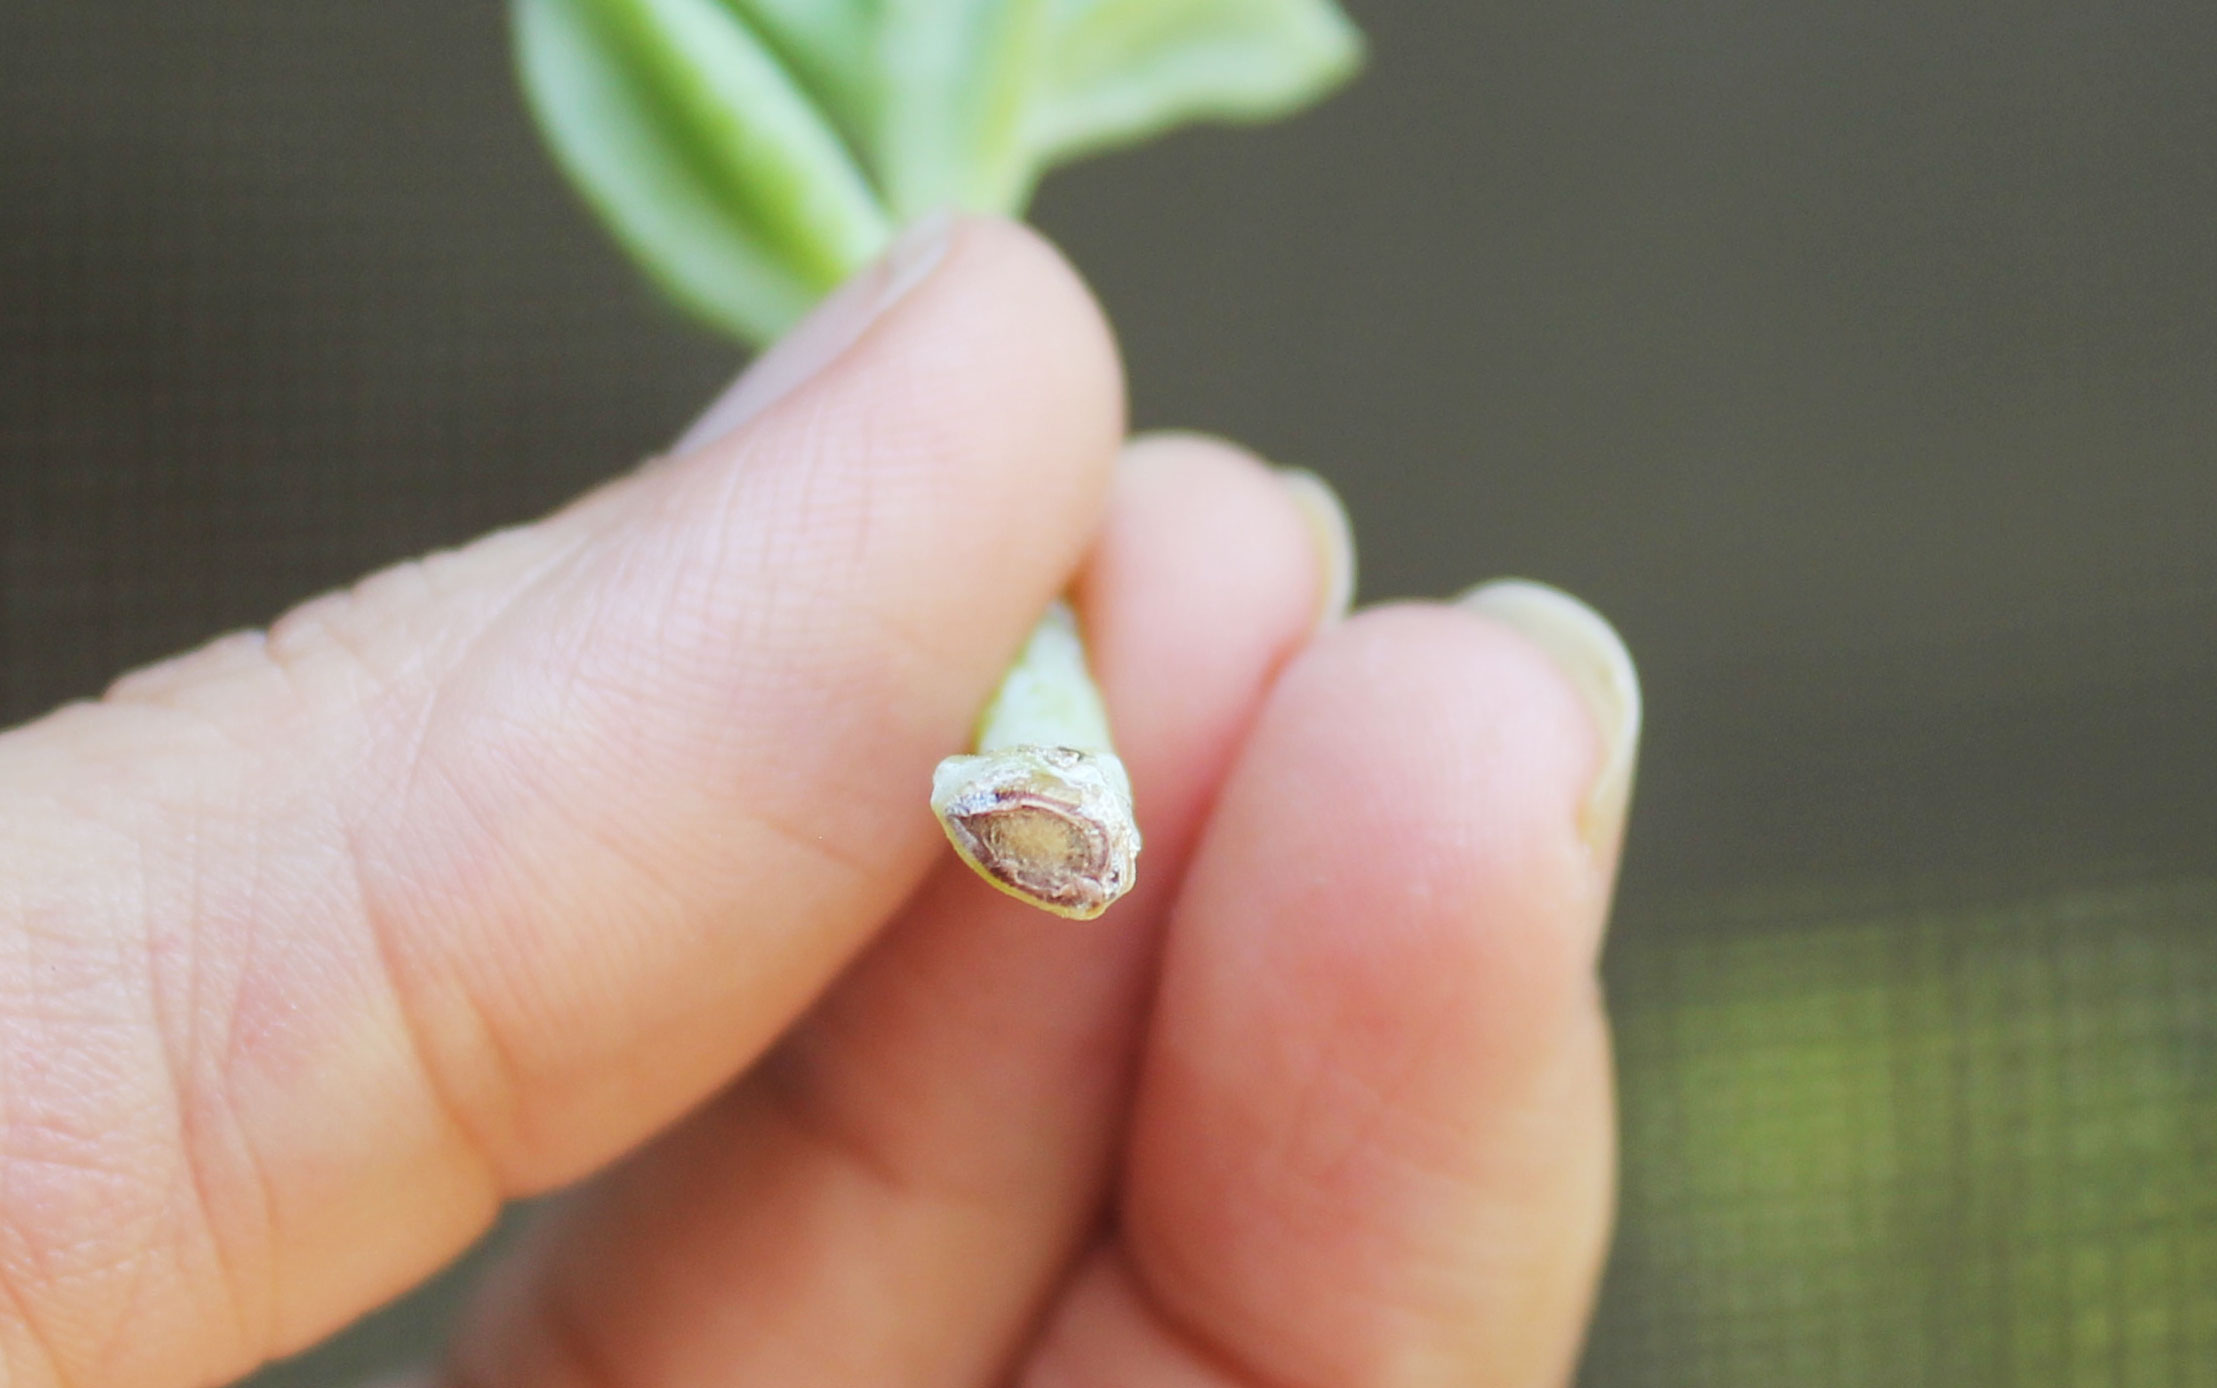
I like to put my cuttings in an empty clay pot (or filled with pumice) to help them dry a bit more quickly and keep them upright. They still need good light because they continue to grow, and even flower, despite being recently chopped. Applying powdered sulfur to the cut can help prevent infection while it heals. Lower leaves remaining on the main plant will lose their shade and may be sensitive to the new amount of light for a while, so give them a bit less light until they adjust. In time, new growth should form on the main stem where it was cut and make you a whole new plant!
Potting a cutting
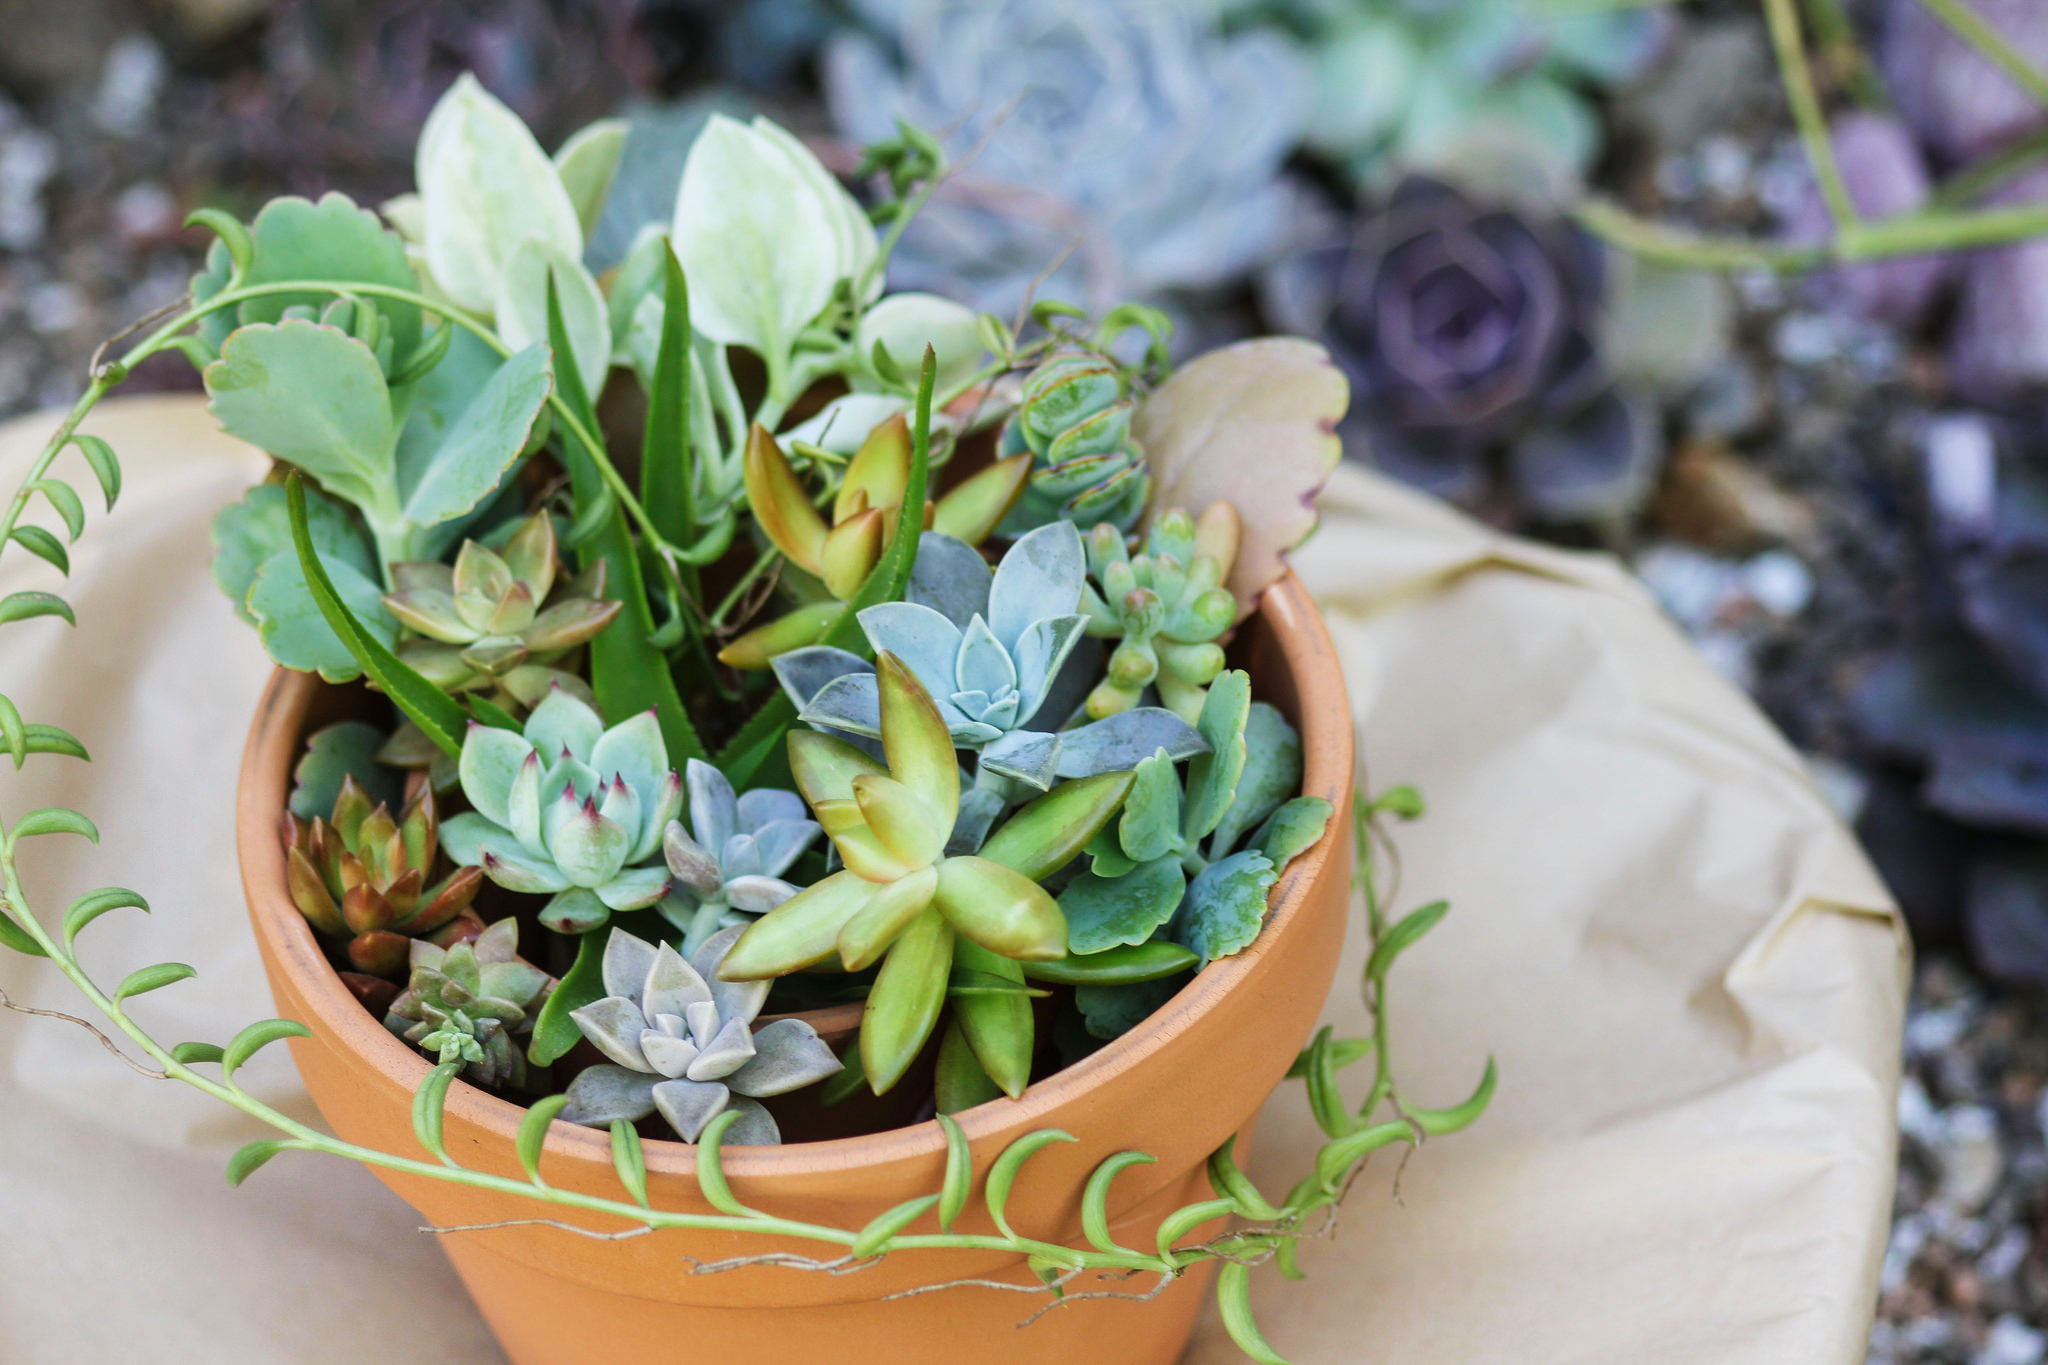
Once your cuttings are dry, you can pot them in lightly dampened succulent soil to help support them and wait for them to take root. Ideally, wait until you see roots before ‘really’ watering. This can take anywhere from a week to a few months, so water them with a lighter hand than you would rooted plants.
In my experience, cuttings tend to root more quickly in the absence of plentiful moisture, as if they know they’re going to need to grow roots soon if they want a drink.
Troubleshooting cuttings
The only thing you really need to look out for is watering a cutting before the end is fully healed. If you start to see the cut end turn soft, translucent, or brown, there’s a good chance the stem wasn’t thoroughly dried before it was watered. The good news is you can still try to save it by cutting above the rotted portion until you reach healthy stem again. Then repeat the prepping process and try again.
If a month passes and your cuttings haven’t taken root, you can try a few things. Applying rooting hormone to the dried end and repotting might stimulate growth. You can also try water propagation by filling a glass bottle with enough water to reach just above tip of the fully callused stem. Finally, you can always cut a bit higher up on the stem, let it dry, and try the old fashioned way again.
Cactus Cuttings
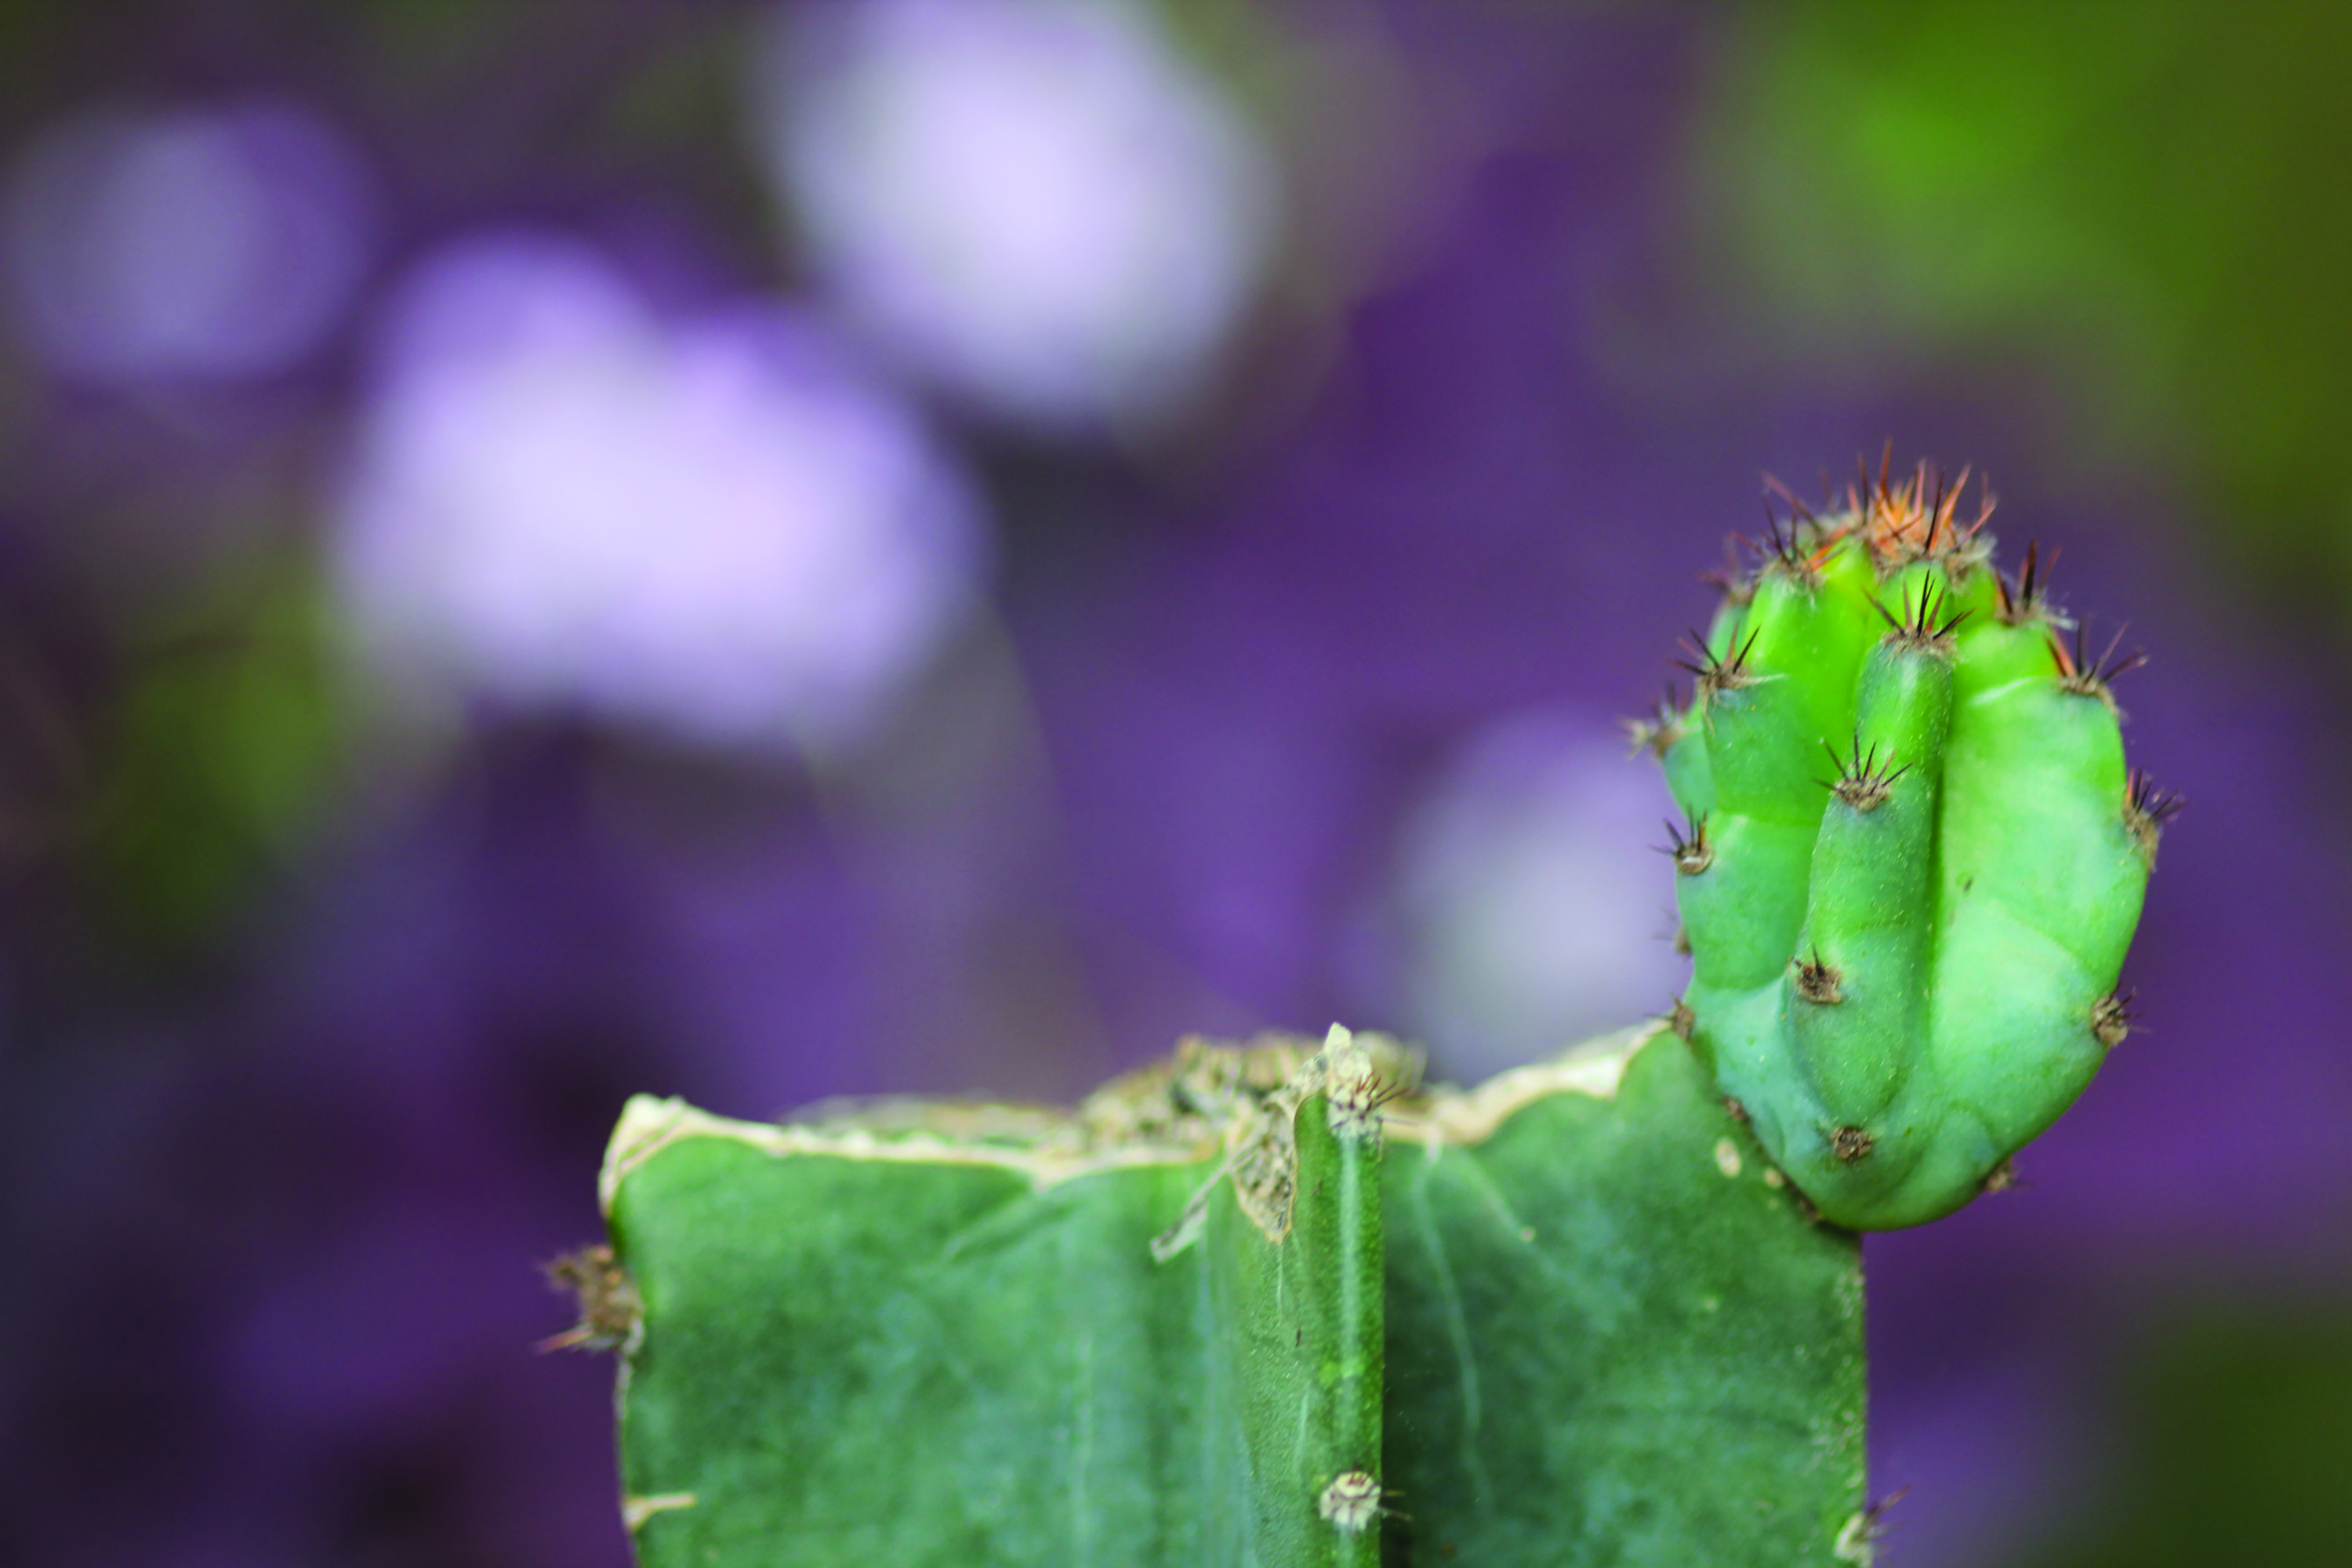
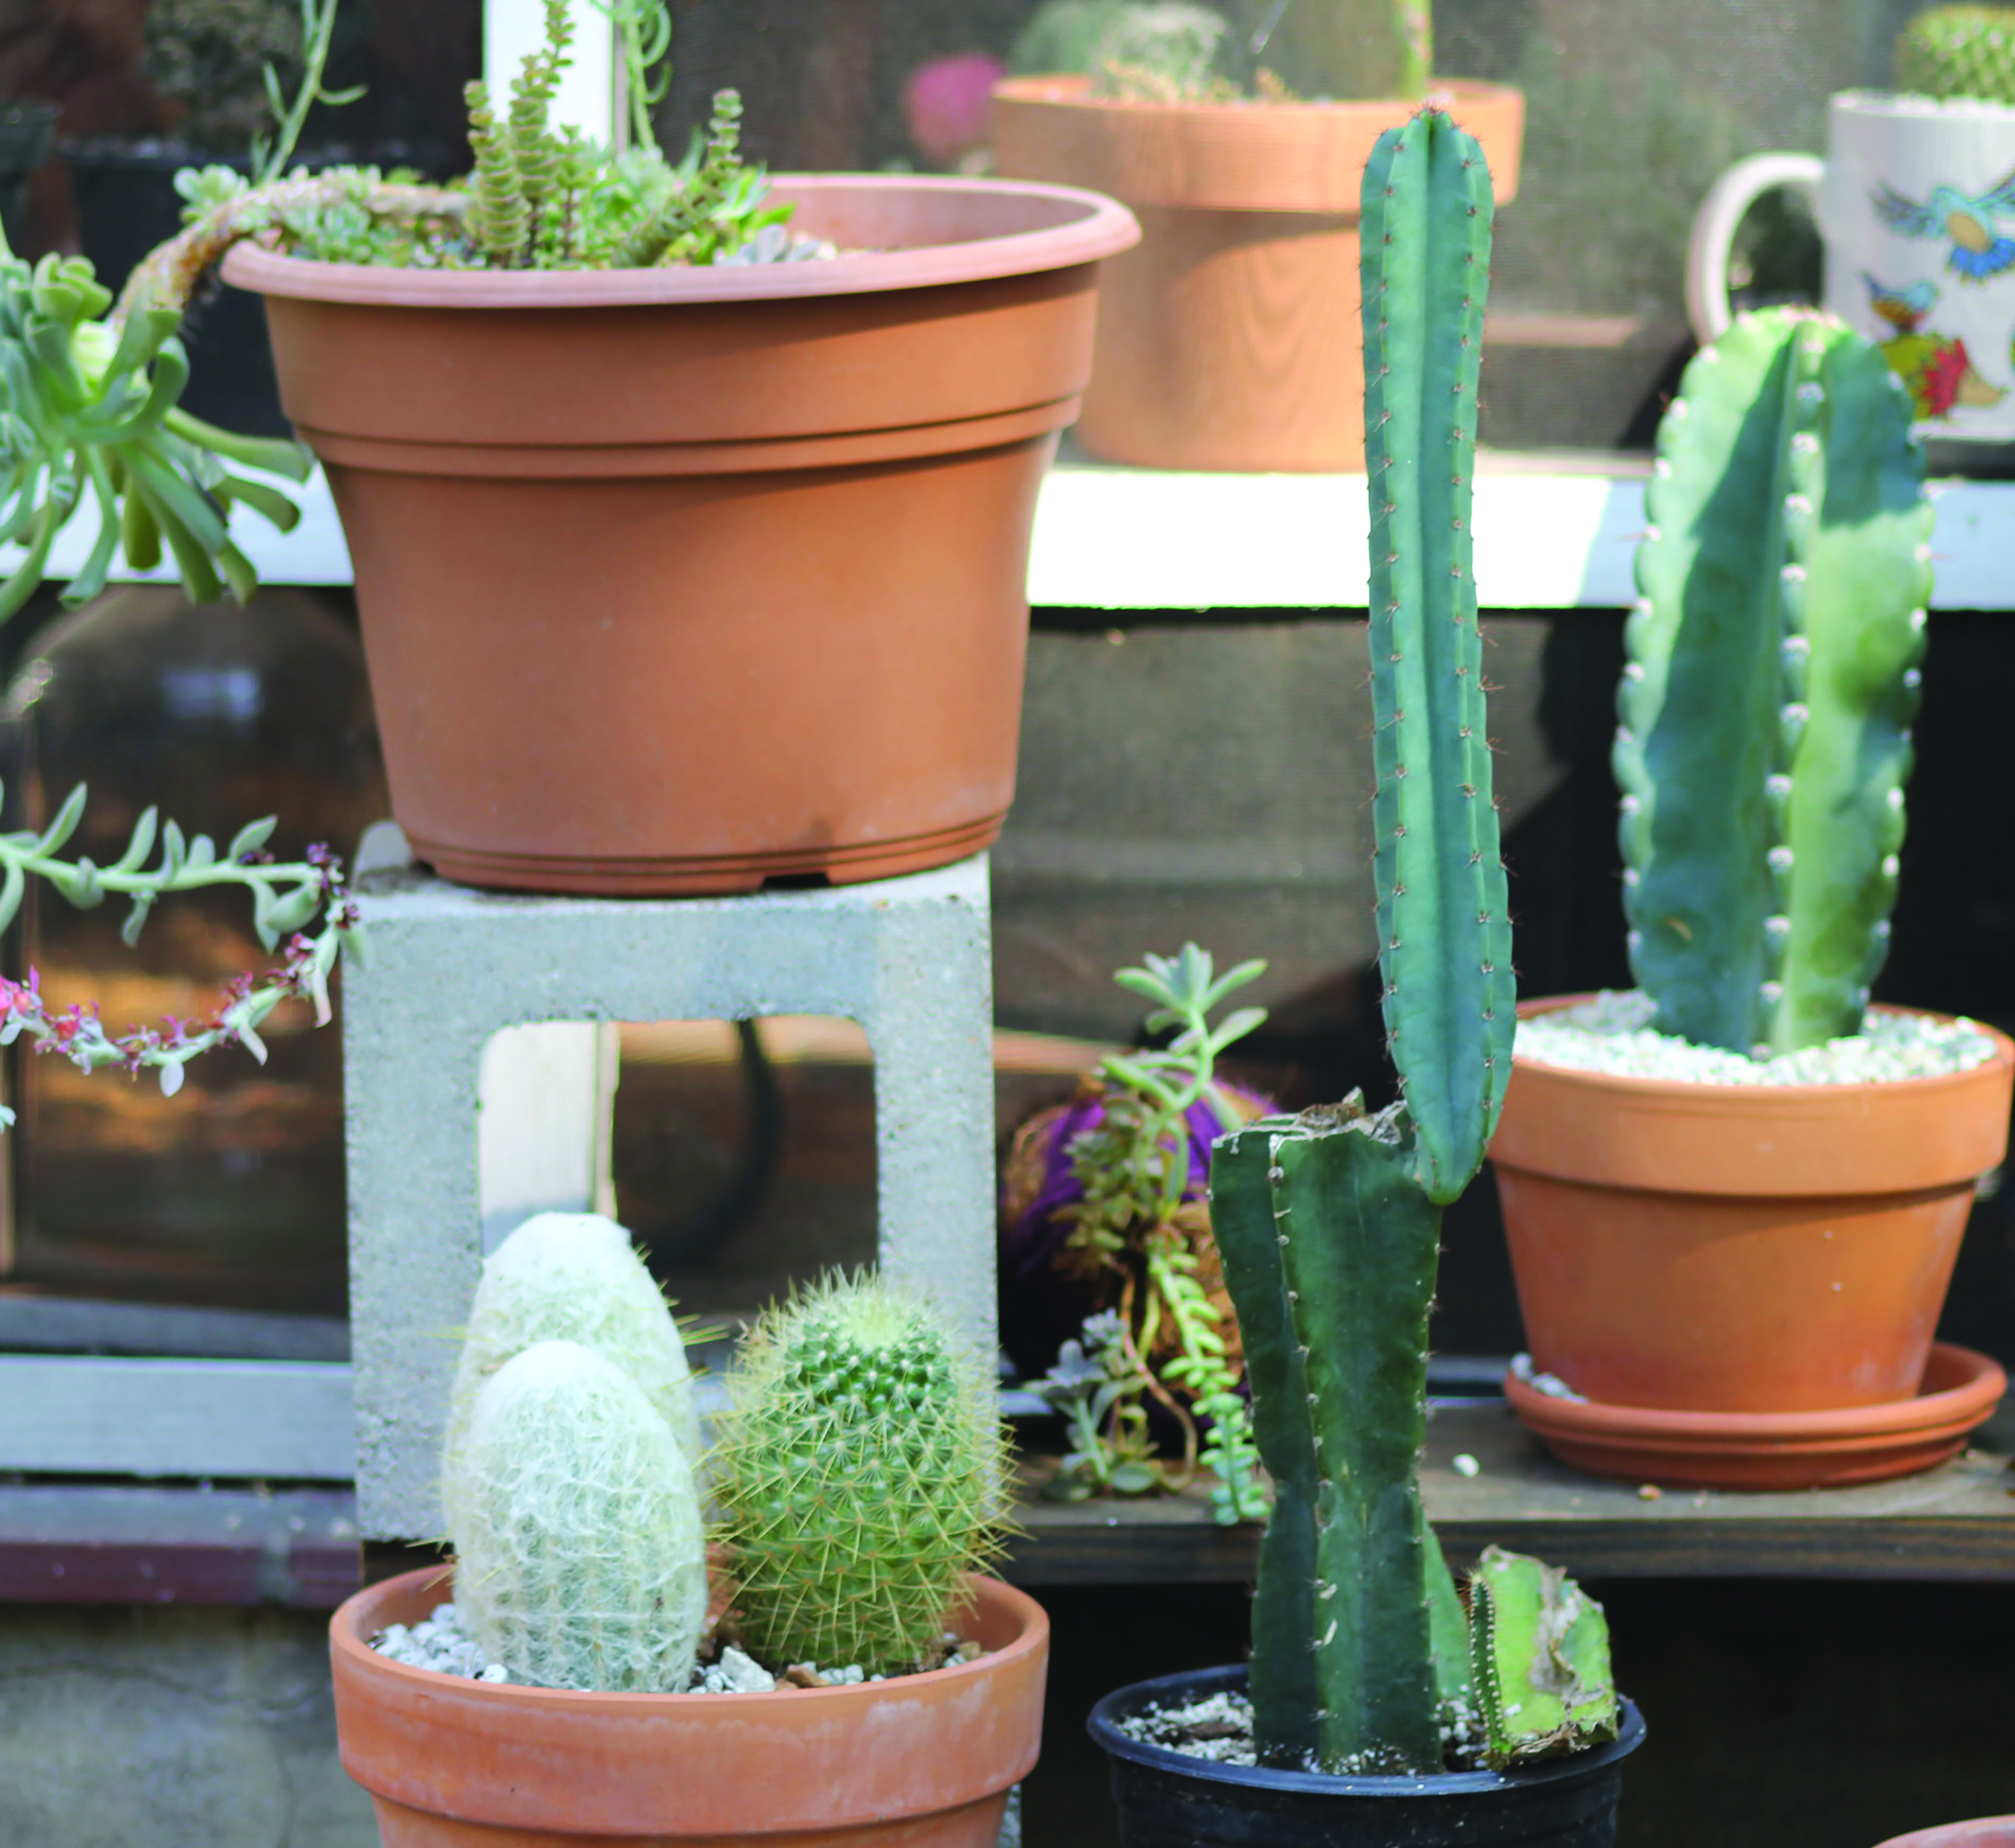
Propagating columnar cacti by cuttings is as simple as making a clean cut and keeping the plant healthy long enough to produce new growth. It’s much easier to cut a cactus while it’s unpotted. Lay it on its side, stabilize it with one hand, and make your cut with a sharp sterilized blade. Allow the cutting to dry before potting in dry dirt and wait for several weeks to water. Repot the main plant but don’t water it for at least a week. The new plants will form along or near the cut.
Propagation by Seed
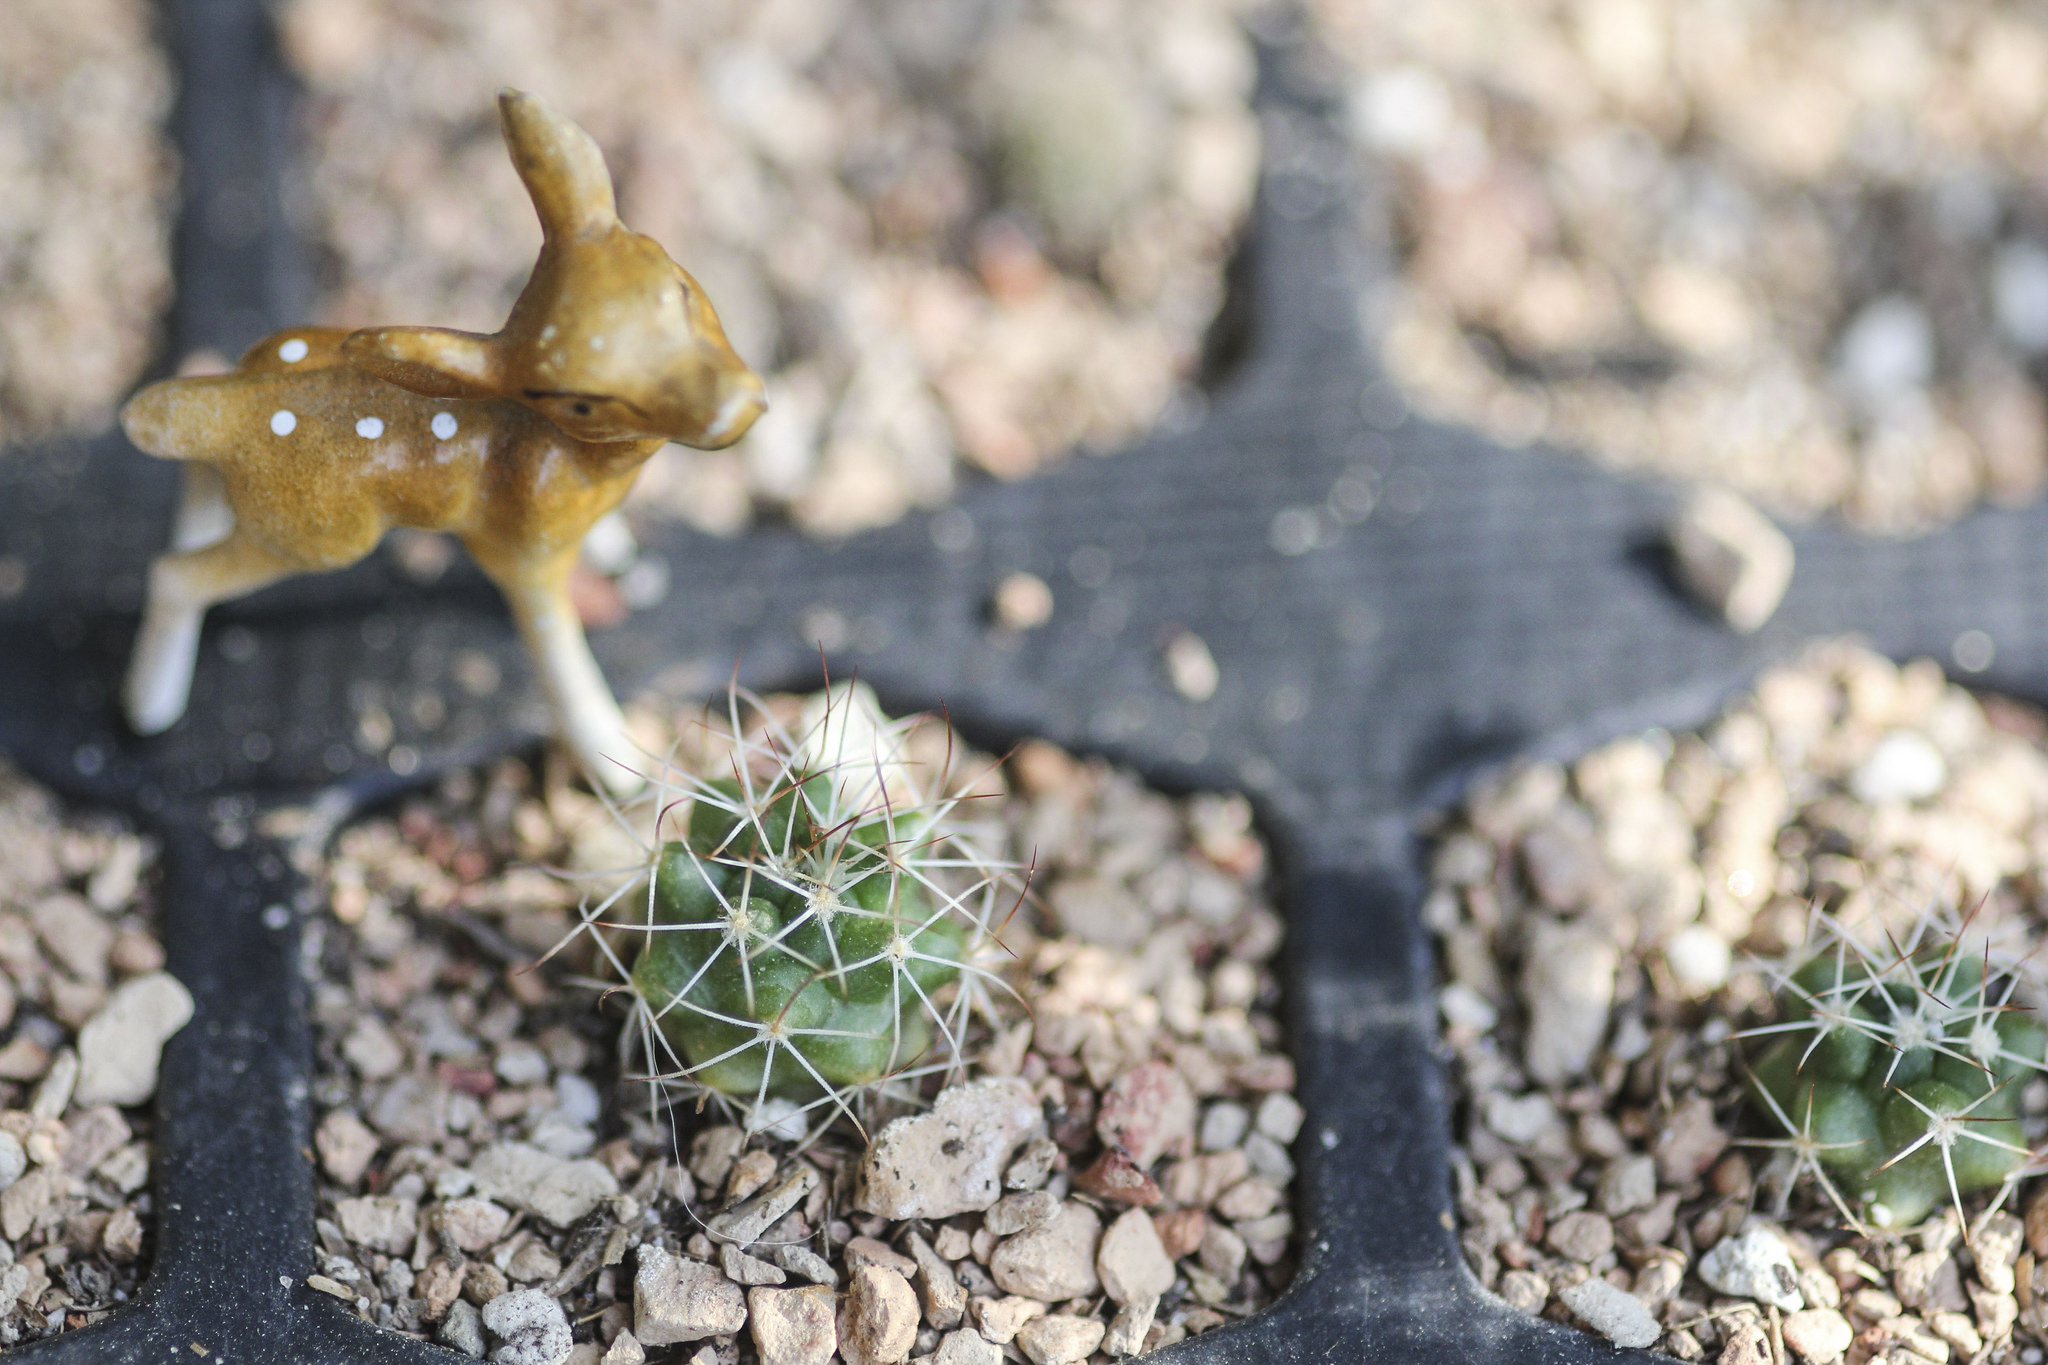
I still consider myself fairly new to starting succulents from seeds, but I’ve had good luck with what I’ve tried so far and you can too. I’m currently growing Aloe, Red Yucca, Lithops, Haworthia, Euphorbia, and several varieties of cacti. Caring for seedlings requires more frequent watering, good light, warmth and a lot of patience—all well worth that first glimpse of green poking out of the soil, I promise.
If you don’t have a grow light and you want to try starting succulent seeds, now is the time to consider buying one. They guarantee warm temperatures and good light year round, and you’ll need those elements to keep your seedlings strong.
Besides needing consistent good light, seedlings want warmth to germinate and flourish. About 70ºF/21ºC is ideal. Finally, unlike the mature plants, succulent seedlings want humidity and to be watered frequently enough to keep the soil from drying out.
Instructions on starting seeds
Supplies:
Seeds
Dirt- Seedling mix is fine, so is your basic succulent soil
Containers- See below for ideas; no glass or metal, must have drainage holes
Sifter- For the top layer of soil
Tray- As a saucer for catching water
Fine water mister- To water without disturbing dirt
To ensure timely germination, start your seeds a couple of weeks before spring. I started some cacti seedlings late January and waited two months before seeing any growth, but when I started another batch in March, they germinated in less than two weeks. While there’s no sure way to know exactly how long your seeds will take to sprout, starting them closer to spring should yield faster results.
Choose and prepare your container
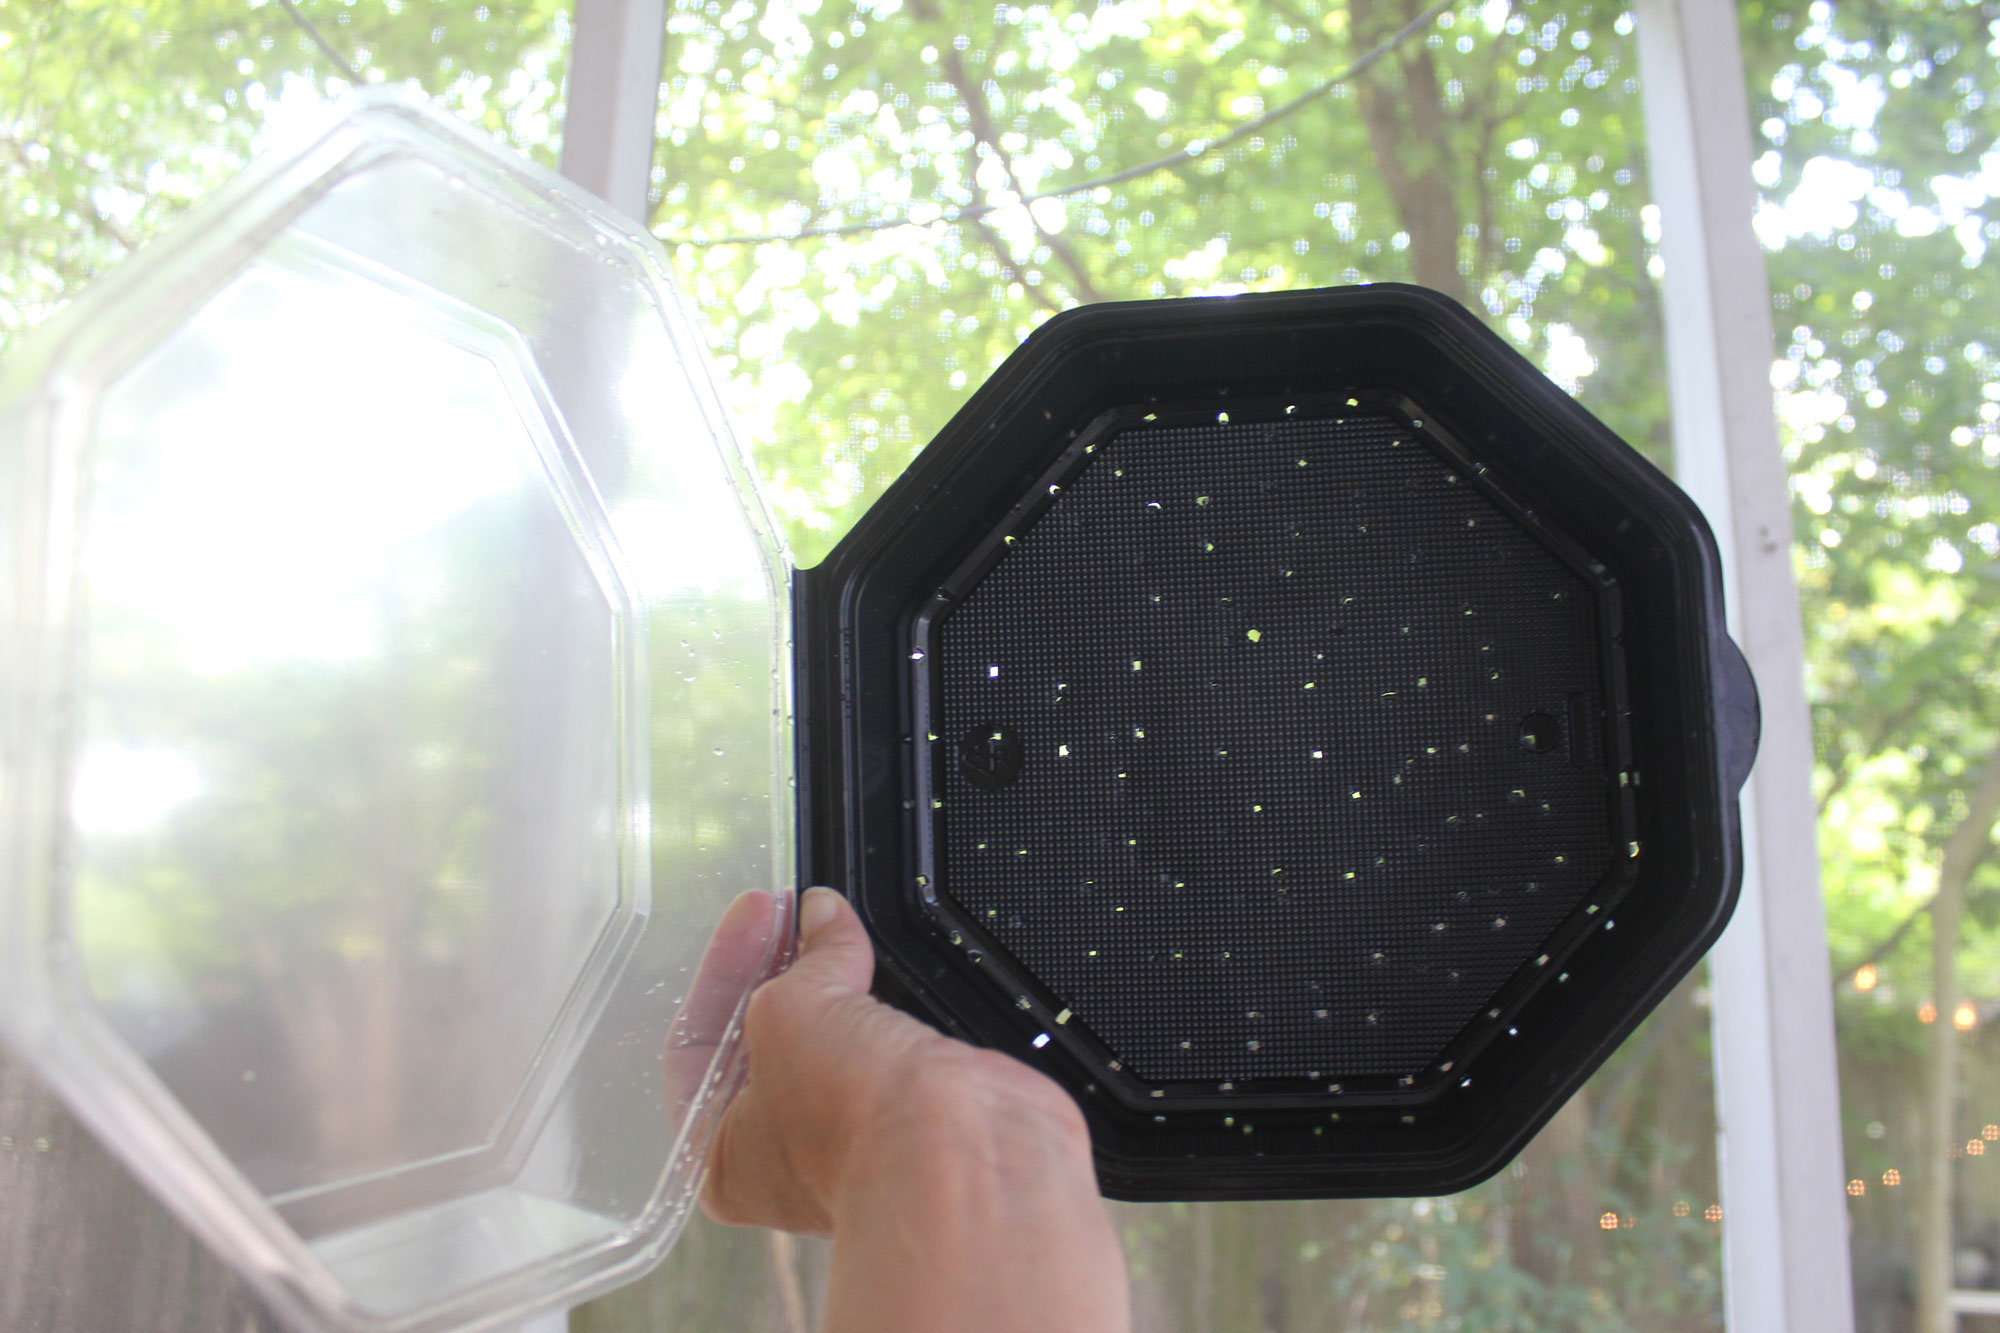
Until your seeds germinate, you’ll want to cover the container with plastic to create humidity, so keep that in mind when deciding what to sow in. The covering shouldn’t be airtight so poke some holes in plastic wrap or leave most of a zipper bag unsealed. You can use a seed starter tray or repurpose a number of other containers you may already have on hand. I drilled some holes in an ice cube tray which was small enough to slip into a gallon plastic zipper bag. Clear lidded to-go containers with added drainage holes are also useful and abundant. You can also use small nursery pots or flats filled with soil.
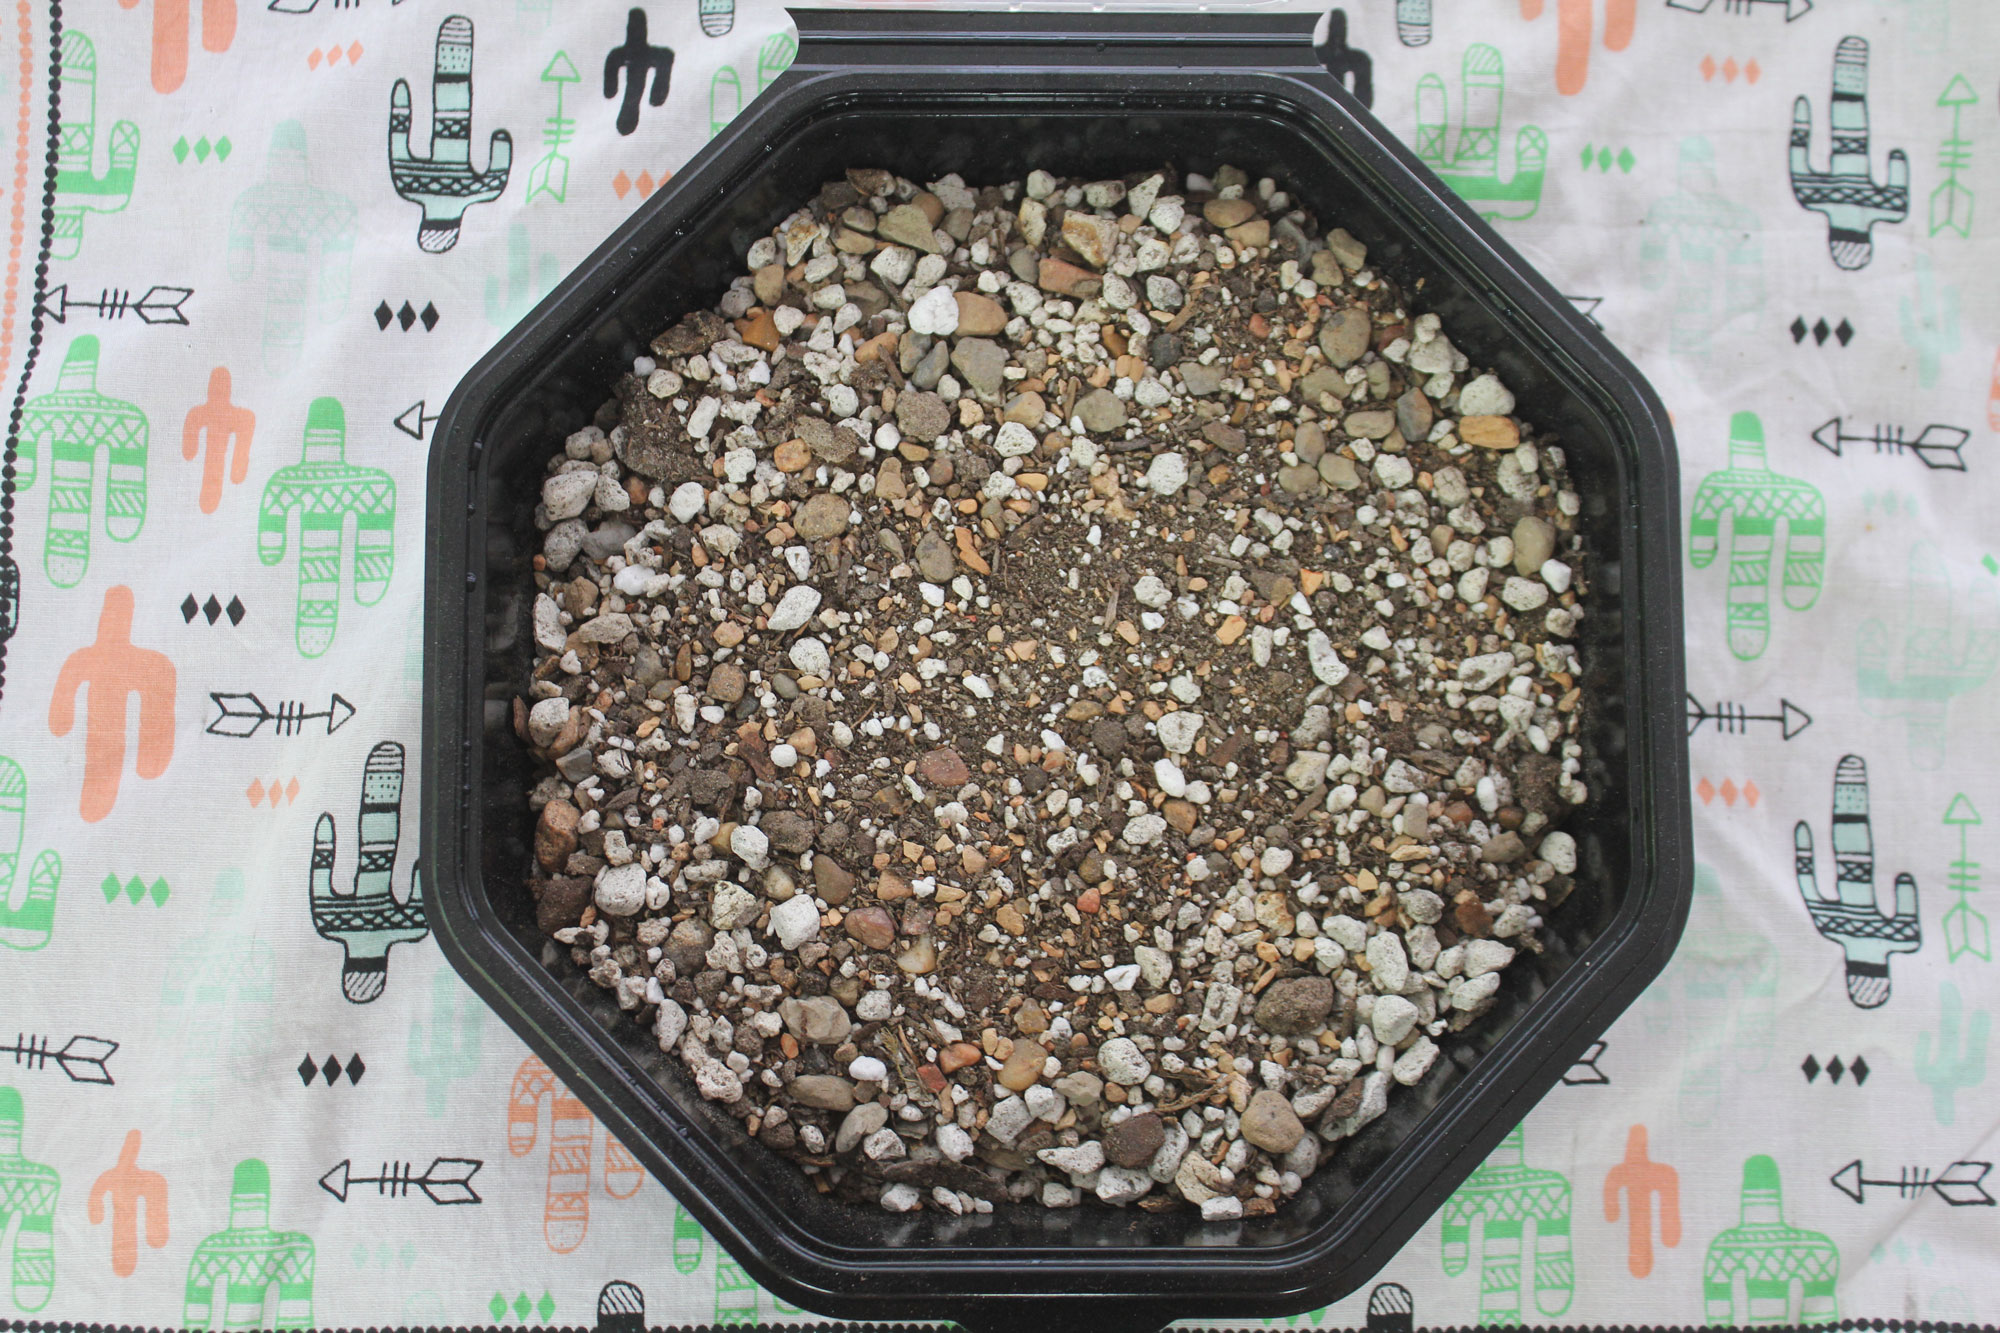
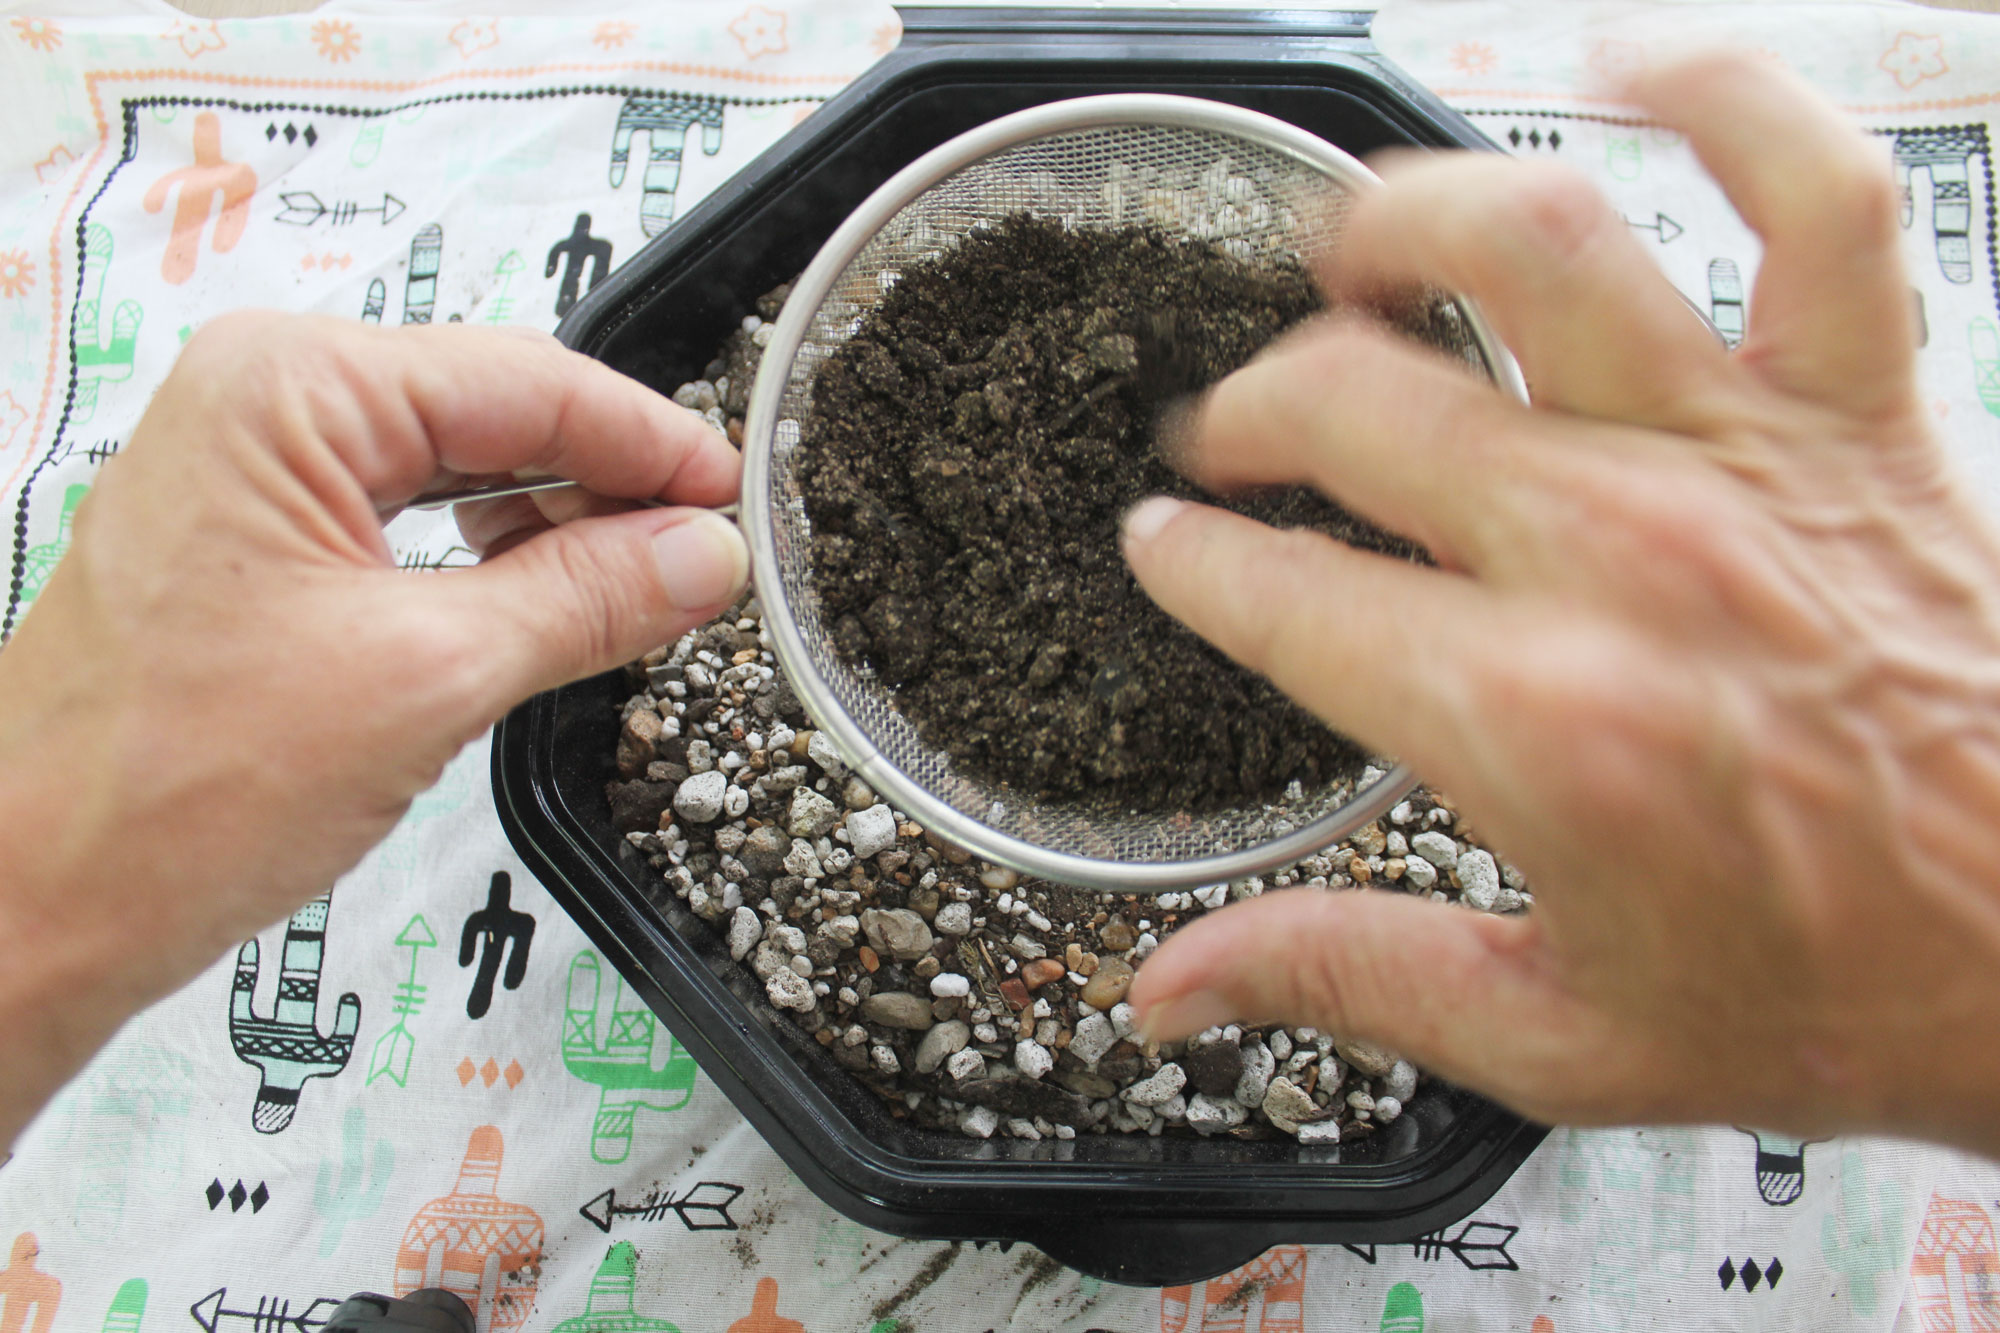
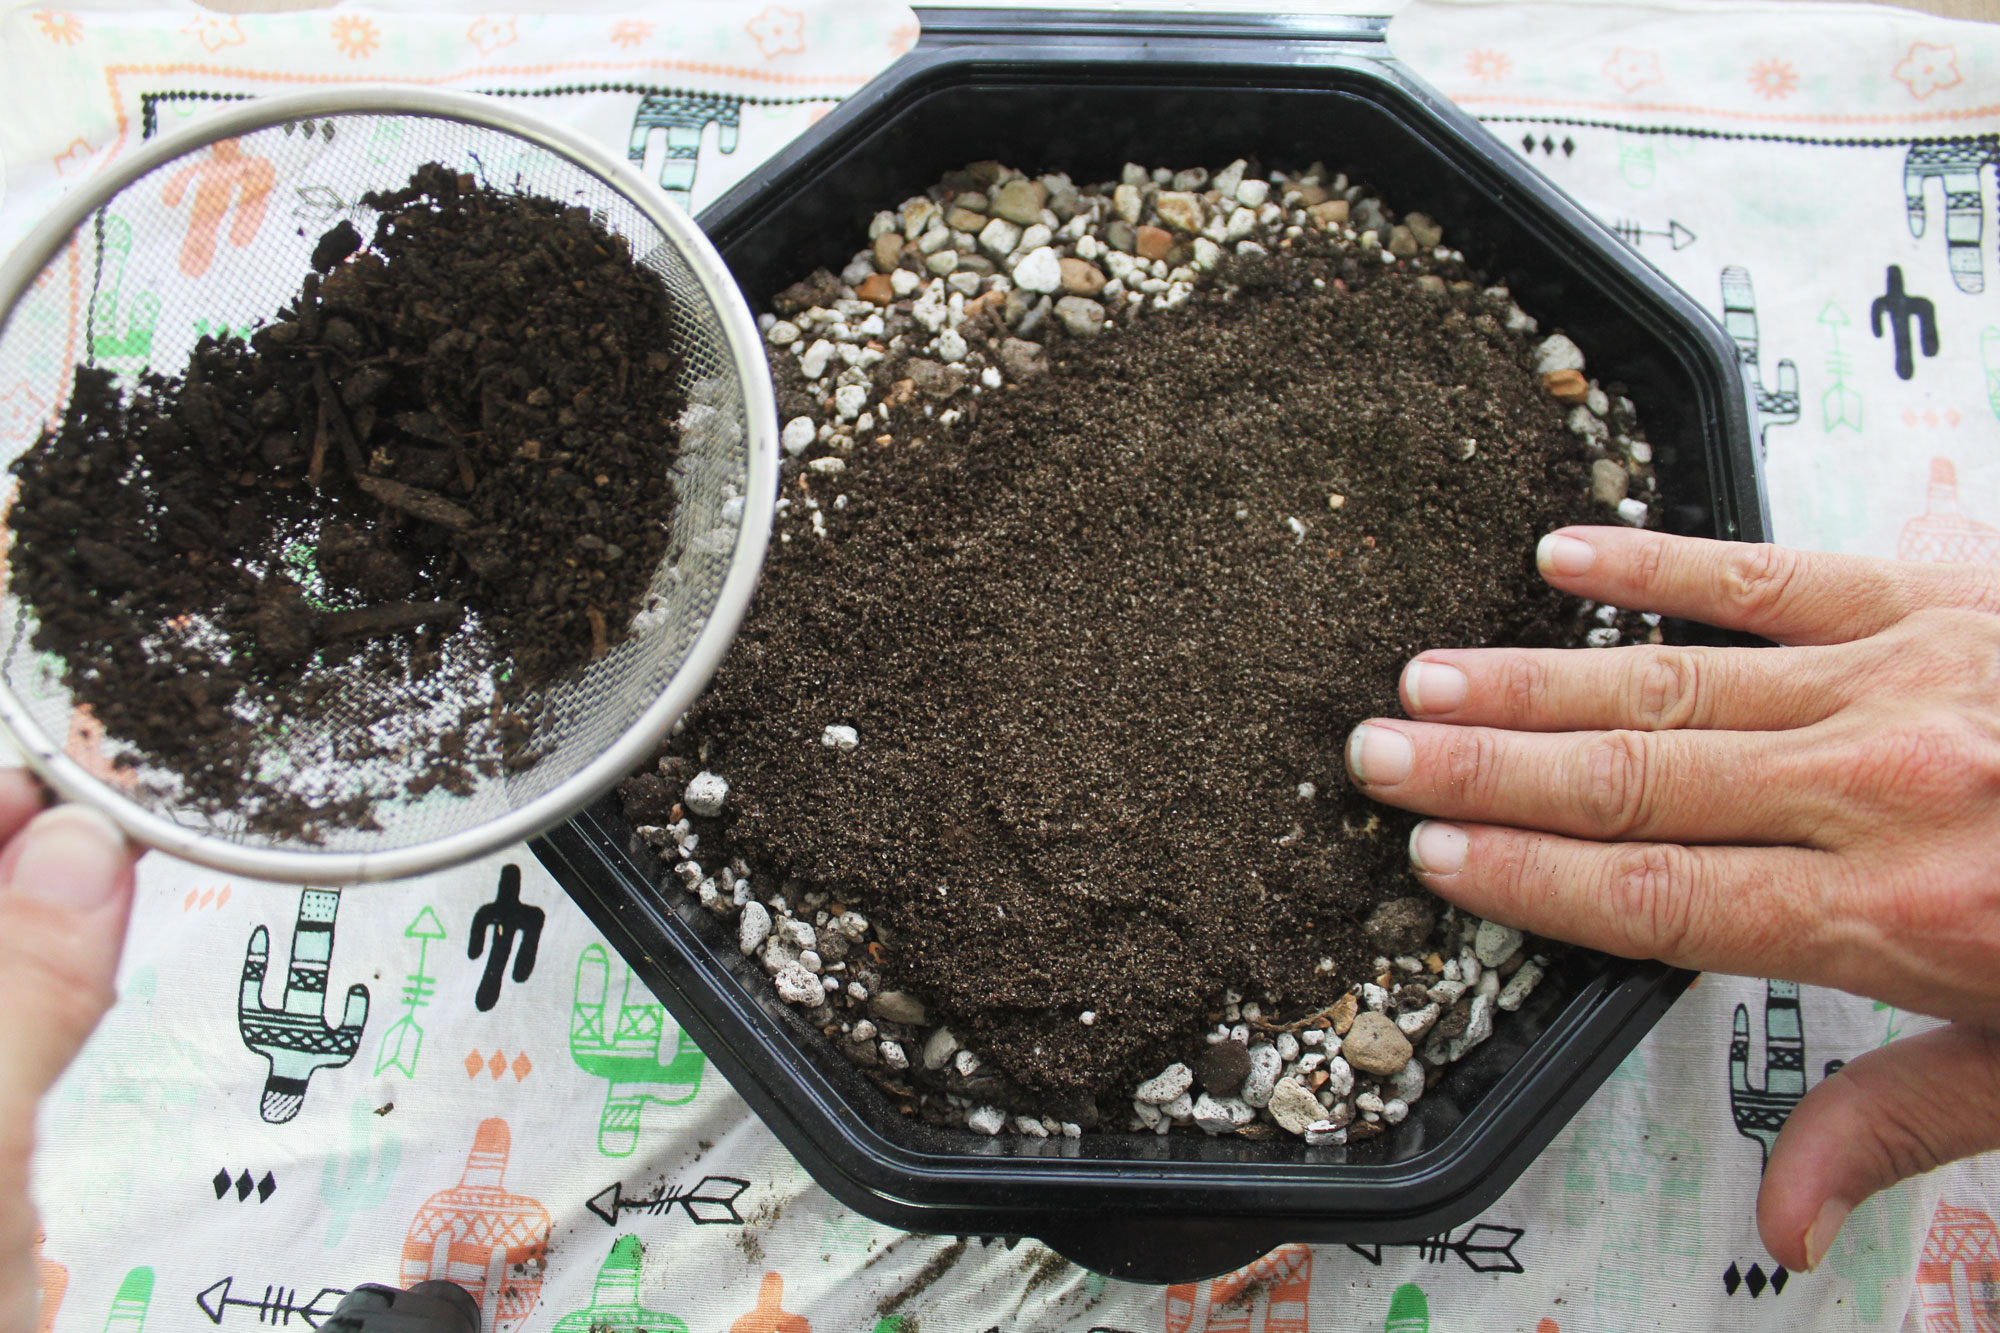
Fill the container with soil allowing room for another 1/8” (3 mm) layer of soil to cover the seeds. Water until the soil is thoroughly moist. Use the sifter to make enough ‘soft sand’ to cover the seeds. This removes large particles that might hinder the growth of your seedlings. Leave another 1/4” (6 mm) of space between the top rim and the soil to keep water from spilling over.
Planting seeds
Try not to overcrowd the container with too many seeds. Spacing them an inch or two apart (2–5 cm) will make it easier to transplant them down the road. Place them on top of the moistened soil and cover them with the sifted soil.
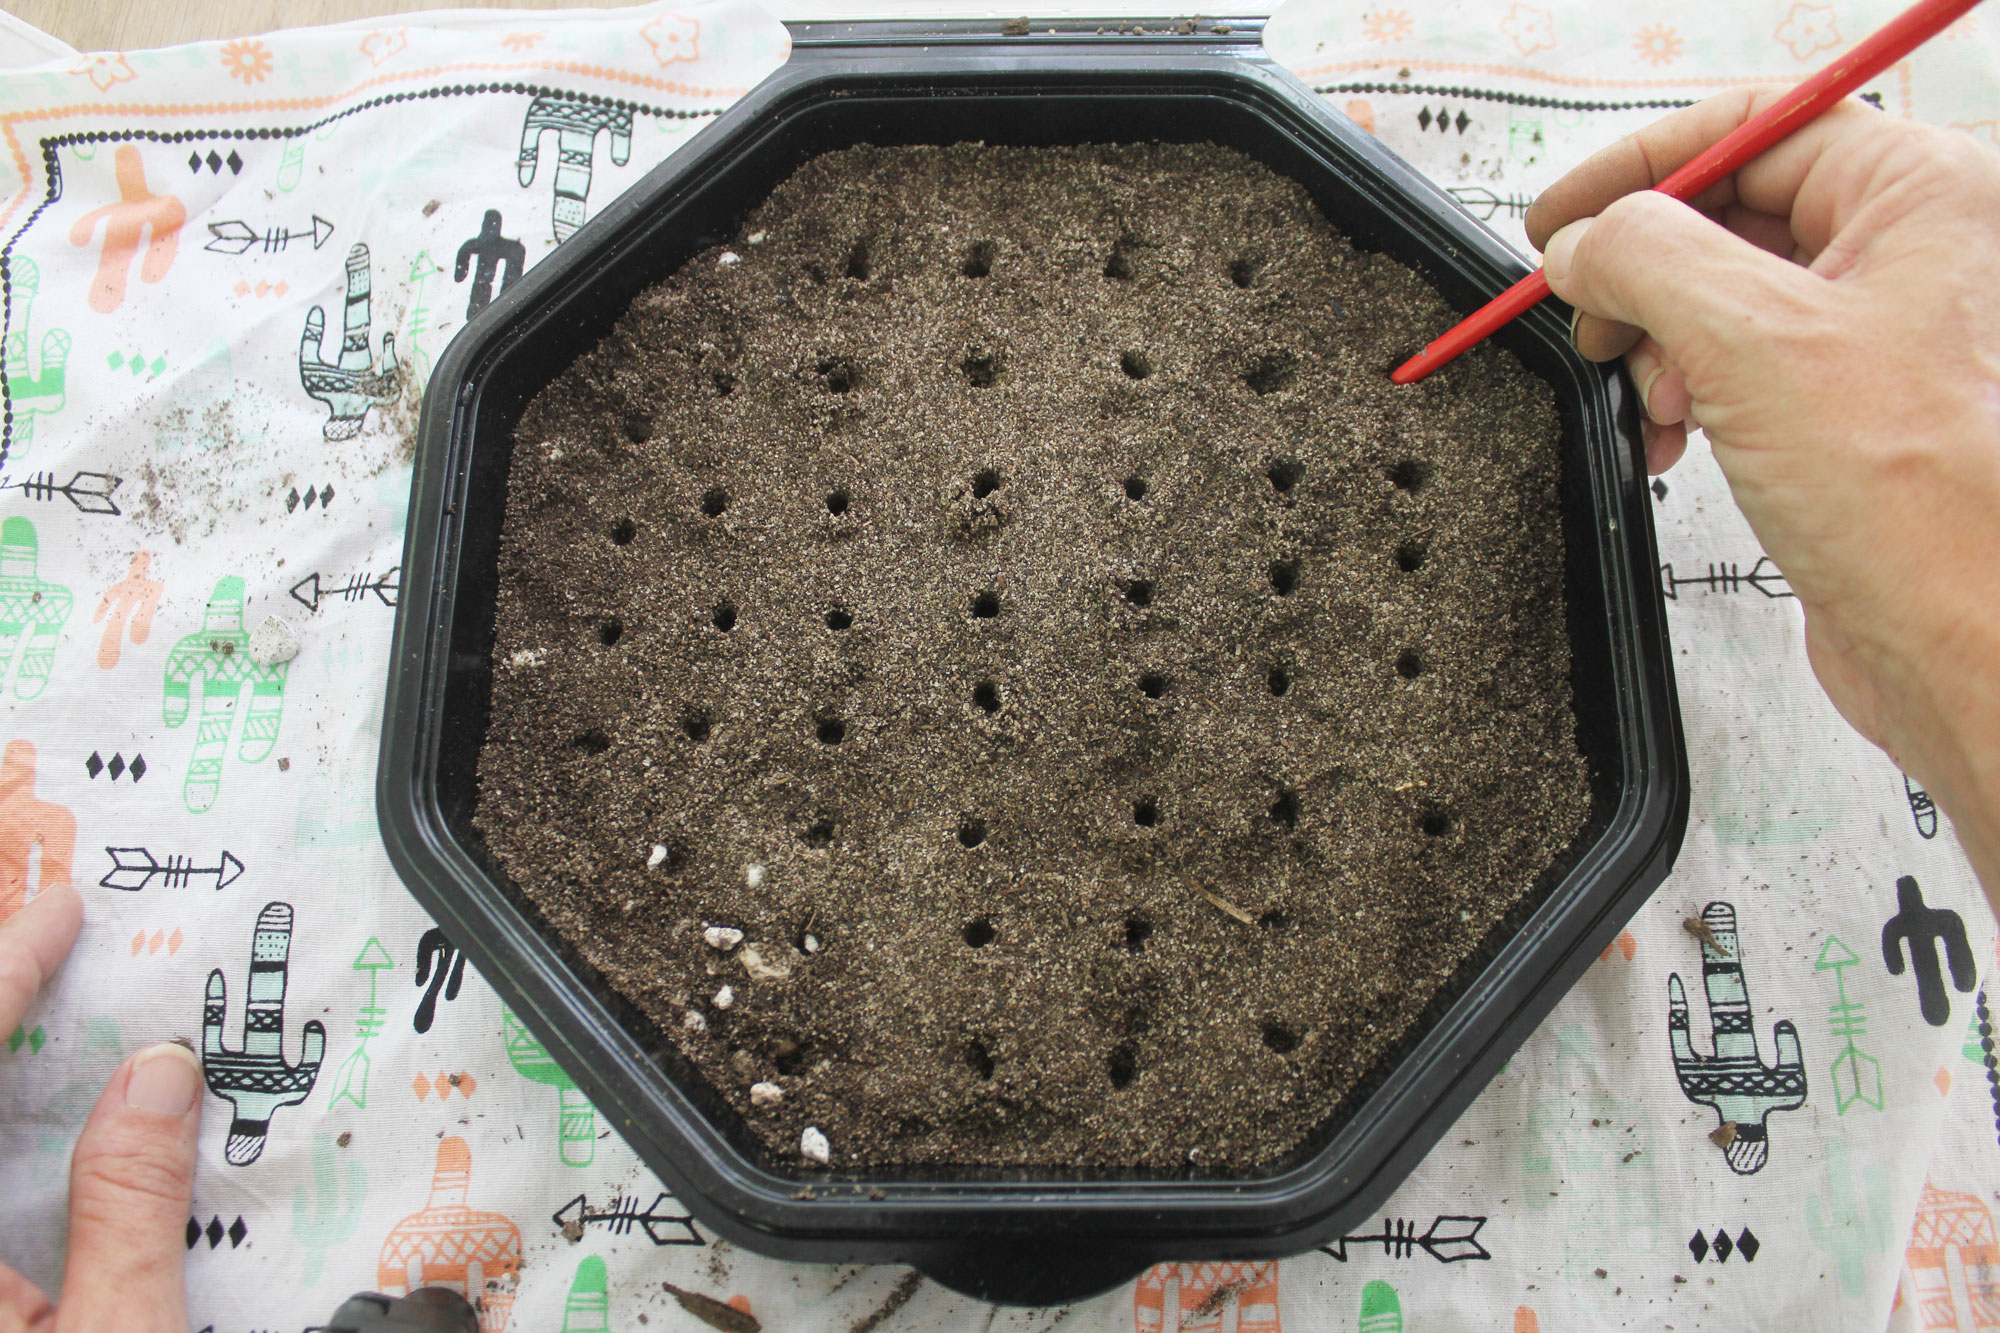
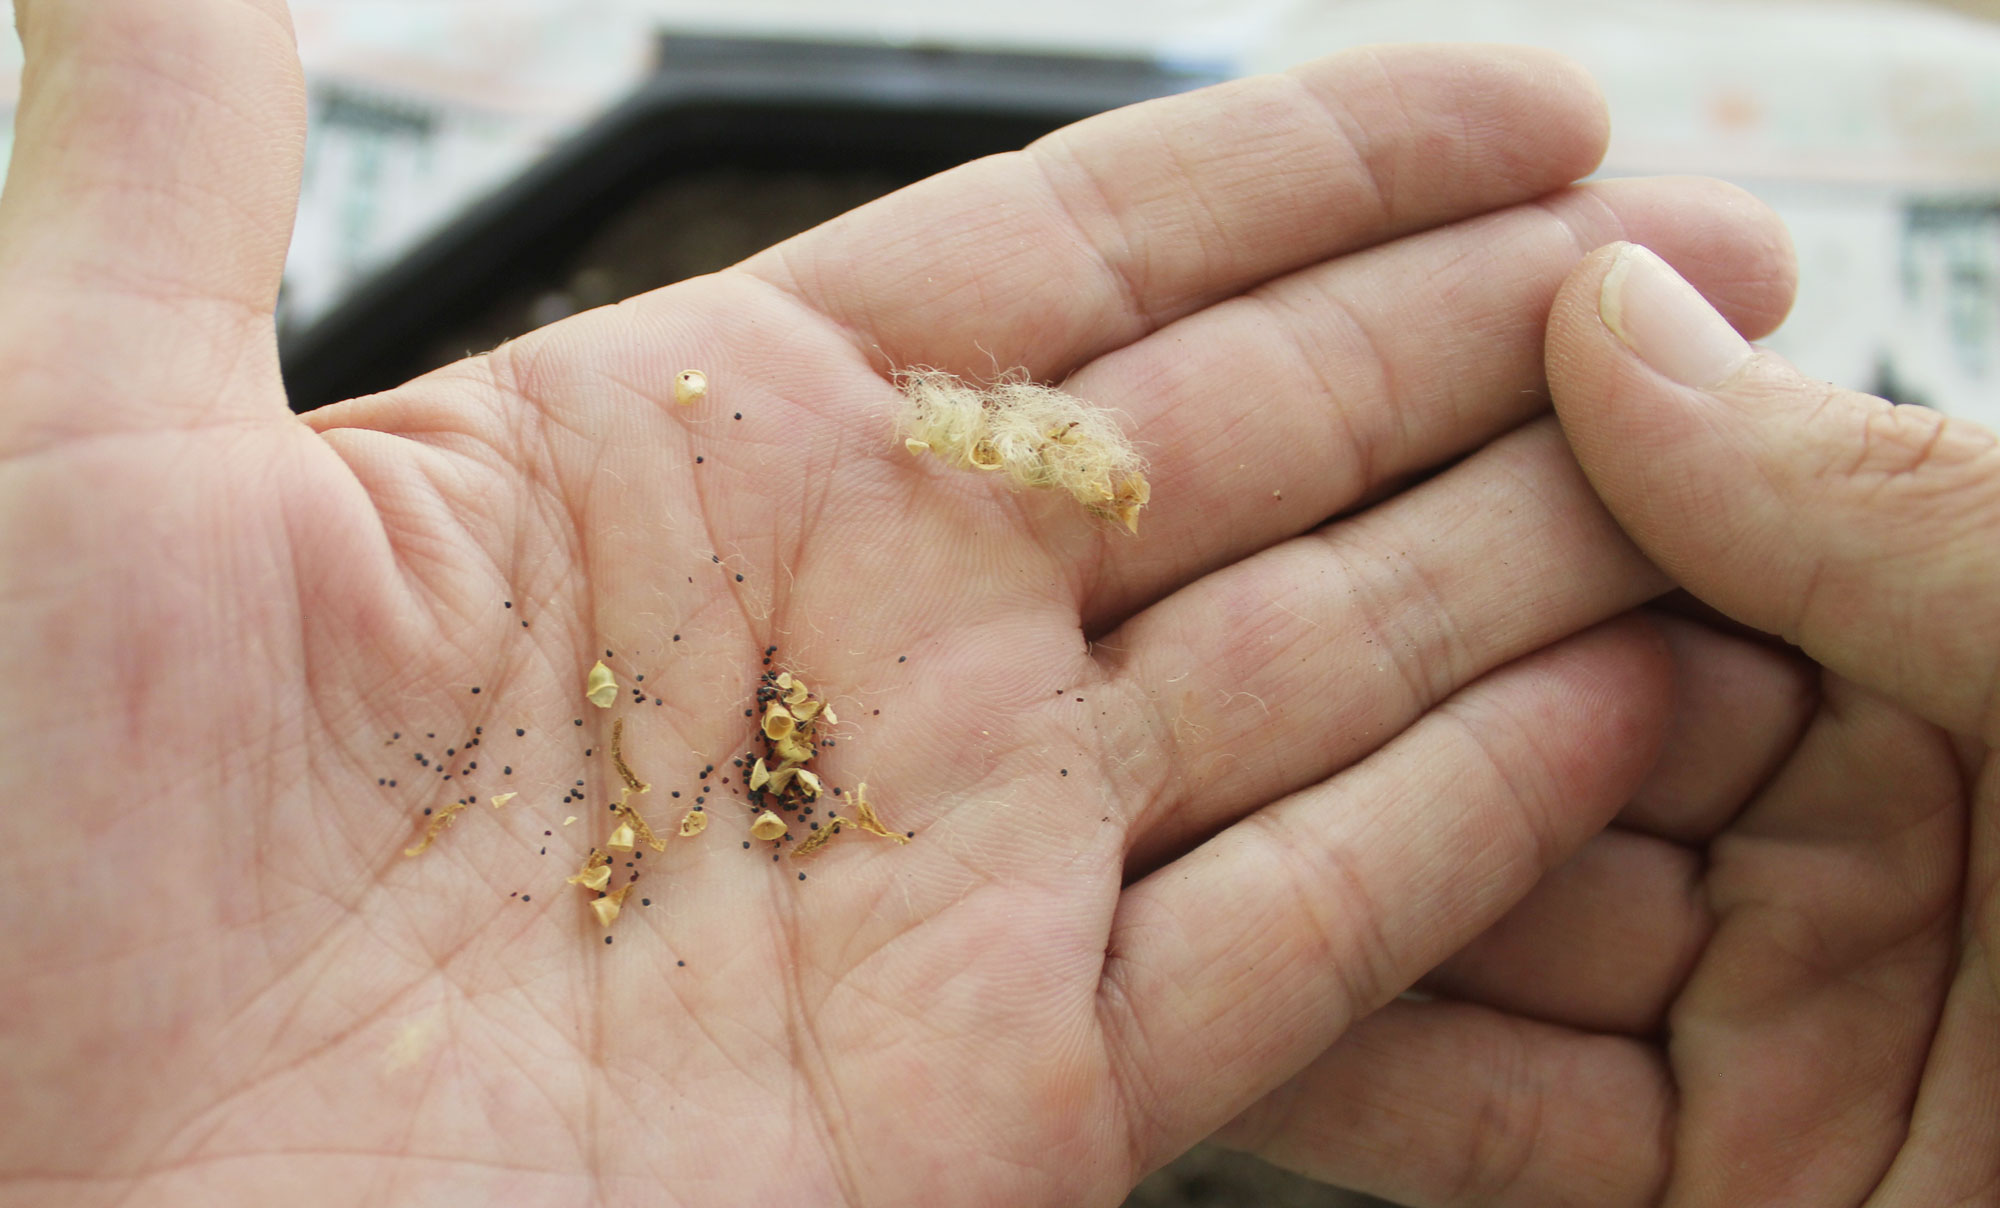
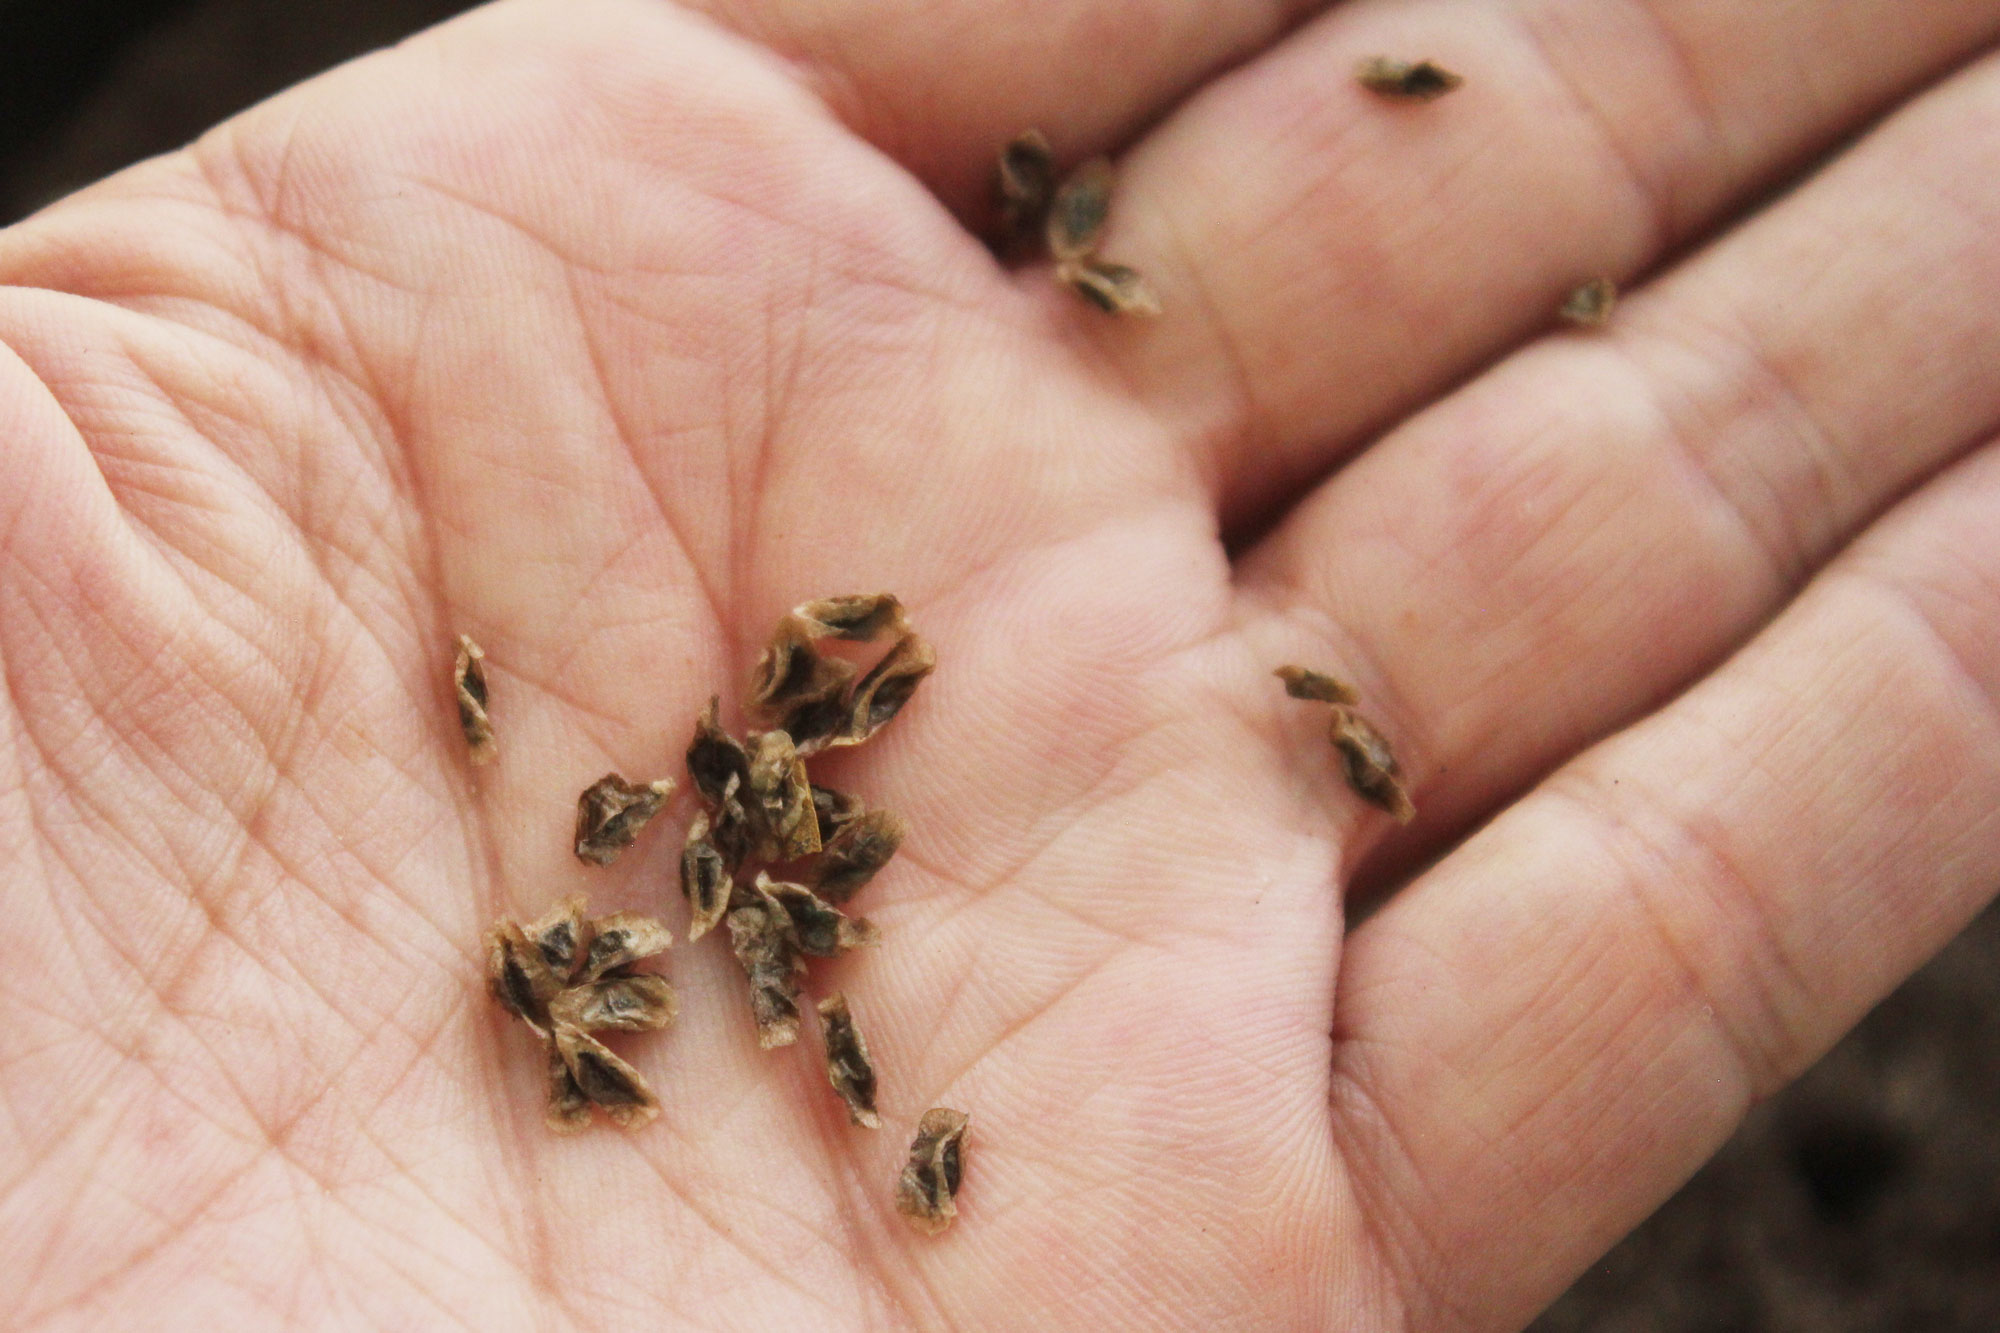
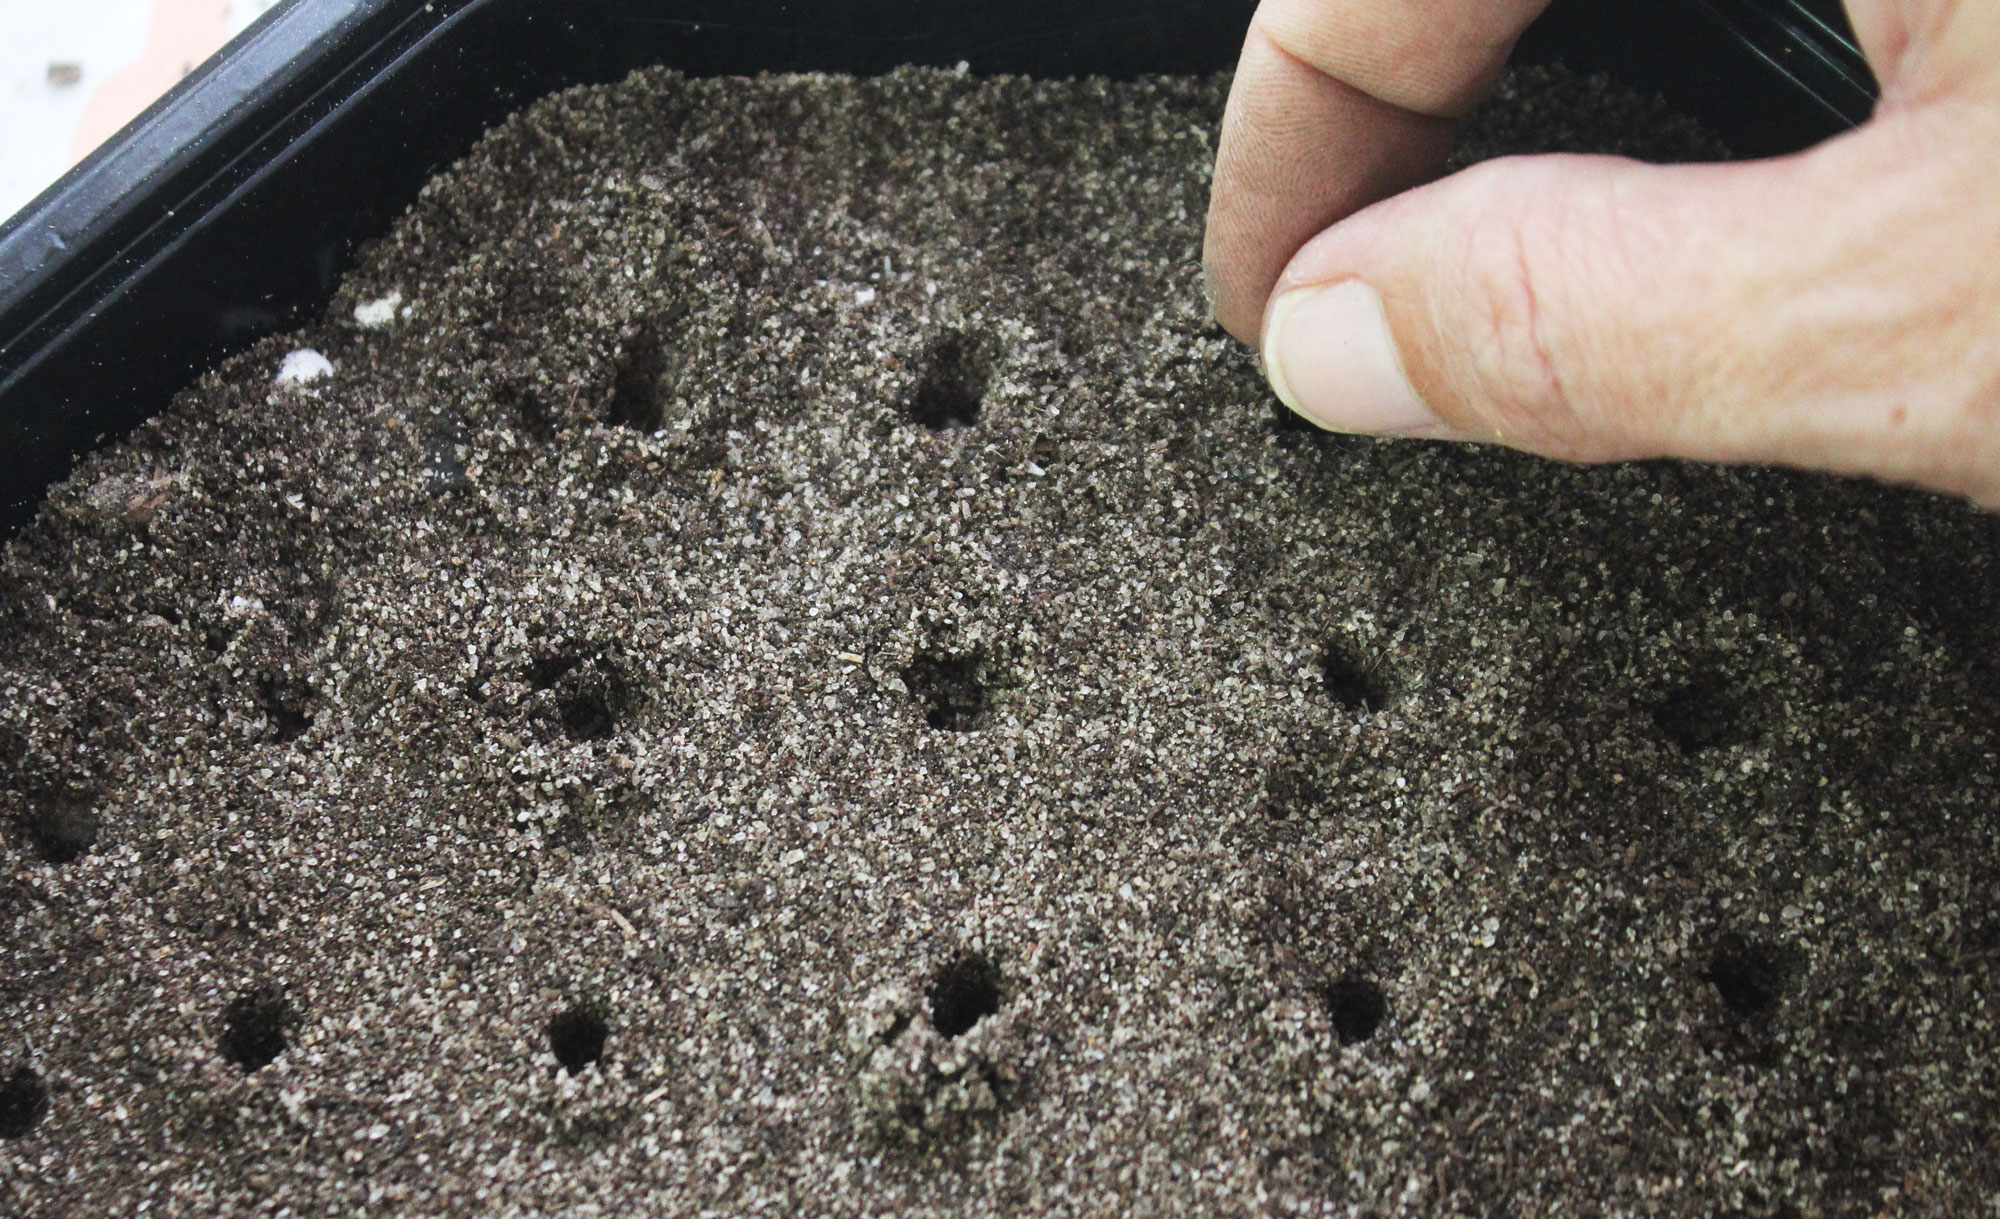
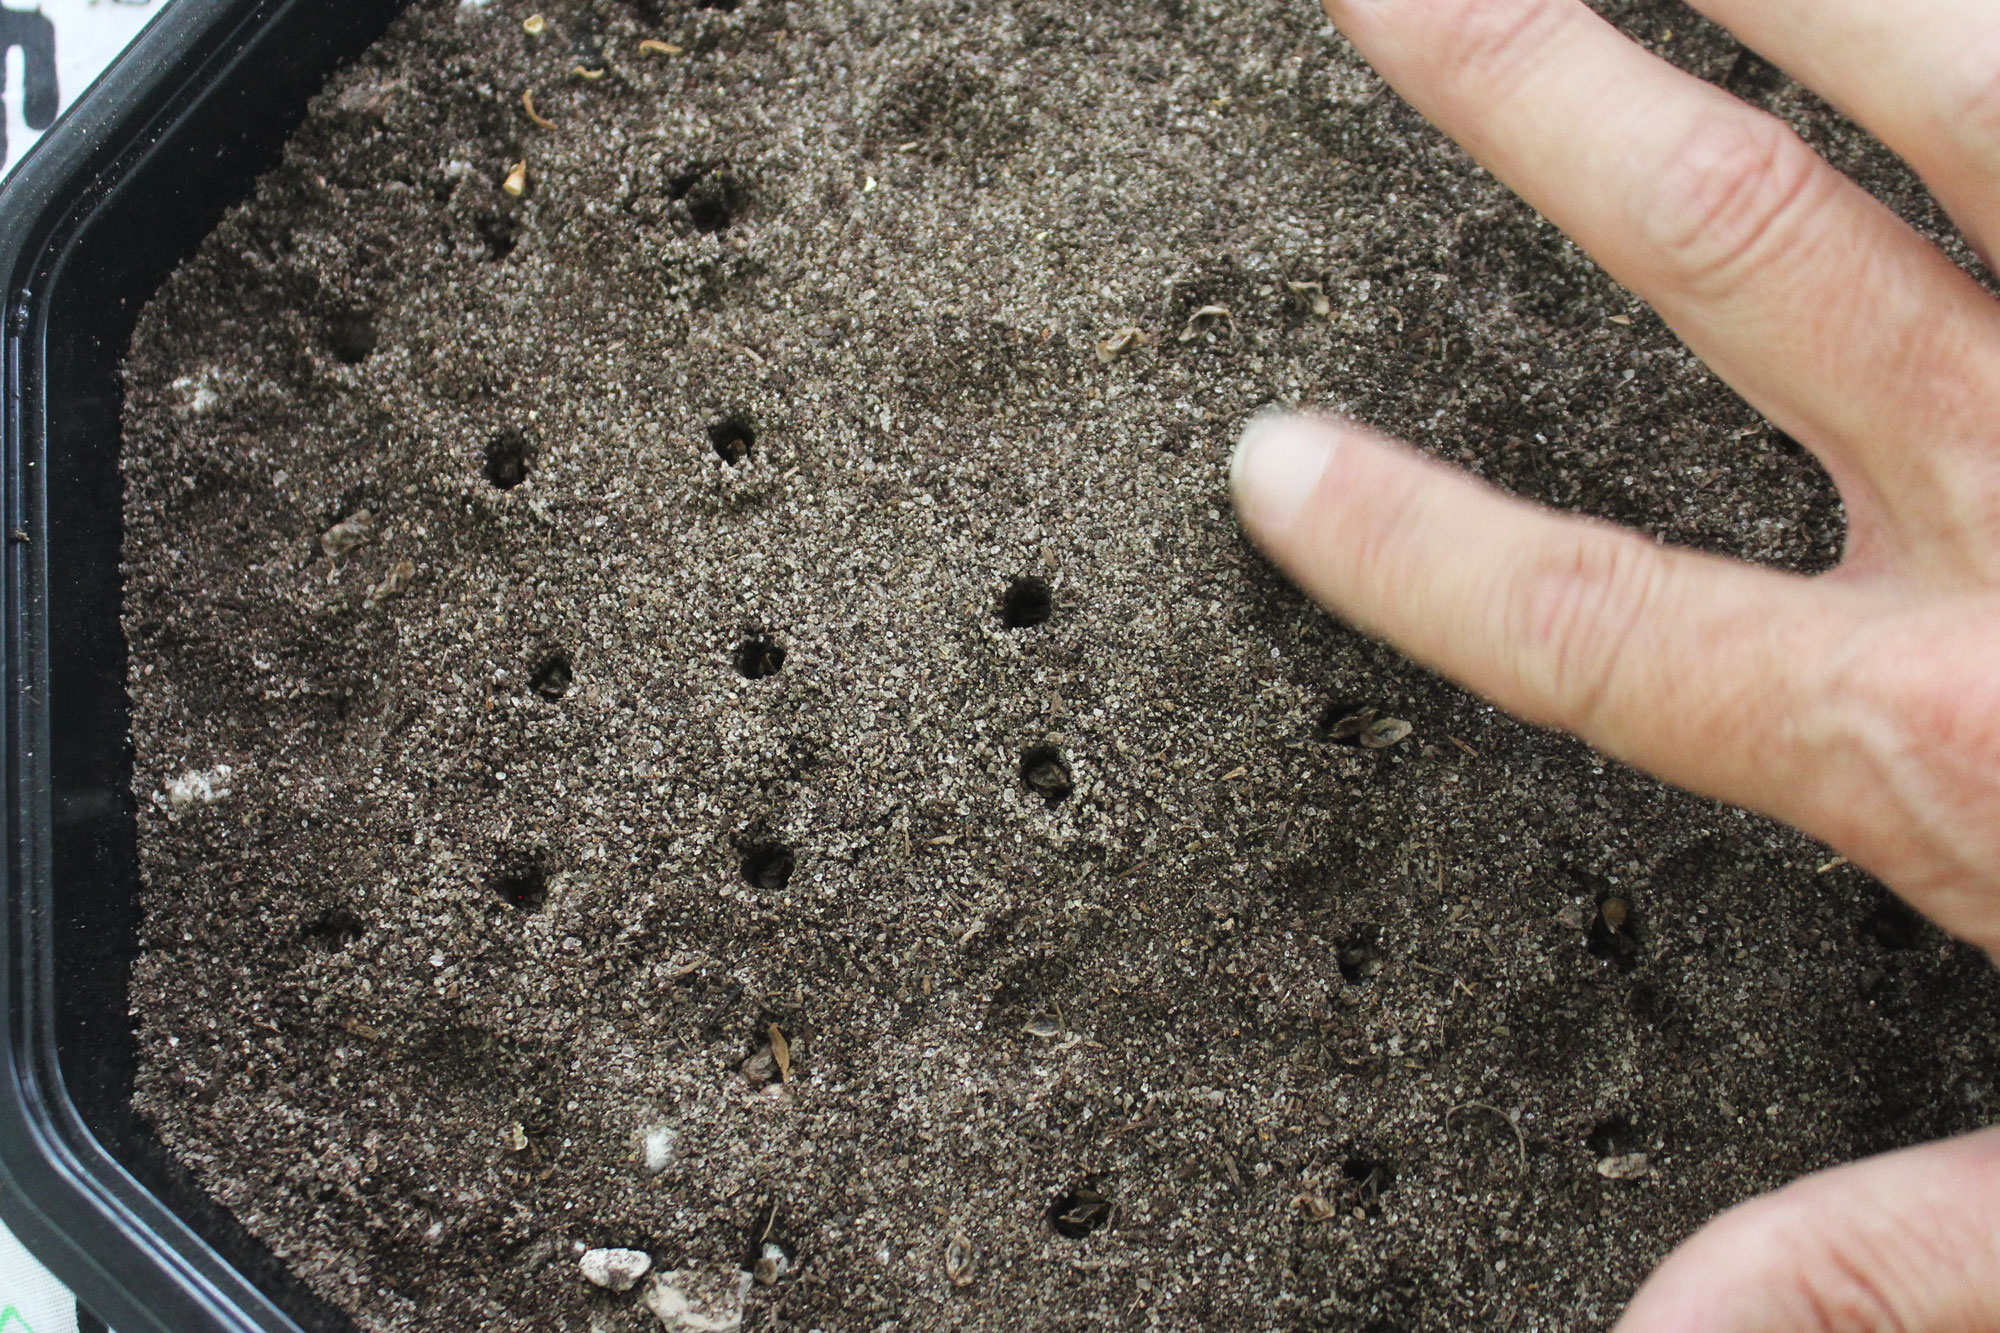
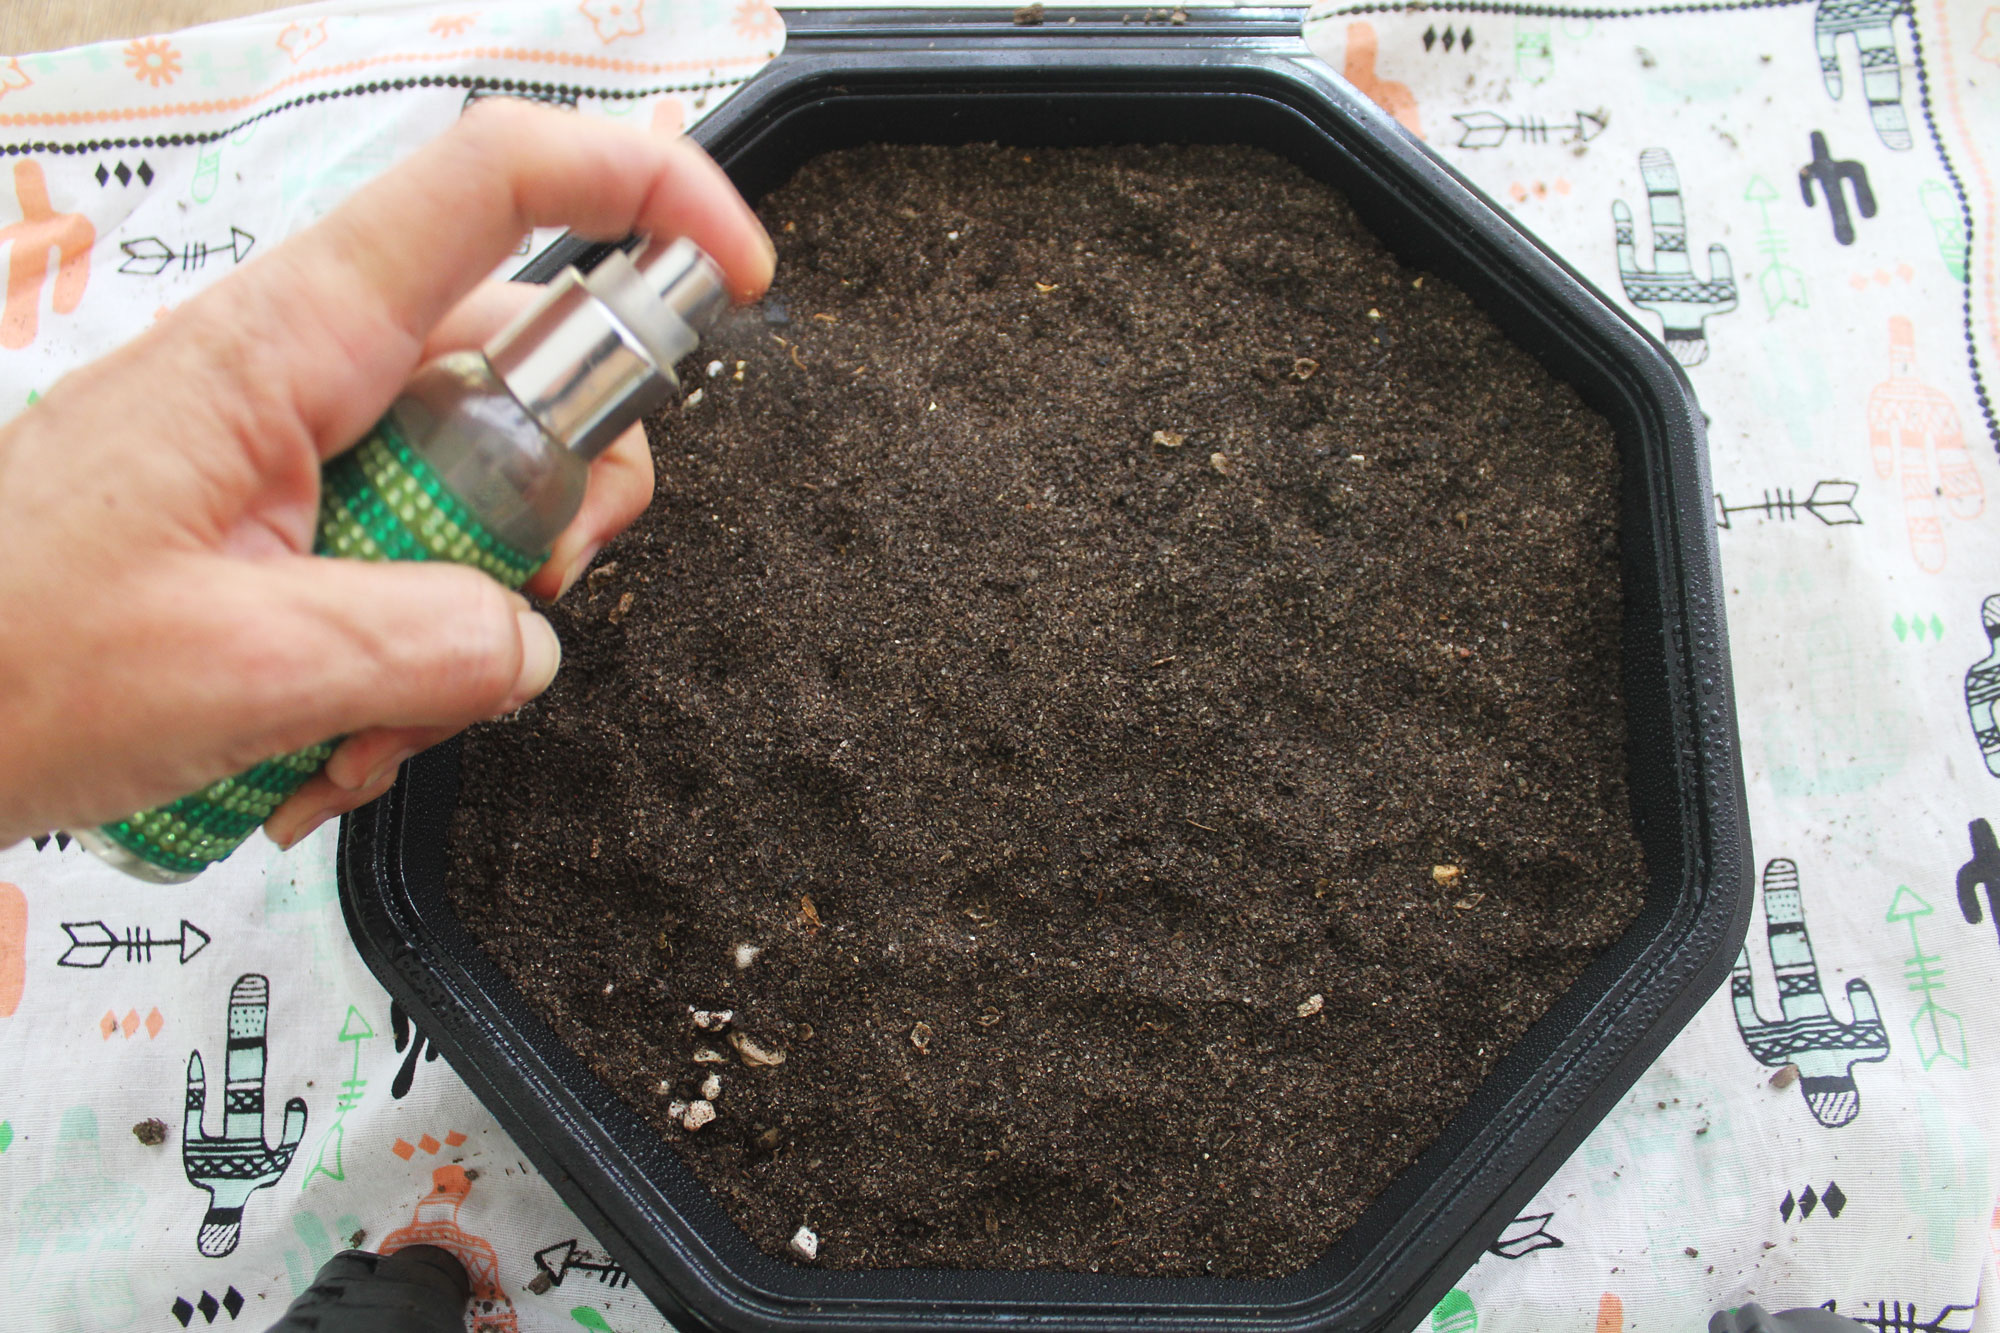
Then using your spritzer, carefully dampen the top layer being careful not to uncover the seeds. If they are super tiny, like Lithops seeds, don’t cover them with soil or spray them or they’ll scatter. You can also soak the pot from the bottom until the top layer is saturated. Cover the container with your choice of plastic and place on a tray to catch any excess water. Continue to use the spritzer to gently water your seeds or bottom-water for the next several waterings until the soil has time to settle. Water when the top layer of soil begins to look dry.
Damping off
Damping off is a disease that occurs when seeds or seedlings are attacked by pathogens in the soil, causing them to rot and die. Many growers take the extra step to sterilize the soil with heat until the ‘bad’ fungi and bacteria are killed off. Others use cinnamon, chamomile tea, diluted hydrogen peroxide, or other home remedies to kill or discourage fungal growth. To sterilize your soil you’ll need to heat it to 180°F (82°C) for half an hour. Whether you use your oven, stove top, microwave, or pressure cooker, be sure to moisten the soil so it doesn’t burn.
POP!
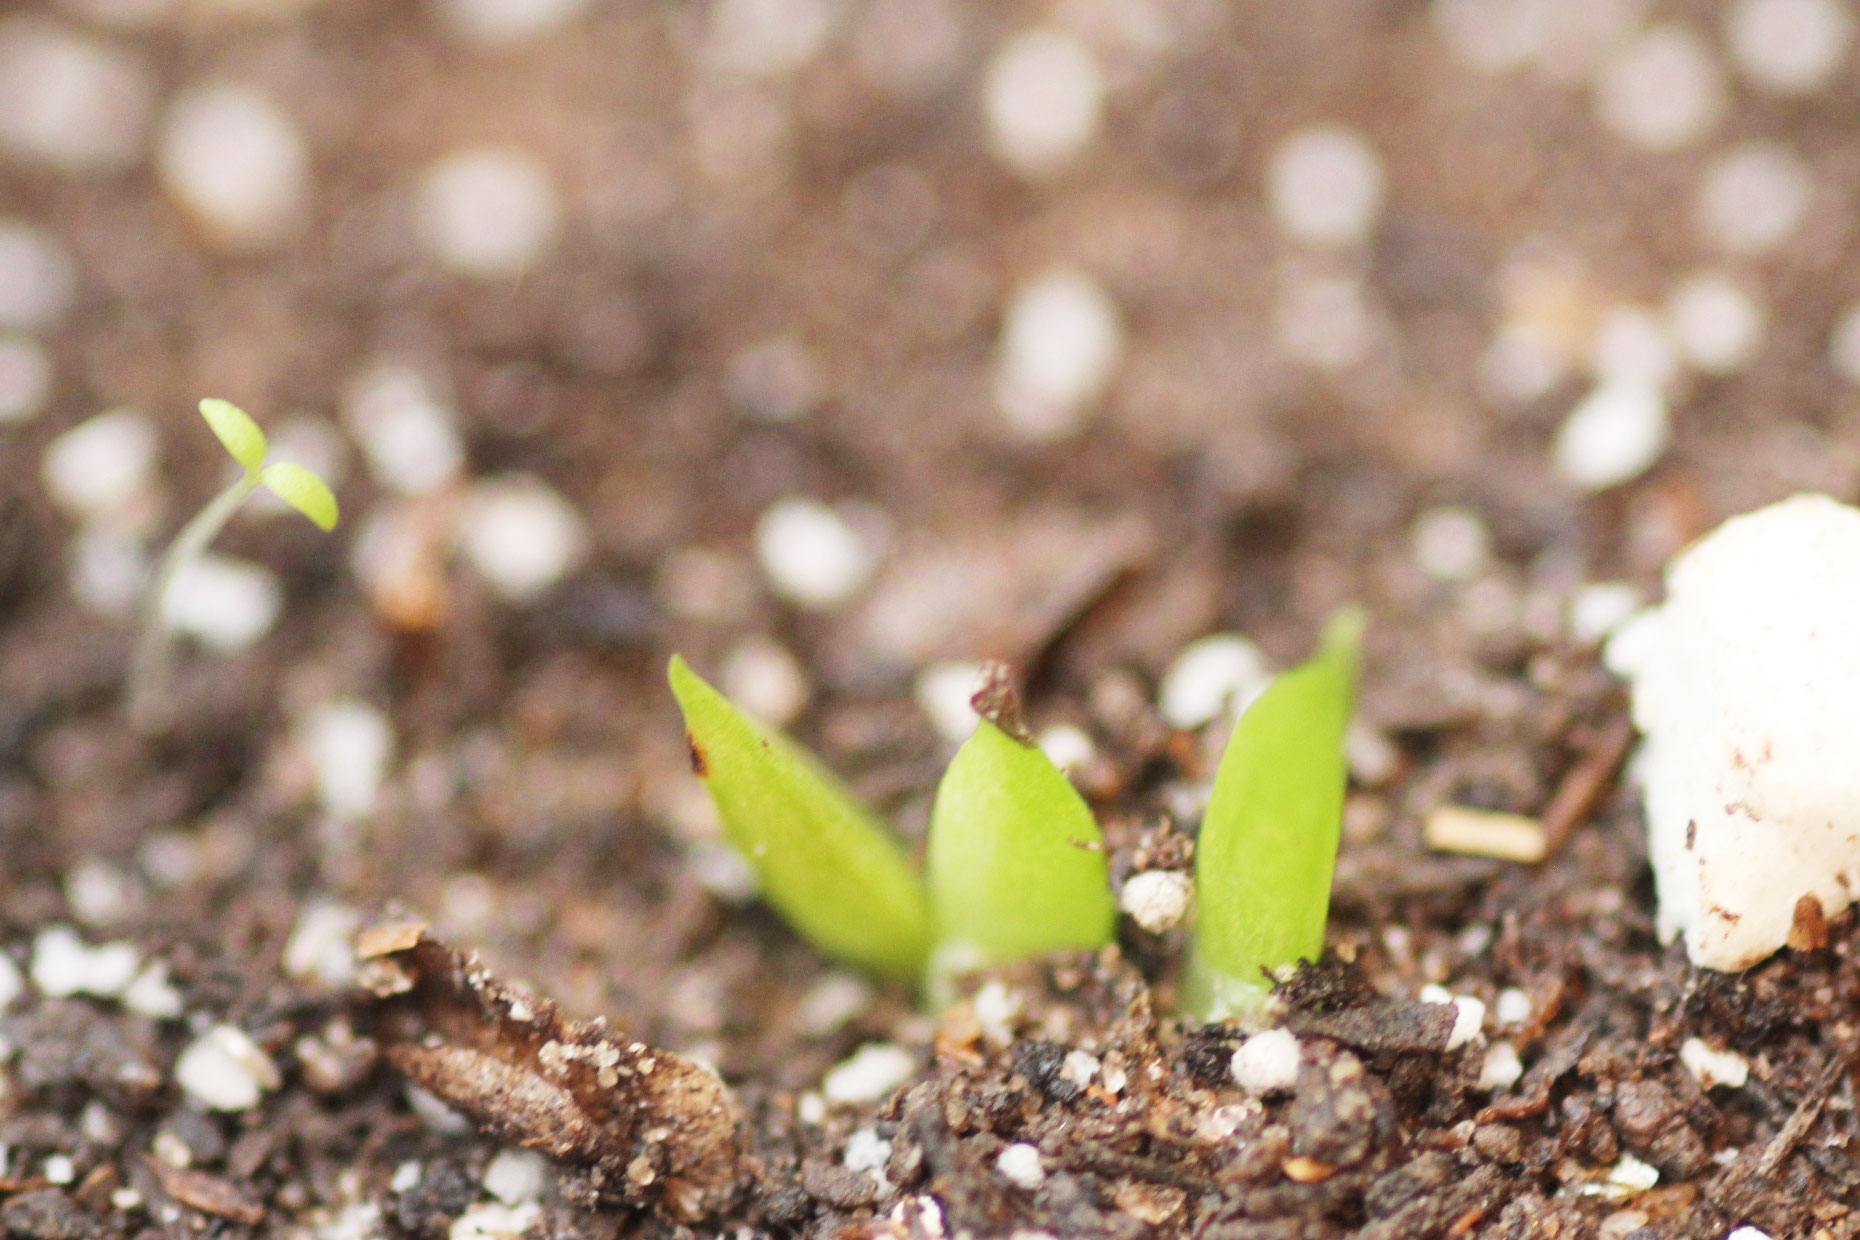
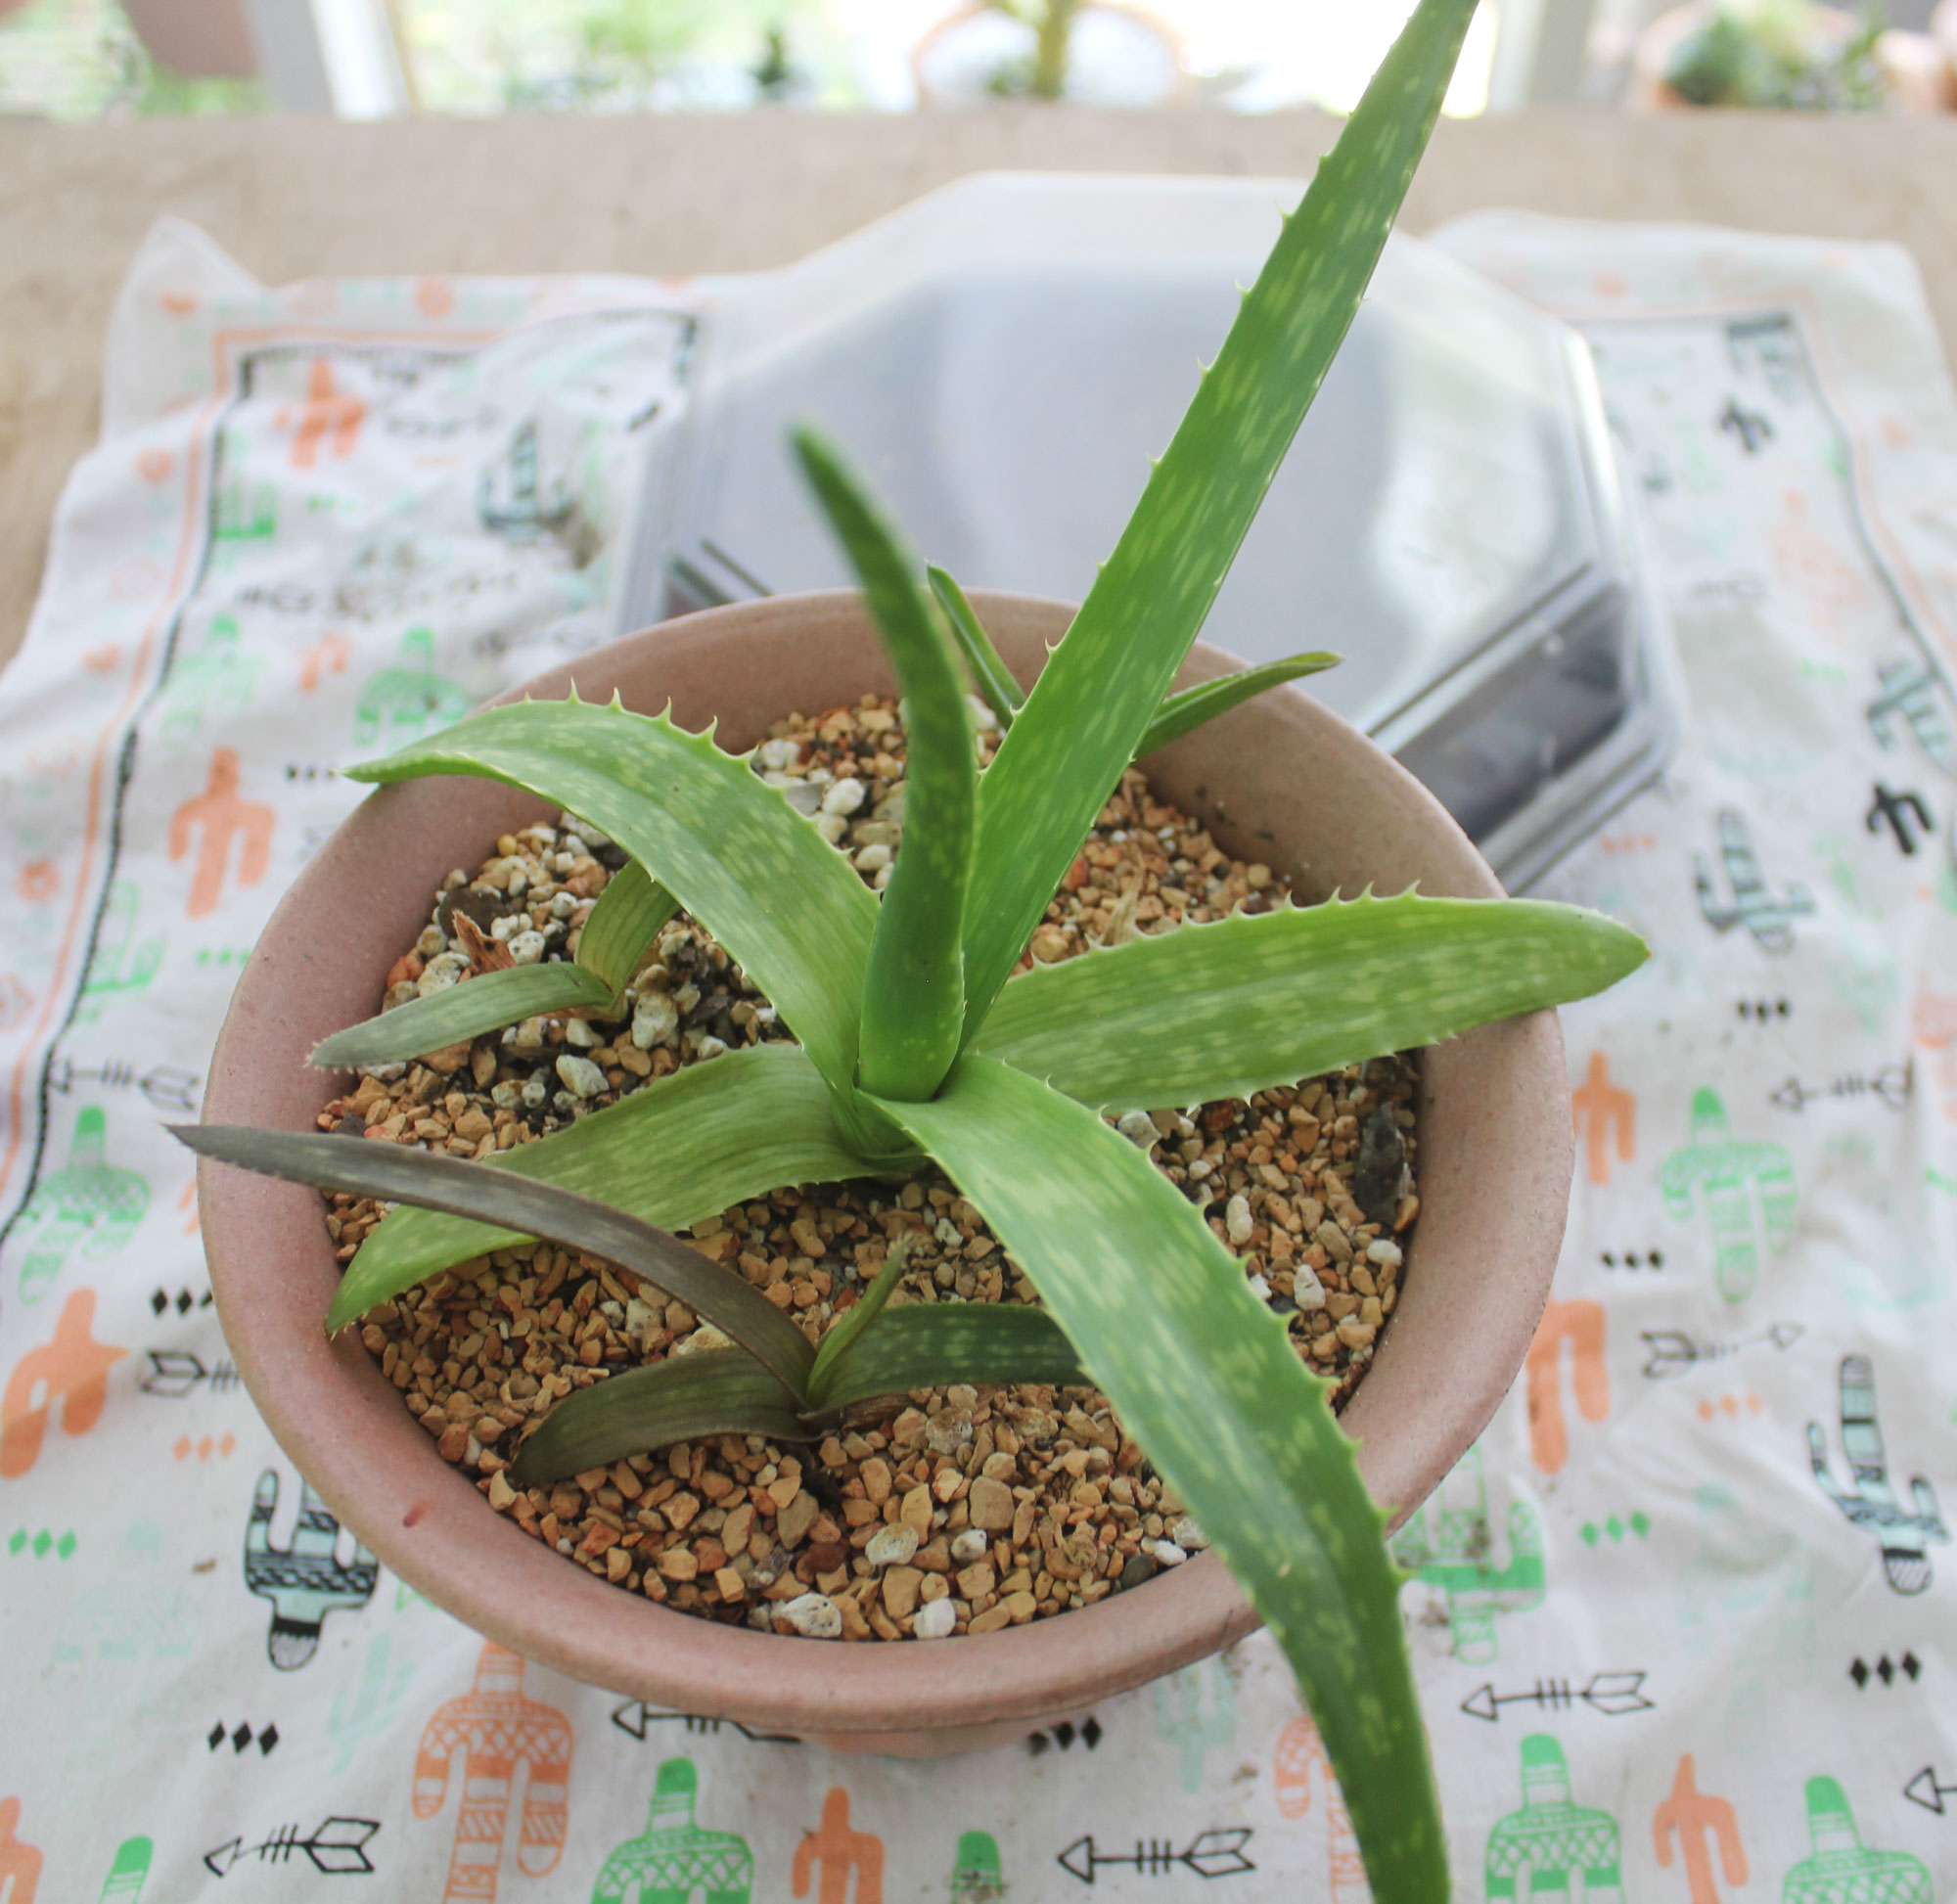
Before long, typically between 10 days to 6 weeks, you will see the first sprouts emerge. They won’t all germinate at once and it’s common for some seeds to fail, but it is a very exciting time when you first notice new life popping up through the soil. I hope you take some progress shots of their growth because it’s going to be a good while before you can do anything else with them. Most varieties take a couple of years to reach transplant size, so be prepared to wait and to lose a few weaklings. Once they’re of size to be in their own pot, carefully uproot them with a spoon and replant them in a larger container of your choice, but skip watering for up to two weeks to allow their roots to heal. Let them settle in for a few months at least before moving them again to avoid transplant shock.
While growing from seed takes much longer than other forms of propagation, it is a good experience for you to really get to know your plants. The next challenge would be to try cross-pollinating. For that you need two types of succulent flowers in bloom that will cross and a good deal of patience. While it is as simple as moving pollen from one flower to another as a bee would do naturally, it can take over a year to see if the results produce viable seeds or any seeds at all. If you have the time and setup to perform this experiment and you succeed, you will gain a whole new level of wisdom and respect for your plants. Take a lot of pictures and notes to keep track of the process so you can replicate the steps and share your knowledge with others.