

1 | Basic Tips
Basic Tips: Color and Form
It’s common to purchase a succulent that catches our eye because of its colors, only to find a few weeks later it has faded from a bright pink or purple to mild green and maybe even changed shape. This is usually because your new plant came from a greenhouse in a region unlike yours, where light and temperature are highly controlled to bring out the best features in succulents. Unless you can duplicate these conditions, change is inevitable.


However, when the right influences are aligned, their colors and true forms return. After a stretch of several bright, dry days with cool weather, succulents really begin to shine. The combination of dry soil, bright light, and temperatures between 50ºF and 70ºF/10º–20ºC are ideal for bringing out their ‘stressed’ colors. Cold weather transforms many succulents into what I call their final form.
Euphorbia tirucalli ‘Sticks on Fire’ will glow with the most brilliant orange and fuchsia, and Kalanchoe luciae ‘Flapjacks’ reveal their gorgeous crimson potential. Some varieties can produce a rainbow of colors throughout the year in the right conditions. And it doesn’t have to be cold for succulents to remain colorful as long as they get bright light and low water, but if it’s also really hot, they may suffer from too much stress and go dormant or die. Decreasing the light while increasing water can unstress a succulent in under a week.

This guide will help you understand how much control you have over those color-inducing influences based on where and how you’re growing succulents. Whether in a window, on your porch, or planted in a garden, climate plays the biggest role in how committed with time and money you’d need to be to keep your plants in their final form year-round. Personally, that’s not my goal because it would be quite a bit of money and work. I know because I tried…
While I do love my grow light, most of my favorite succulents are varieties that don’t rely on cool, dry temperatures to look beautiful. Some aren’t even that finicky about a few consecutive days of overcast weather and that makes me love them even more.
Farina
Many succulents have a natural protective coating called ‘farina.’ This epicuticular (outer layer) waxy powder functions as a water repelling sunblock against UV rays. Like a enchanted cloak, farina enrobes the plant with a transparent matte-white finish, converting ho-hum leaf colors into ethereal hues rarely seen on our planet, let alone from a plant. The terms ‘farinose,’ ‘pruinose,’ and ‘glaucous’ are all used to describe this milky white layer, but each are a bit different (see ‘Knowledge Bank—Glossary’).

Those new to succulents may mistake the farina for powdery mildew or some other unwelcome residue and try to wipe it off. Accidentally smudging the coating is easy and common. It’s not a big deal when new leaves will eventually replace those that get smeared, but there are succulents like columnar cacti which don’t have that luxury. A decade of growth can be aesthetically ruined with one loving caress. So handle your plants by the roots as often as possible if they’re a farinose variety, or cup them from the bottom like a little bird to avoid touching the visible tops of the leaves. You may have to warn others not to touch these succulents. Explain why then guide them to some fuzzy Kalanchoes or a bumpy Gasteria, and tell them they’re welcome to pet those instead.
Color Codes
The colors of a succulent can tell us a lot about what it needs to thrive. The greener a plant is, the more chlorophyll it contains. This enables it to photosynthesize with more gusto than a plant with lighter hues such as pastel pink, pale green, or variegation. When skies are gray for a longer spell than usual, succulents with green leaves won’t stretch as quickly as others.

The easiest varieties to start with and keep looking tip-top are non-rosette forms with darker green coloring. They’re also ideal for filling those ‘part-sun’ spots in and around your home and office. There are thousand of really amazing green varieties and I listed some I really love in the ‘Buying Guide.’ They include Sansevierias, Haworthias, Kalanchoes, Euphorbias, Aloes, and of course, cacti. All of them flower and come in an endless supply of shapes and markings.
In other words, you’re going to need a lot of pots.
Basic Tips: Light
I’m not going to lie. I come across a lot of photos from proud new succulent owners and think, “Uh oh, that’s gonna die,” but only if some minor yet urgent changes aren’t made. Deadlocked with overwatering, insufficient light is the most common challenge among growers to keeping succulents healthy and in good form. We’ll cover grow lights after discussing natural light.

Many plants are heliotropic, meaning ‘sun turning’ or facing. In the absence of ample light, they literally reach for the sun, growing taller or longer with increasingly weaker stems. This is called etiolation, or stretching. The most obvious example of light deficiency is seen in rosette-forming varieties. The first sign of etiolation in a rosette shows when the top layer of leaves start to turn towards the light. Rosettes are meant to grow in compact patterns with very little space between each row of leaves. Without enough light, the stem growth surpasses that of the leaves which causes them to grow in spaced further apart. When the distance between leaf rows is too great, rosettes can become unrecognizable.
Even with the proper amount of light, it’s sometimes necessary to intervene a tad to keep rosettes looking rosy. I have a lovely Echeveria Lola that I’ll use as an example. Looking directly down at her and from the side, I can see when she has started to tilt her head towards the sun ever so slightly. I then simply turn her pot 180º so her tilt is facing away from the sun. I check again every week or so and repeat as necessary. The reward for my minimal effort is a fascinating mandala-shaped Lola who turns all the heads of those who walk by her.

It’s harder to identify etiolation in succulents that aren’t such sticklers about compact growth, such as Aloes, Jades, and Haworthias. As with Echeverias, new growth is often paler than the old, but if it remains lighter than the rest of the leaves it could be a sign more light is wanted. And if you see leaves spreading wider than their normal form, they may be revealing more surface area in an attempt to absorb more light. Etiolated succulents don’t always die but they certainly don’t thrive. They’re hungry for the light they need to photosynthesize and make food, which means they’re more likely to succumb to other deficiencies.
There are some varieties like this Sedeveria ‘Starburst’ that naturally grow long and somewhat spindly stems. These look really great as hanging plants or spilling over the side of a pot.

One of the coolest things about succulents is their propensity to generate new plants from just about any part of the main plant. Not all succulents share this feature, but many do and we can use it to our advantage when repairing a stretched plant if we don’t fix the lighting problem in time. We’ll cover that in ‘Succulent SOS—Take Action: Etiolation Repair,’ but for now we’re going to talk about preventing etiolation by finding the right ‘dosage’ of light.
Determining the differences between full sun, shade, and everything in between can be a challenge, especially since the sun’s path changes throughout the year. As sunlight is a dynamic element, we need to observe how it moves across our homes and yards to see what we’re working with light-wise. Let’s settle on a basic key for talking about sun levels in this discussion. The required sunlight hours don’t need to be consecutive. Three hours of morning sun and another five in the afternoon qualify as eight hours of sunlight.

Light Key
Full sun: Six or more hours of unfiltered/direct sunlight per day. Coupled with high temperatures, many softer succulents will be at risk for sun damage and overheating after more than a few hours of direct sun.
Bright indirect/filtered light: The ideal middle ground for most sun-loving succulents and cacti; at least 6 hours a day. The terms ‘bright indirect light’ and ‘bright filtered light’ refer to sunlight that is tempered by the sun’s position in the sky, or by items like leafy branches, sheer curtains, and other plants. For instance, I’ve placed a lawn chair in front of some Echeverias that were getting too much direct sun in my garden. They still received bright indirect light and it was an easy fix that bought me more time to relocate them.
Part sun: Four to six hours of bright sunlight per day, towards the high end if filtered or indirect.
Part shade: Two to four hours of filtered/indirect sunlight per day.
Shade: Less than four hours of unfiltered sunlight per day. (Don’t get excited— there aren’t very many sucs that do well in the shade. I know, I know.)

To better understand these light definitions, we’ll use my west-facing screened back porch as an example. Imagine we’re sitting there, sipping on some iced sweet tea (with key lime for me!) while looking out at the yard on a sunny spring day. To the far left, there’s a huge old pecan tree with branches reaching across most of the yard that have finally started filling out with new leaves. A much smaller fig tree grows between the porch and the pecan, and its leaves are quickly coming in too. Noon is about half an hour away. The walls to our right and back face north and east, always blocking the direct sun. The front door faces east and as the sun rises and moves up and over the roof, the intensity of the light increases where we are sitting and on the plants surrounding us.

To our left, the south, Blue Jays and squirrels squawk and chatter in few small trees which filter the sun until about 1pm. This is ‘bright filtered light.’ Earlier in spring, the trees had just begun to leaf out and the light from that direction was much brighter. At high noon, when the sun rises over my house but the roof blocks it from directly hitting us, this is ‘bright indirect light,’ the most desirable lighting for the majority of succulents. The sky is reflecting the light but the sun is still out of view. Around 2pm the sun will be visible to our eyes, but the pecan leaves filter it partly. The plants at the north end of the porch will get full direct light for about two hours until the sun starts to set. When it’s hot, I close the curtain panel to give them some shade.
By late spring, the fig and pecan trees have filled out their shady foliage, but the sun’s path is higher so it’s also brighter sooner, and the daylight hours are longer. This pattern changes with the seasons as the trees drop their leaves and the sun’s path shifts lower on the horizon. Therefore, your plants may need to be moved several times annually to satisfy their light requirements. I think of it as learning a new dance—a year-long dance with a lot of different partners.
To reiterate, filtered and indirect light simply refer to what is happening between the sun and your succulents. In hot temperatures, it’s important to find a way to filter or block the sun from directly pounding your plants with its light. An old cacti keeper explained this to me while pointing to a big oak tree outside of a succulent sale one day: “If you stand under the shade of that tree, you’ll see plenty of blue sky but still be protected from the direct rays of the sun. Step out from under the tree and you might burn afterwhile.”
When bringing home new plants that require bright indirect light, especially if you have them shipped in a box to your door, and doubly especially during a hot summer, it’s very important not to overexpose them to the sun right away. Acclimate them to more light by potting them up and placing them in part sun for a few days, then begin moving them near their final home. (See ‘Succulent SOS—Take Action: Increase Light.’)
So while a variety’s label might call for full or part sun, you see how this is too general of an order for all the nuances needing to be accounted for that aren’t printed on those vague plastic care inserts. Here are a few directional guidelines about sunlight:
–Morning sun tends to be gentler while still being bright.
–Afternoon sun burns hotter and more directly for west-facing gardens, so much that many folks in this category rely on trees or shade cloth to protect their plants.
–Your west-facing windows may need a sheer curtain to shield succulents from getting poached and scarred with sunburn.
–Unobstructed south-facing garden beds and windows are perfect for an all day dose of light.
–An overcast day can still be bright enough to provide what qualifies as part sun.
Grow Lights
I know that many of you are dealing with a lack of natural light (see ‘Regional Tips—Lack of Sunlight’). You have to keep your succulents indoors due to the weather, or you don’t have a bright enough spot outdoors. Some regions are notoriously overcast seasonally or year-round. I’m right there with you. While I do have a lot of yard space with bright sun, only my porch is protected from rain, and most of it gets direct sun during the hottest time of the year while not getting enough from winter to late spring.

I decided to get grow lights when I started seeing my succulents lose their form from too many consecutive days of cloudy skies. I also wanted to start some seeds and couldn’t guarantee they’d get enough light without an artificial backup. I’ve also used my grow lights to help keep succulents warmer when temperatures drop outside.
You will find all of the information you need to know about buying the right grow lights in ‘Regional Tips—Grow Lights‘.
Beauty is in the eye…
It’s obviously important to understand what your plant is telling you about its light situation, but how do we know what it wants if we’ve never owned a particular variety? With an internet search for photos of the same plant kept by seasoned growers, we can see what they look like under ideal circumstances and attempt to get the same results. Sometimes this is difficult or impossible if our climate isn’t like theirs, but we can still aim to mimic the primary requirements and get very close. (For help finding names, see ‘Identification.’)
Your Texas-grown Echeveria may be a bit taller or not hold its color as long as one grown in California, but if it’s healthy and you do your best to give it what it needs, it will be just as beautiful and delightful—even more so because it’s yours, you love it, and you know it loves you right back.
Basic Tips: Watering
Several factors play a role in deciding when to water, and more importantly, when not to water your succulents. This is why it’s impossible to give a precise watering frequency for every plant and every gardener. The most commonly repeated basic guideline is to allow the soil around the roots to dry out before watering again, but that’s way too basic for succulents. The amount of time it takes for the soil to dry out is crucial to the survival of the plant. If a week has passed and the soil isn’t dry to the touch around its roots, you run the risk of rot and leaves splitting from engorgement.

It’s not necessary to flood the pot when watering—that is, to water until it runs through the soil and out the drainage holes—particularly if you live in a humid climate. Succulents don’t uptake water through their roots like straws, rather they absorb the moisture from the air around their roots. If the soil is too wet for too long, they suffocate. Drying time is determined by the composition of the potting mix, the container it’s in, and the climate—including humidity, temperature, and light. By using well-draining soil in pots with ample drainage holes and watching the forecast, you can avoid one of the top causes of succulent death—too much water.
Following is a list of things to consider before wetting your plants:
–Do you still remember the last time you watered a plant? Don’t water it. (I’m joking, kinda. But if you do remember, you’re too organized or you need more plants. Again, I’m joking. Kinda…)
–Is the soil still moist around the roots? Don’t water it. Use your finger or a small wooden stick to carefully check. Like poking a cake with a toothpick to see if it’s cooked through, moist soil will cling to the stick, telling you to wait a couple more days to check again. Most succulents can usually stay dry well over a week without issue if it’s not too hot outside. Letting the soil remain dry for three days or more also helps prevent mold and pests like fungal gnats from invading your pots.
–Does the forecast predict overcast weather/rain/humidity that will prevent timely drying of the soil? Don’t water it. Wait until the skies will be clear again. This will also help slow any etiolation due to low light conditions.
–Is it a beautiful sunny day and you feel the urge to sprinkle some love on your plants with a watering can? Sorry. Don’t water them. Droplets that remain on the leaves and stems can magnify the sun and heat, leaving unsightly burn marks. Wait until closer to sunset to avoid sunburn.

–Did you just get some new cuttings or twist off some leaves to propagate? Don’t water them. Wait until any broken or cut ends are callused over and dry to sight and touch before introducing moisture, or water will get inside their cells causing rot. Remember, without roots, they have no way to uptake the water.
–Did you just repot a plant? Don’t water it. Broken roots are inevitable and as I mentioned above, if water gets inside of them, they can rot. Let them chill in their new pot and heal for two or three days before watering. It’s best to repot in dry soil. Give cacti up to two weeks as they’re more easily shocked by new situations.
The majority of water-based problems can be repaired, and we’ll talk about the fixes in ‘Succulent SOS.’
I’m guessing you probably want to know when you should water your succulents. Assuming your soil is drying fast enough and the plant isn’t in dormancy (we’ll get to that too), you can water about once a week. That’s a very basic but important guideline to follow for most succulents. Cacti and others like Lithops are special snowflakes and different rules apply to each. We’ll discuss them more in ‘Genus Tips.’
Finally, observe your plant the day after watering to see and feel how it looks when fully hydrated. Then over the next several days watch for how it shows you when it’s ready for a drink. It could be in dry soil a week or more before it even begins to show signs of thirst. You can take photos to compare a recently watered succulent with one that has been dry for a few days. Seeing them side by side will really help you notice the changes.
Basic Tips: Soil and Fertilizer
Soil: Requirements and DIY Recipe
So what’s the dirt on succulent potting soil? There are usually one or two prebagged options for sale at lawn and home improvement stores marketed under ‘succulent and cactus potting mix.’ In drier climates, you might get away with using this mix without any modifications. However, many gardeners find it too brown for their succulents, meaning it has too much organic soil and not enough grit and drainage. Plus, it’s quite pricey because it’s a specialty product sold in smaller bags, and the markup is ridiculous unless you really only need to pot a few containers. I mathed it out and the premix costs about seven times more than regular garden soil. Finally, a lot of the premixes are amended with fertilizer which is not ideal for succulents and cacti. The wrong food at the wrong time can cause problems like disproportionate leaf-growth, weak stems, and other imbalances in these slow but steady growers. We’ll talk about feeding your succulents in a moment, but first let’s mix up a big batch of our own fast draining soil.

In order to recreate a good home for these minimalist survivors, we need to look at the soil conditions of their natural habitats. They’ve adapted to survive in extreme heat and long droughts. If they’re not just clinging by their roots from the face of a cliff, they’re seeking shade beneath a tree, behind another plant, or wedged tightly under an ancient rock. The earth they grow from is hard, rocky, and typically dry. Nutrition is acquired from rain, rocks, runoff water, and photosynthesis.

Now think about all of that while looking at a bag of garden soil. It’s rich, dark brown, habitually damp, and sprinkled with fertilizer—basically the exact opposite of the environment described above. To have more control of the soil contents, it’s better to start with topsoil, the most basic of soils. Not only is it cheaper, it’s unamended with goodies like time-released plant food because it’s not used to produce big juicy tomatoes and peppers, but rather to fill holes and level the ground. There may be some larger pieces of bark to remove or chunks of soil to break up, but at $2 or $3 for a 40 pound bag, the cost offsets the little time it takes to sort out any debris you don’t want in your pots.
Perlite
Moving forward, we’re going to need to add some drainage materials to our mix. Perlite tends to be the easiest to find on the shelves and is fine to start with, but I strongly urge you to go the extra mile and seek out some other options as well since perlite retains more moisture than the other drainage materials we’ll talk about. Perlite is the white, lightweight, fluffy stuff you see in potting soil. Similar to pumice, it’s igneous rock that is processed under extreme heat until it expands and ‘puffs.’

Pumice
Pumice is also igneous rock, but it’s heavier, harder, and doesn’t float to the surface of your pots like perlite. Though it can be more difficult to source locally in most states, you can order it online. This may seem like too much trouble but I promise it’s well worth the extra effort. I would much rather do away with perlite altogether for several reasons, but I keep it around because of its availability. Pumice is beautiful! Well, by comparison to perlite at least. It looks like natural organic rock, white to gray in color, and doesn’t crush to a fine powder between your fingers like perlite. It’s also jam-packed full of minerals your succulents crave. As of writing this, I pay just under $30 for 15 pounds of lovely pumice, including shipping. The big bag of perlite I buy sells for about $20. Both serve their purpose in my soil mix, but perlite doesn’t double as a pretty top dressing like pumice. ‘Top dressing’ is the term for a layer of rocks used to cover the exposed soil in a pot. It protects the bottom leaves from touching wet soil and gives your arrangements a professional, finished look.

Turface
Another option is Turface, or porous ceramic soil conditioner. While the word ‘Turface’ is a brand name, you’ll see it used as a general term for this crushed clay amendment. You’ve probably seen it without realizing it could be used in your succulent mix…during baseball games! You know, the reddish dirt neatly raked to form the diamond—that’s the stuff. It comes in a few different particle sizes and colors, ranging from gray to rust red, and it’s very affordable. I prefer the larger particle option in red over the gray because when I use it as a top dressing, it looks less like kitty litter. A mix of the two colors looks great together.

Expanded shale
Expanded shale is also a good porous medium to add to your potting mix. It’s pretty easy to find, costs about the same as Turface, and it too makes a visually pleasant top dressing. I know this sounds like odd advice, but smell your shale before purchasing it. Shale is often fossiliferous, and as petroleum is a fossil fuel, I’ve heard a few people complain of it having a crude oil odor, though I haven’t come across it myself. In fact, go ahead and smell all of your soil materials before bringing them home, especially the topsoil. It should smell earthy and non-offensive. If it stinks of sulfur or ammonia, it’s probably too wet and filled with the wrong kind of bacteria, so try another bag or another brand.


DIY Fast Draining Soil Recipe
Now that we’ve discussed some ingredients for a good succulent soil recipe, it’s time to make a batch. I suggest starting with about 25–30% topsoil to the rest of the drainage materials to achieve the best results. I use a deep plastic bin with a lid to mix and store the soil in, and I have a smaller second bin I use as my ‘working’ bucket. You might not require as much potting mix, so tailor the proportions to your needs.
Start with several shovels full of topsoil, then an equal amount of perlite or the least costly amendment you have on hand. Tilt the bin side to side to begin stirring things up, then add a few shovels of your other drainage materials. Keep mixing until you see equal parts soil to the other materials. This bin is going to get pretty heavy, so transfer a few pots worth to the smaller bucket and add a few more handfuls of your drainage materials. And that’s it—very easy and more cost effective than buying a mix that you would still need to amend. For more finicky plants like cacti and Lithops, you should start with even less brown soil, especially in humid regions.
Materials to Avoid
Sand isn’t recommended since it compacts too easily and doesn’t allow water to drain quickly. This includes beach sand and store bought sand used for playgrounds, ground leveling, and aquariums. Crushed gravel and pebbles are also not recommended since they aren’t porous and can trap excess water in the soil. It’s better to just use top soil and a lot of perlite than pay money for something that could do more harm than good in the long run. Remember to avoid any materials where the grain size is too small or doesn’t allow the dampened soil under and around them to evaporate fast enough for succulents.
Top Dressings
Avoid using non-porous rocks such as aquarium gravel and river pebbles as these options trap moisture in the pots which can result in root rot. It’s fine to sprinkle a sparse layer of pebbles over the surface but don’t lay them on too thick. I like using pumice, shale, and Turface, or a combination of the three. For additional decoration, I think a few larger stones work very well. Most of us have found some pretty shells or crystals and pocketed them. Now you have a good excuse to keep bringing home your little treasures—plants like accessories too!
Fertilizer
Succulents kept outdoors and given rainwater may be fine without food, but many still appreciate a nutrient boost during their growing seasons. On the other hand, skip feedings if you’re using a potting mix that already contains fertilizer as too much nitrogen and other nutrients can really freak succulents out.

Feeding your succulents is as simple as mixing up a standard balanced fertilizer and diluting it by half or more. I suggest you buy a liquid fertilizer made specifically for cacti and succulents which has less nitrogen than a more general purpose plant food. You can offer most succulents a meal with each watering. Give them the normal amount of water during feedings and avoid splashing the leaves with fertilizer water, as it can cause spots and increases the possibility of sun damage. Don’t feed them before or during extended periods of overcast weather to avoid abnormal growth from insufficient light. You should also stop feeding no later than a month before their dormant season to allow time for the nutrients to be processed.
Basic Tips: Containers
Your. Pots. Need. Drainage. Holes.
As mentioned in the section on watering, the roots of succulents don’t operate like your average plant. Instead, they ‘breathe’ in the moisture from the air around them which is why we work hard to get our soil loosie-goosie. Drainage holes not only allow water to exit the container, but they assist in airflow and keep the soil around the roots from compacting.
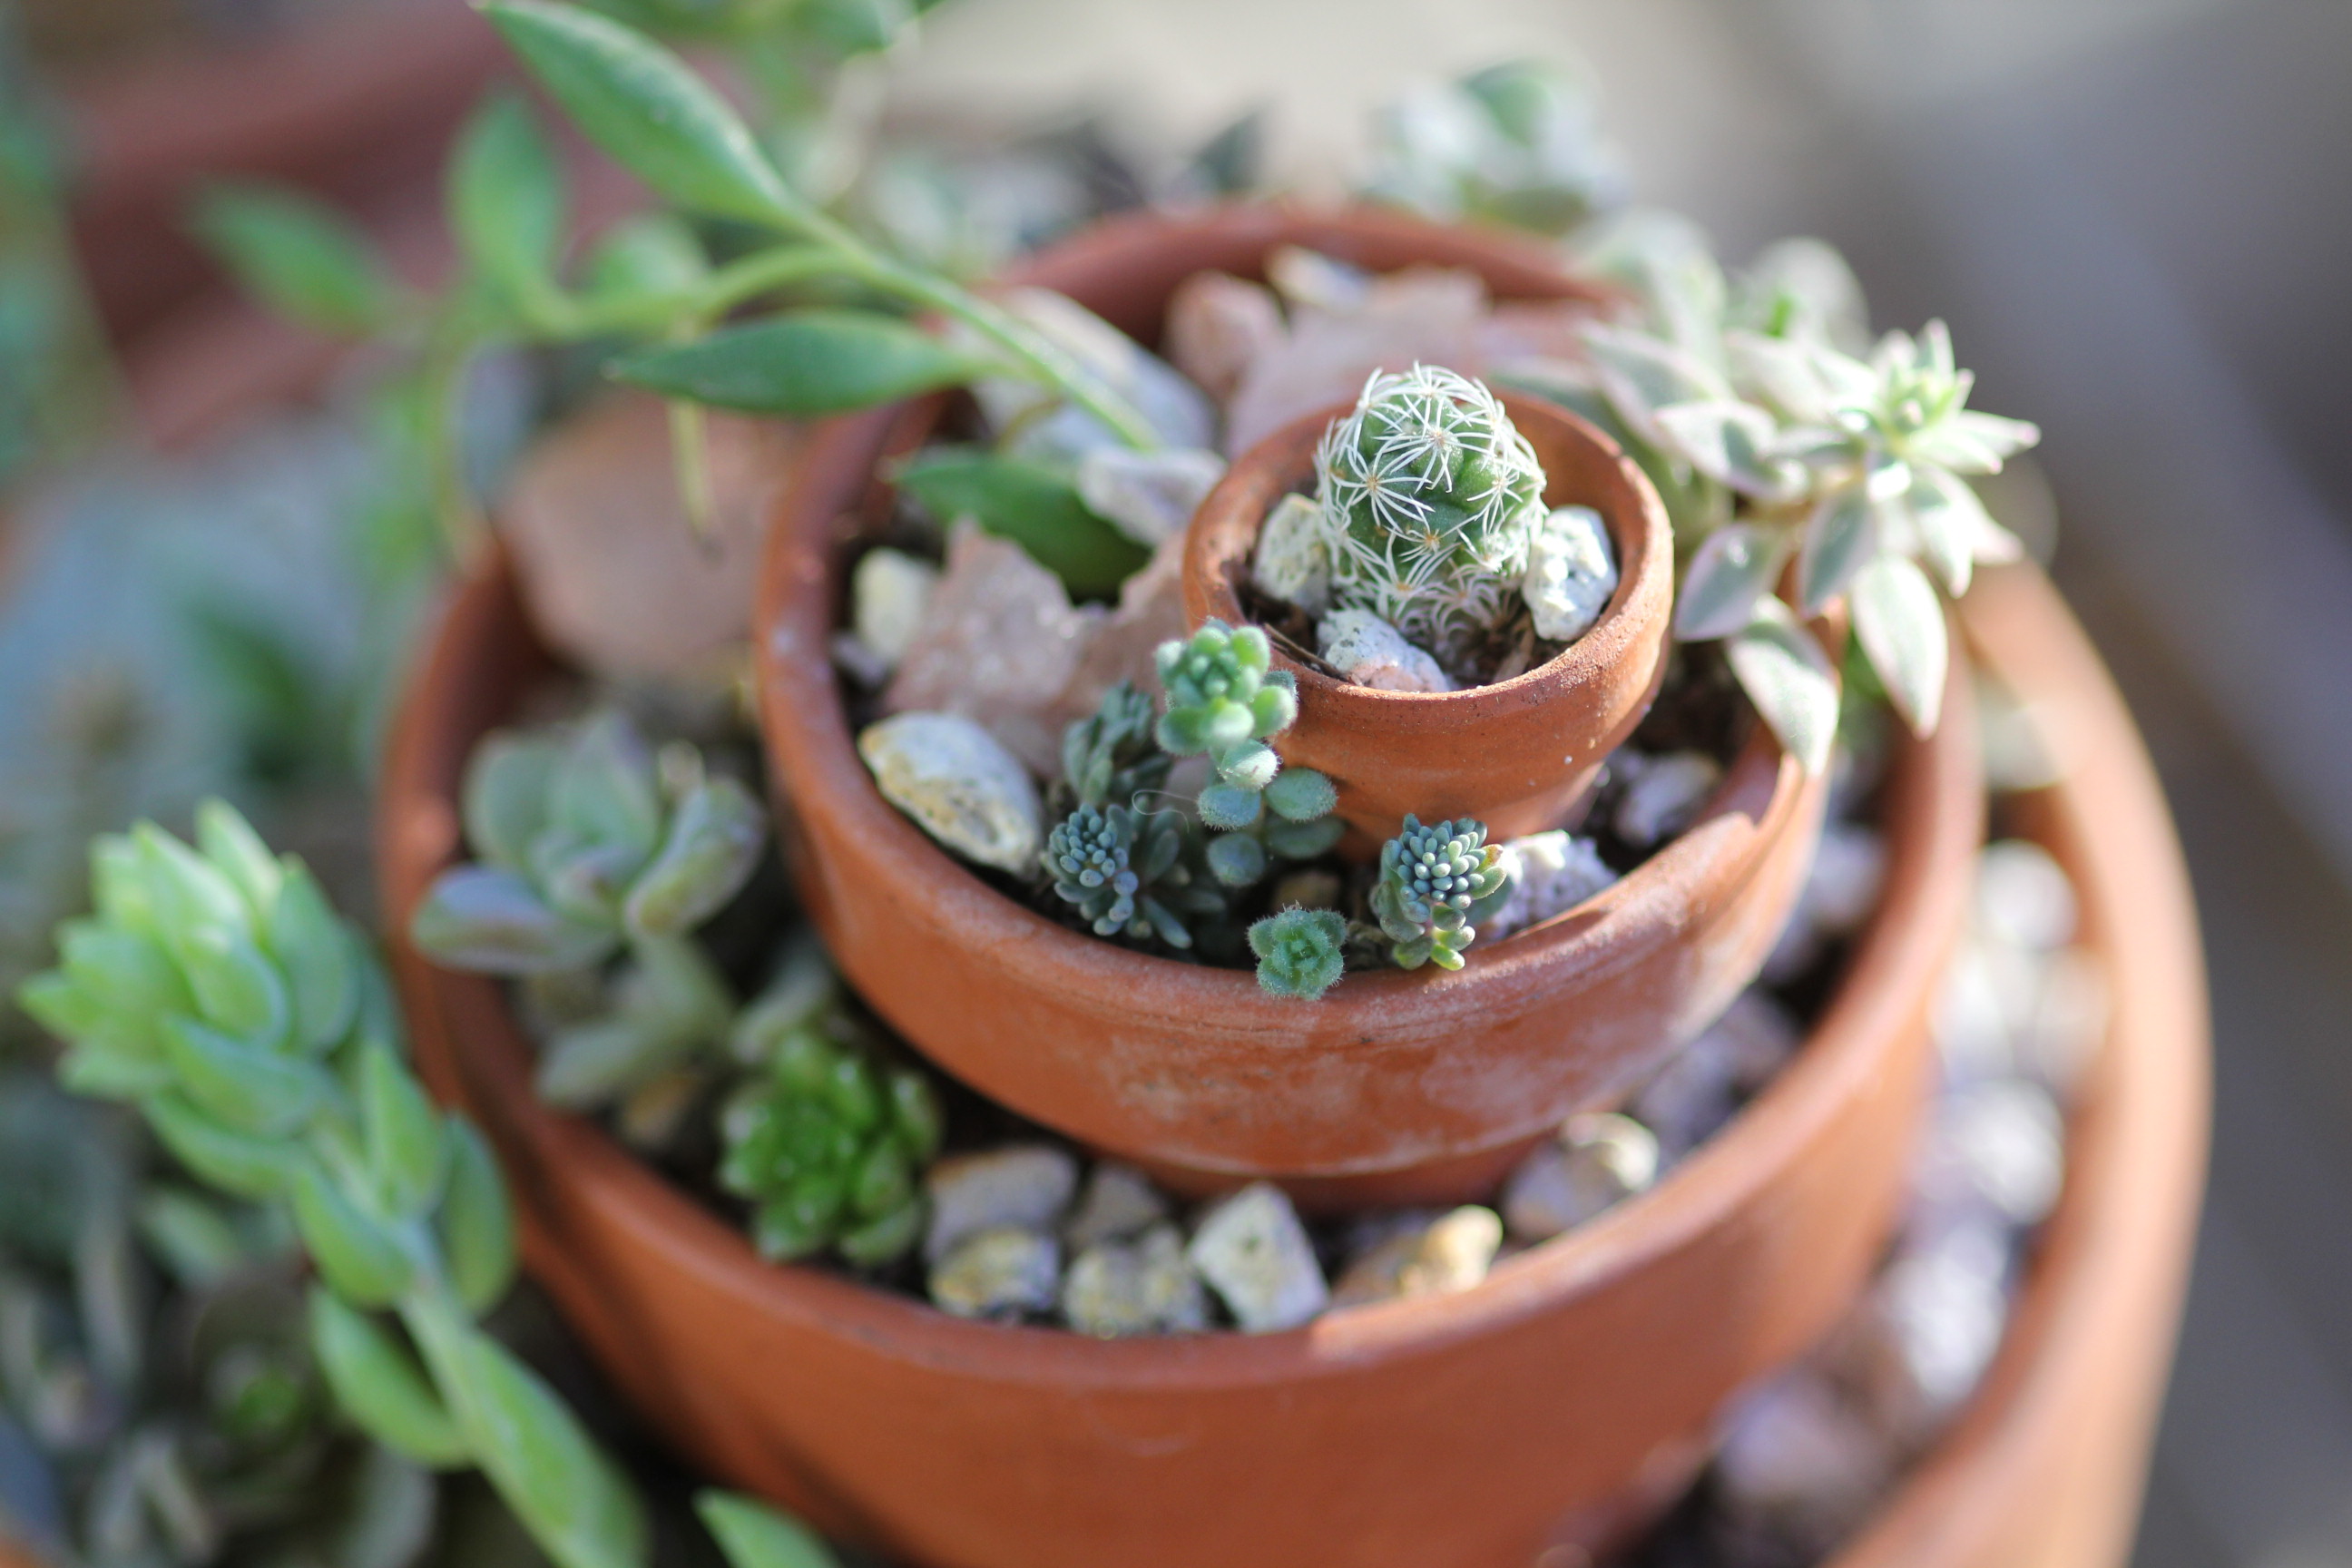
I know, I know—you see all those cute glass terrariums and jars being potted, and if others can use them…? No. Well, fine. Go for it if you must, but please plan on them being temporary arrangements. I agree, they are really cute and fun to make, but I and my fellow adamant pro-holers have good reason to withhold our blessing to use any container that will not drain. A lot of tutorials suggest adding a scoop of rocks before adding soil to a holeless pot so any excess water will seep beneath the roots. It will do exactly that, but then what? Without any contact with soil, there’s nothing to wick the moisture back to the surface so it can evaporate. Unless you live in an extremely dry climate, the water will just sit there getting nice and grody, creating a lovely environment for mold and bacteria. Terrariums and pots without holes will eventually smother your succulents if they don’t die from root rot first. But if you decide to try using a hole-free container, use soil as your first layer to give the water a way to travel up and out.
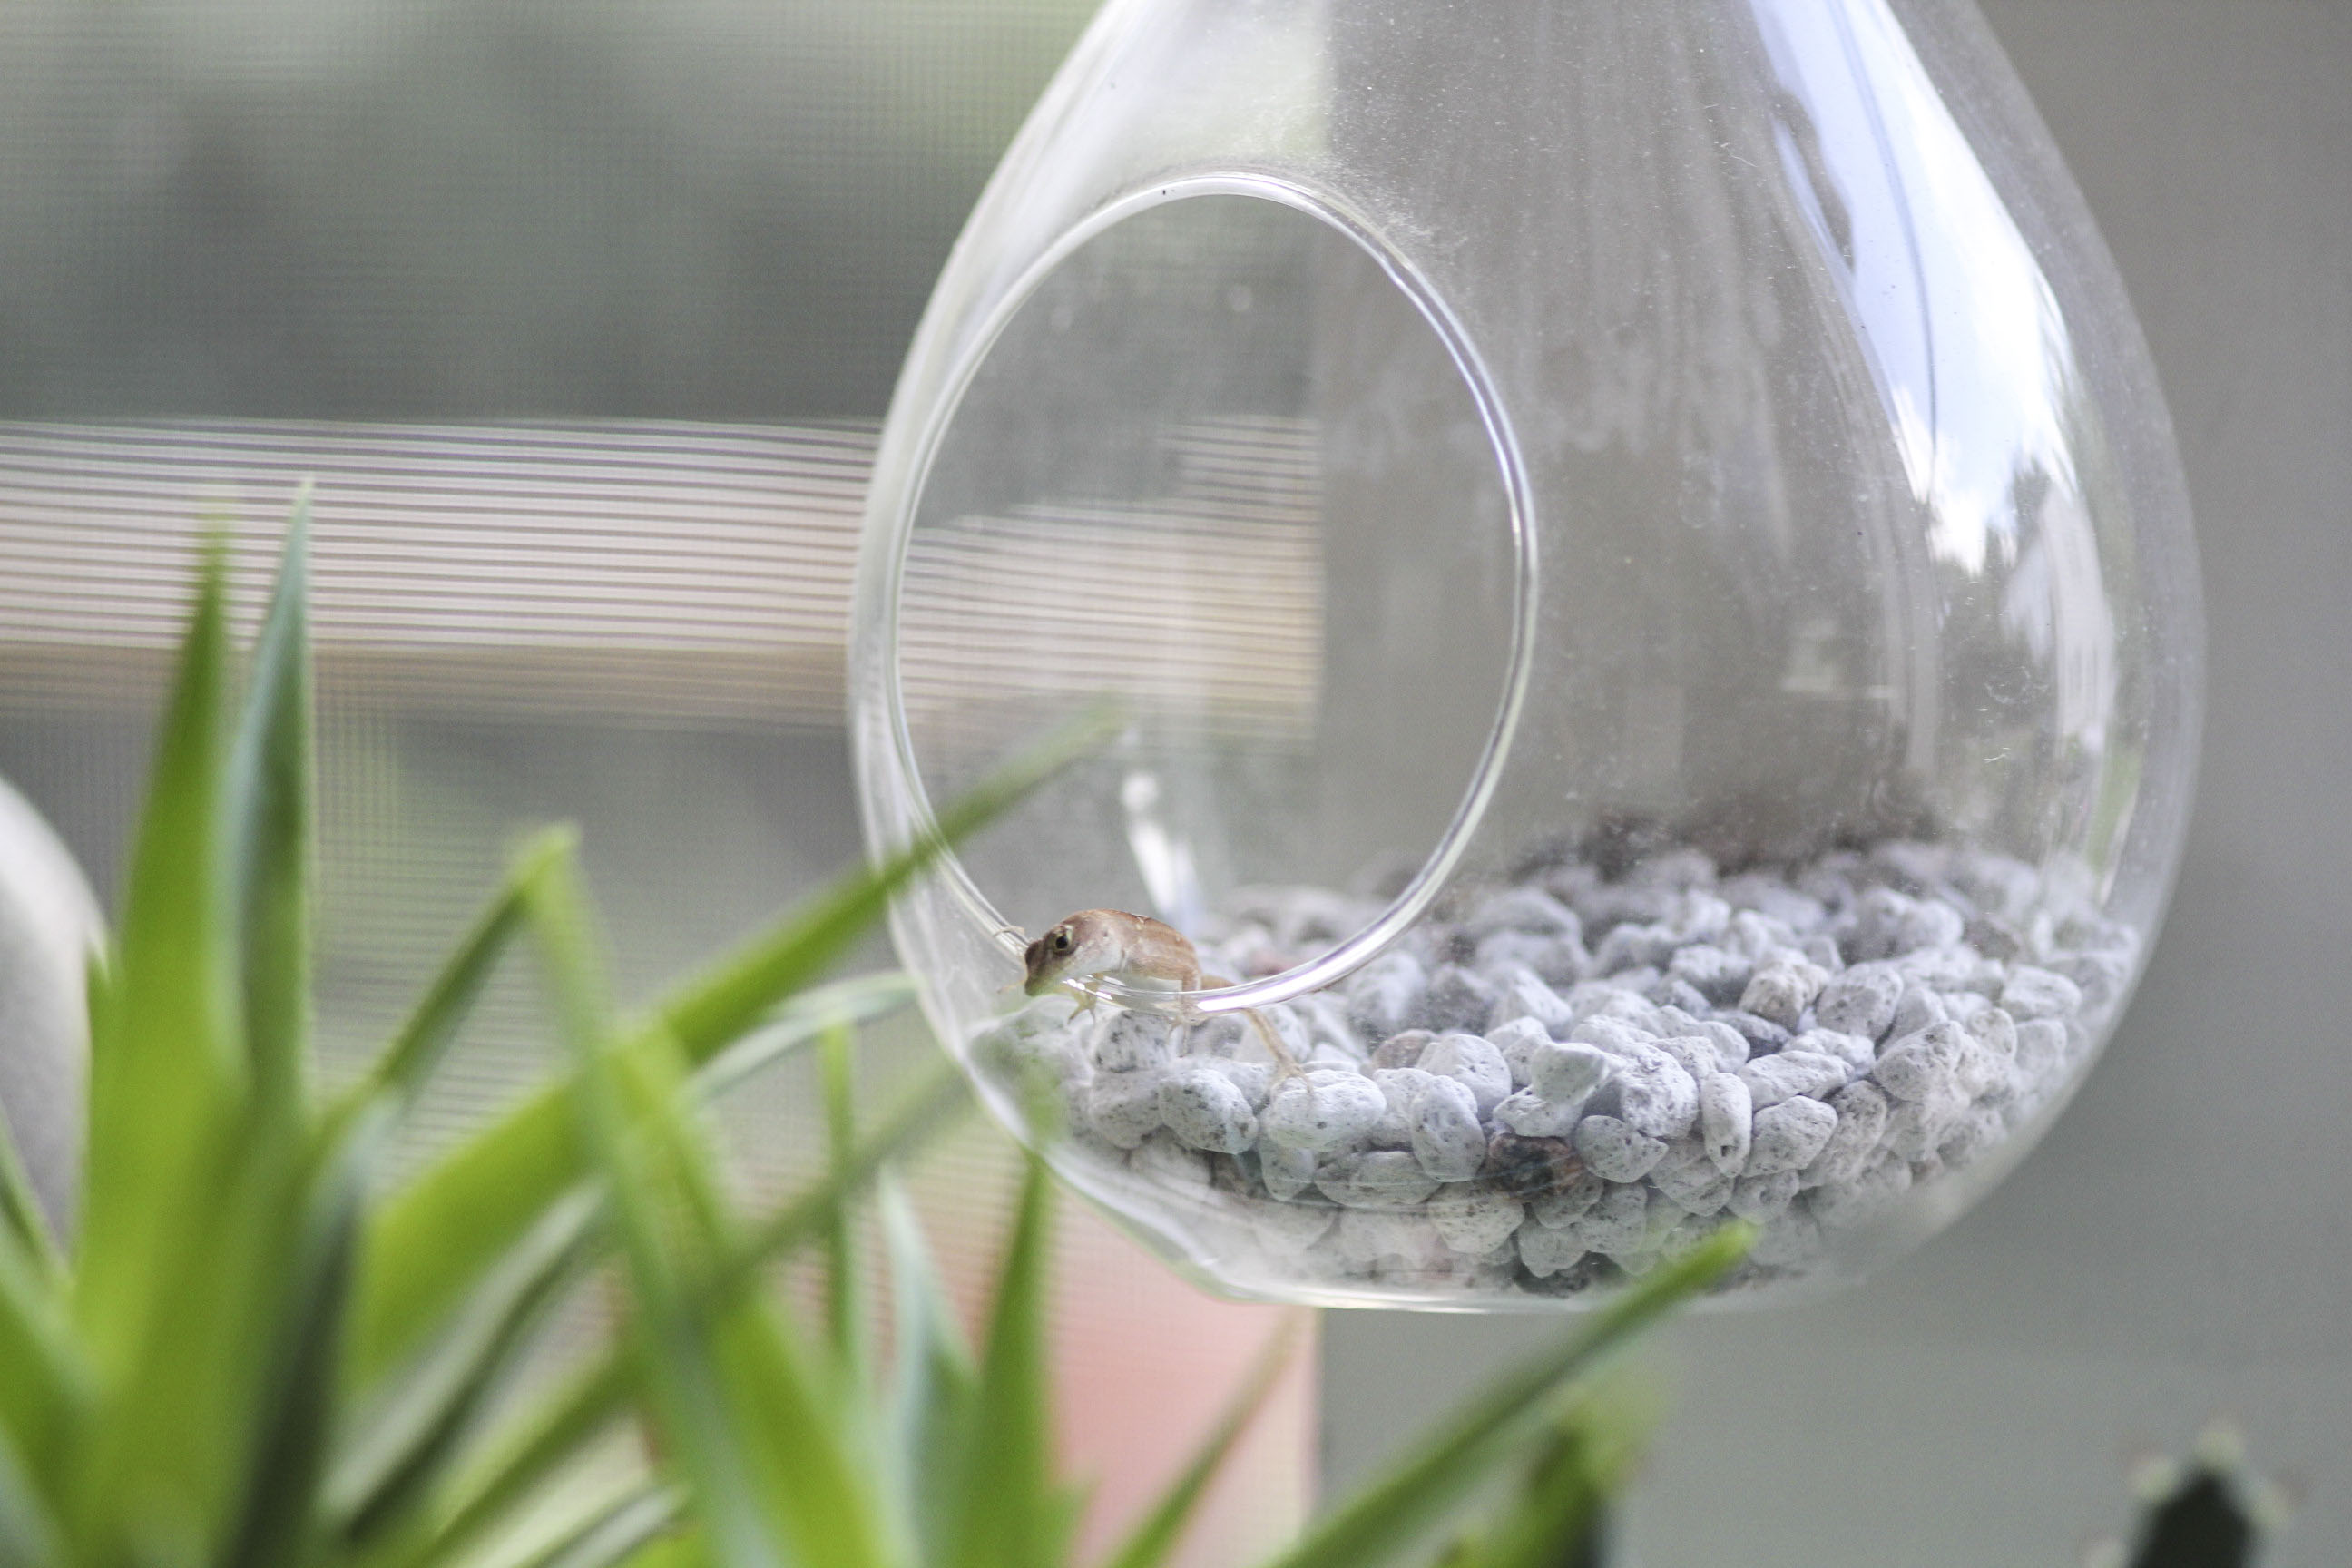
Better yet, add your own holes. A power drill and a few different bits are all you need to get the job done. You can drill metal, plastic, clay, glass, and ceramic (see ‘Tasks and Projects—Drilling for Drainage’). I have friends come over under the guise of wanting to hang out, but what’s in the tote bag, wine? ‘Oh. Nice mug. No, of course I don’t mind if you borrow my drill while you’re here. Wine would have been nice though.’ I’m really joking! I love teaching people how to use a drill, and it’s pretty sweet to watch a friend’s obvious satisfaction when completing their first hole.
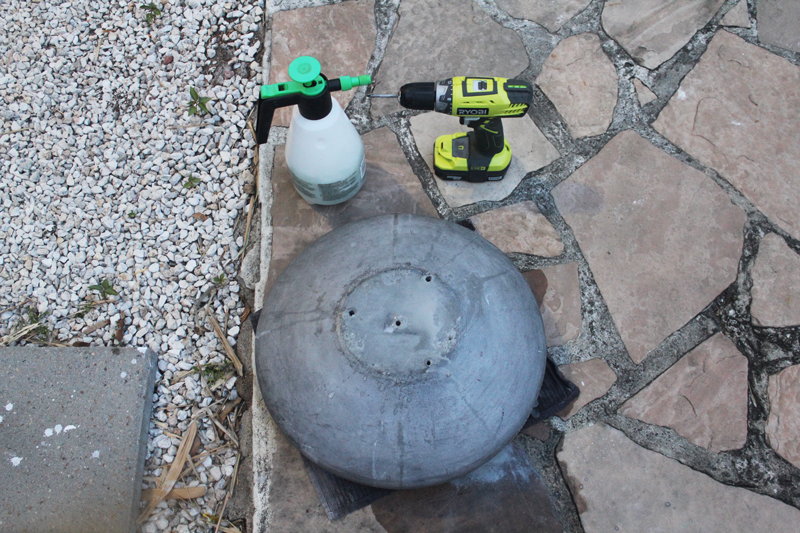
I have even drilled a glass terrarium bowl with two holes in the bottom then filled it by layering soil and pumice. I topped it with a thin scattering of white sand and pretty crystals, then potted it with a few little Thimble cacti. They seemed happy after several months although I didn’t see much growth. Eventually they were released back into clay pots.
Pot Material
The material of your pots contributes greatly to the soil’s evaporation rate. Unglazed clay pots are ideal for most succulents as they’re porous and draw moisture out of the soil, while plastic and other non-porous containers dry out more slowly. When painting clay pots, leave the inside and the bottom unfinished. Consider adding some extra drainage holes if you find any pots retaining moisture longer than desired.
Pot Size
You may have heard the warning to avoid overpotting your plants. This is referring to using a planter that holds more soil than your succulents require. Larger pots take longer for the soil to dry, so make sure your container fits your plant. This is very important to keeping cacti healthy. Adding multiple plants will help the soil to dry more quickly.
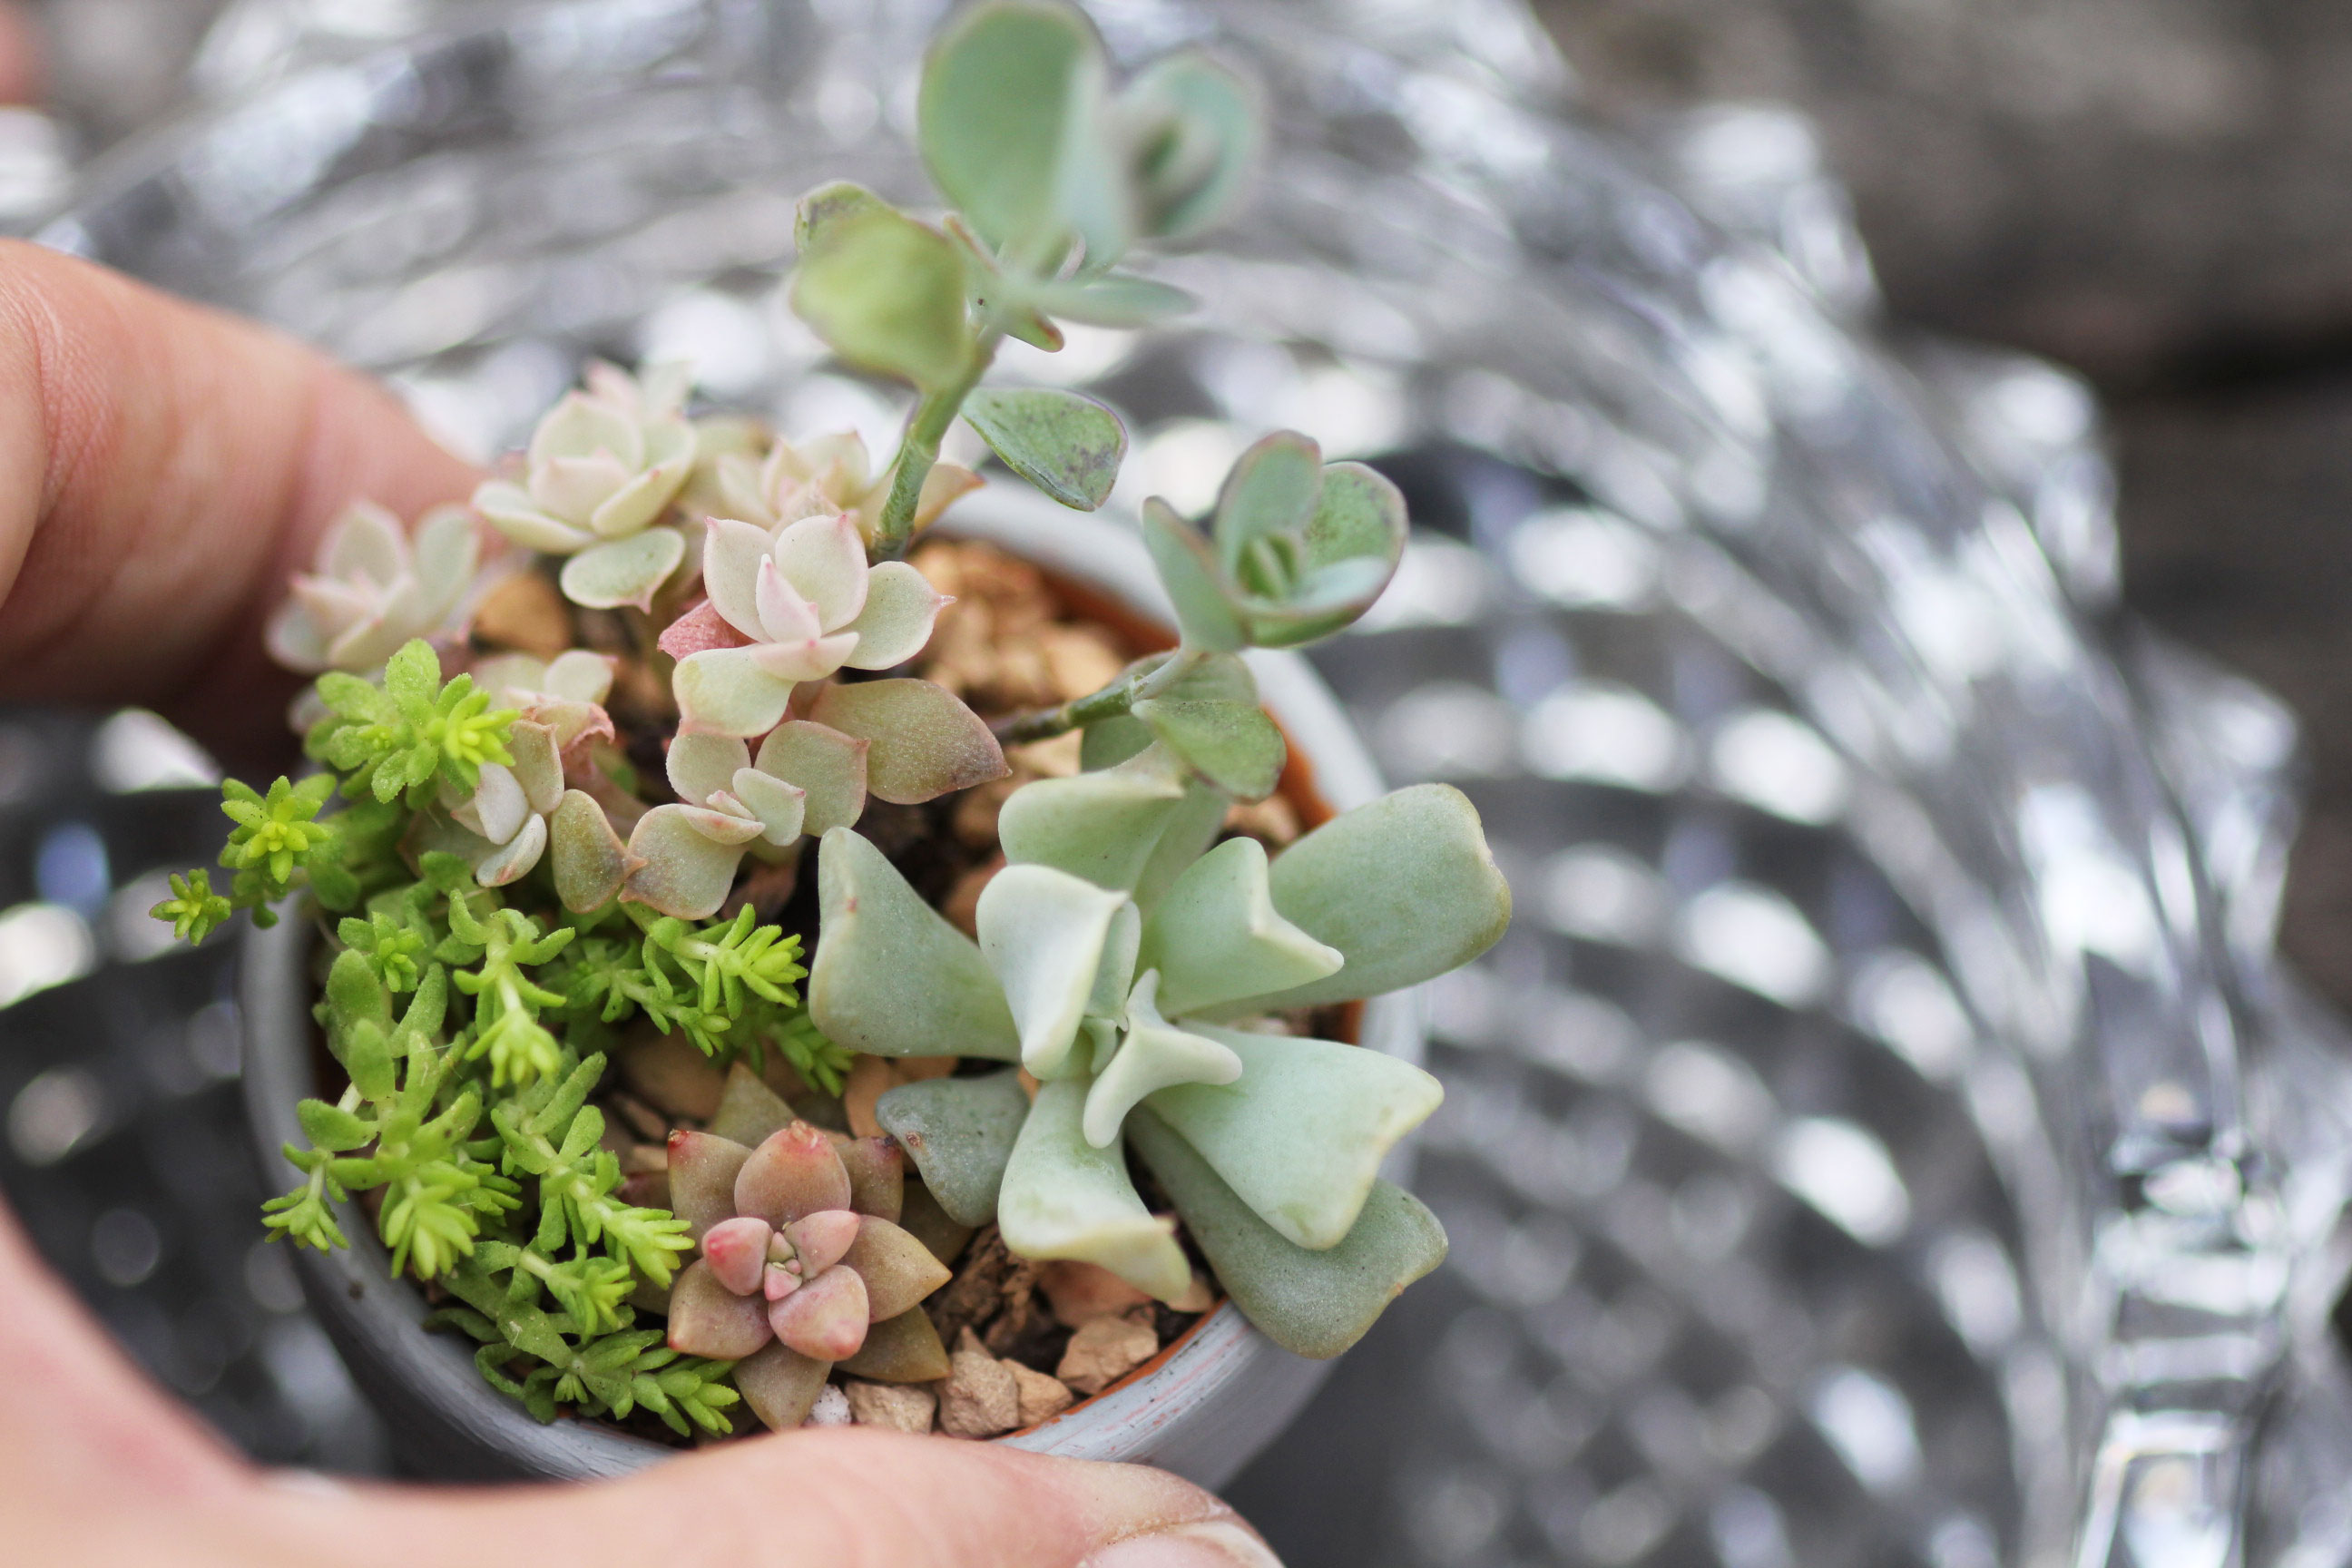
The size of your container can also influence the size of your plant. I had a bunch of Kalanchoe laetivirens plantlets and potted some in a little vintage dessert bowl, and another one in a drilled cork. The others were turned loose into a big planter and the results were what you’d think. The plants left in small containers stayed very small, while their siblings are now up to my knees and still growing.
Basic Tips: Growth, Dormancy
Succulents are slow growers. Some, very slow. If you’re used to tropicals and other plants that can double in size in a single season, get ready to learn a lesson in patience. After spending a couple of years with the same variety, you’ll become familiar with its tendency to grow more during certain months than others. Those periods of time are called the ‘growing seasons’ or ‘growing period.’ Where spring and fall offer the most temperate weather, those will likely be the growing seasons for succulents in that region. Colder climates will see more new growth in early summer since their spring months can still freeze.
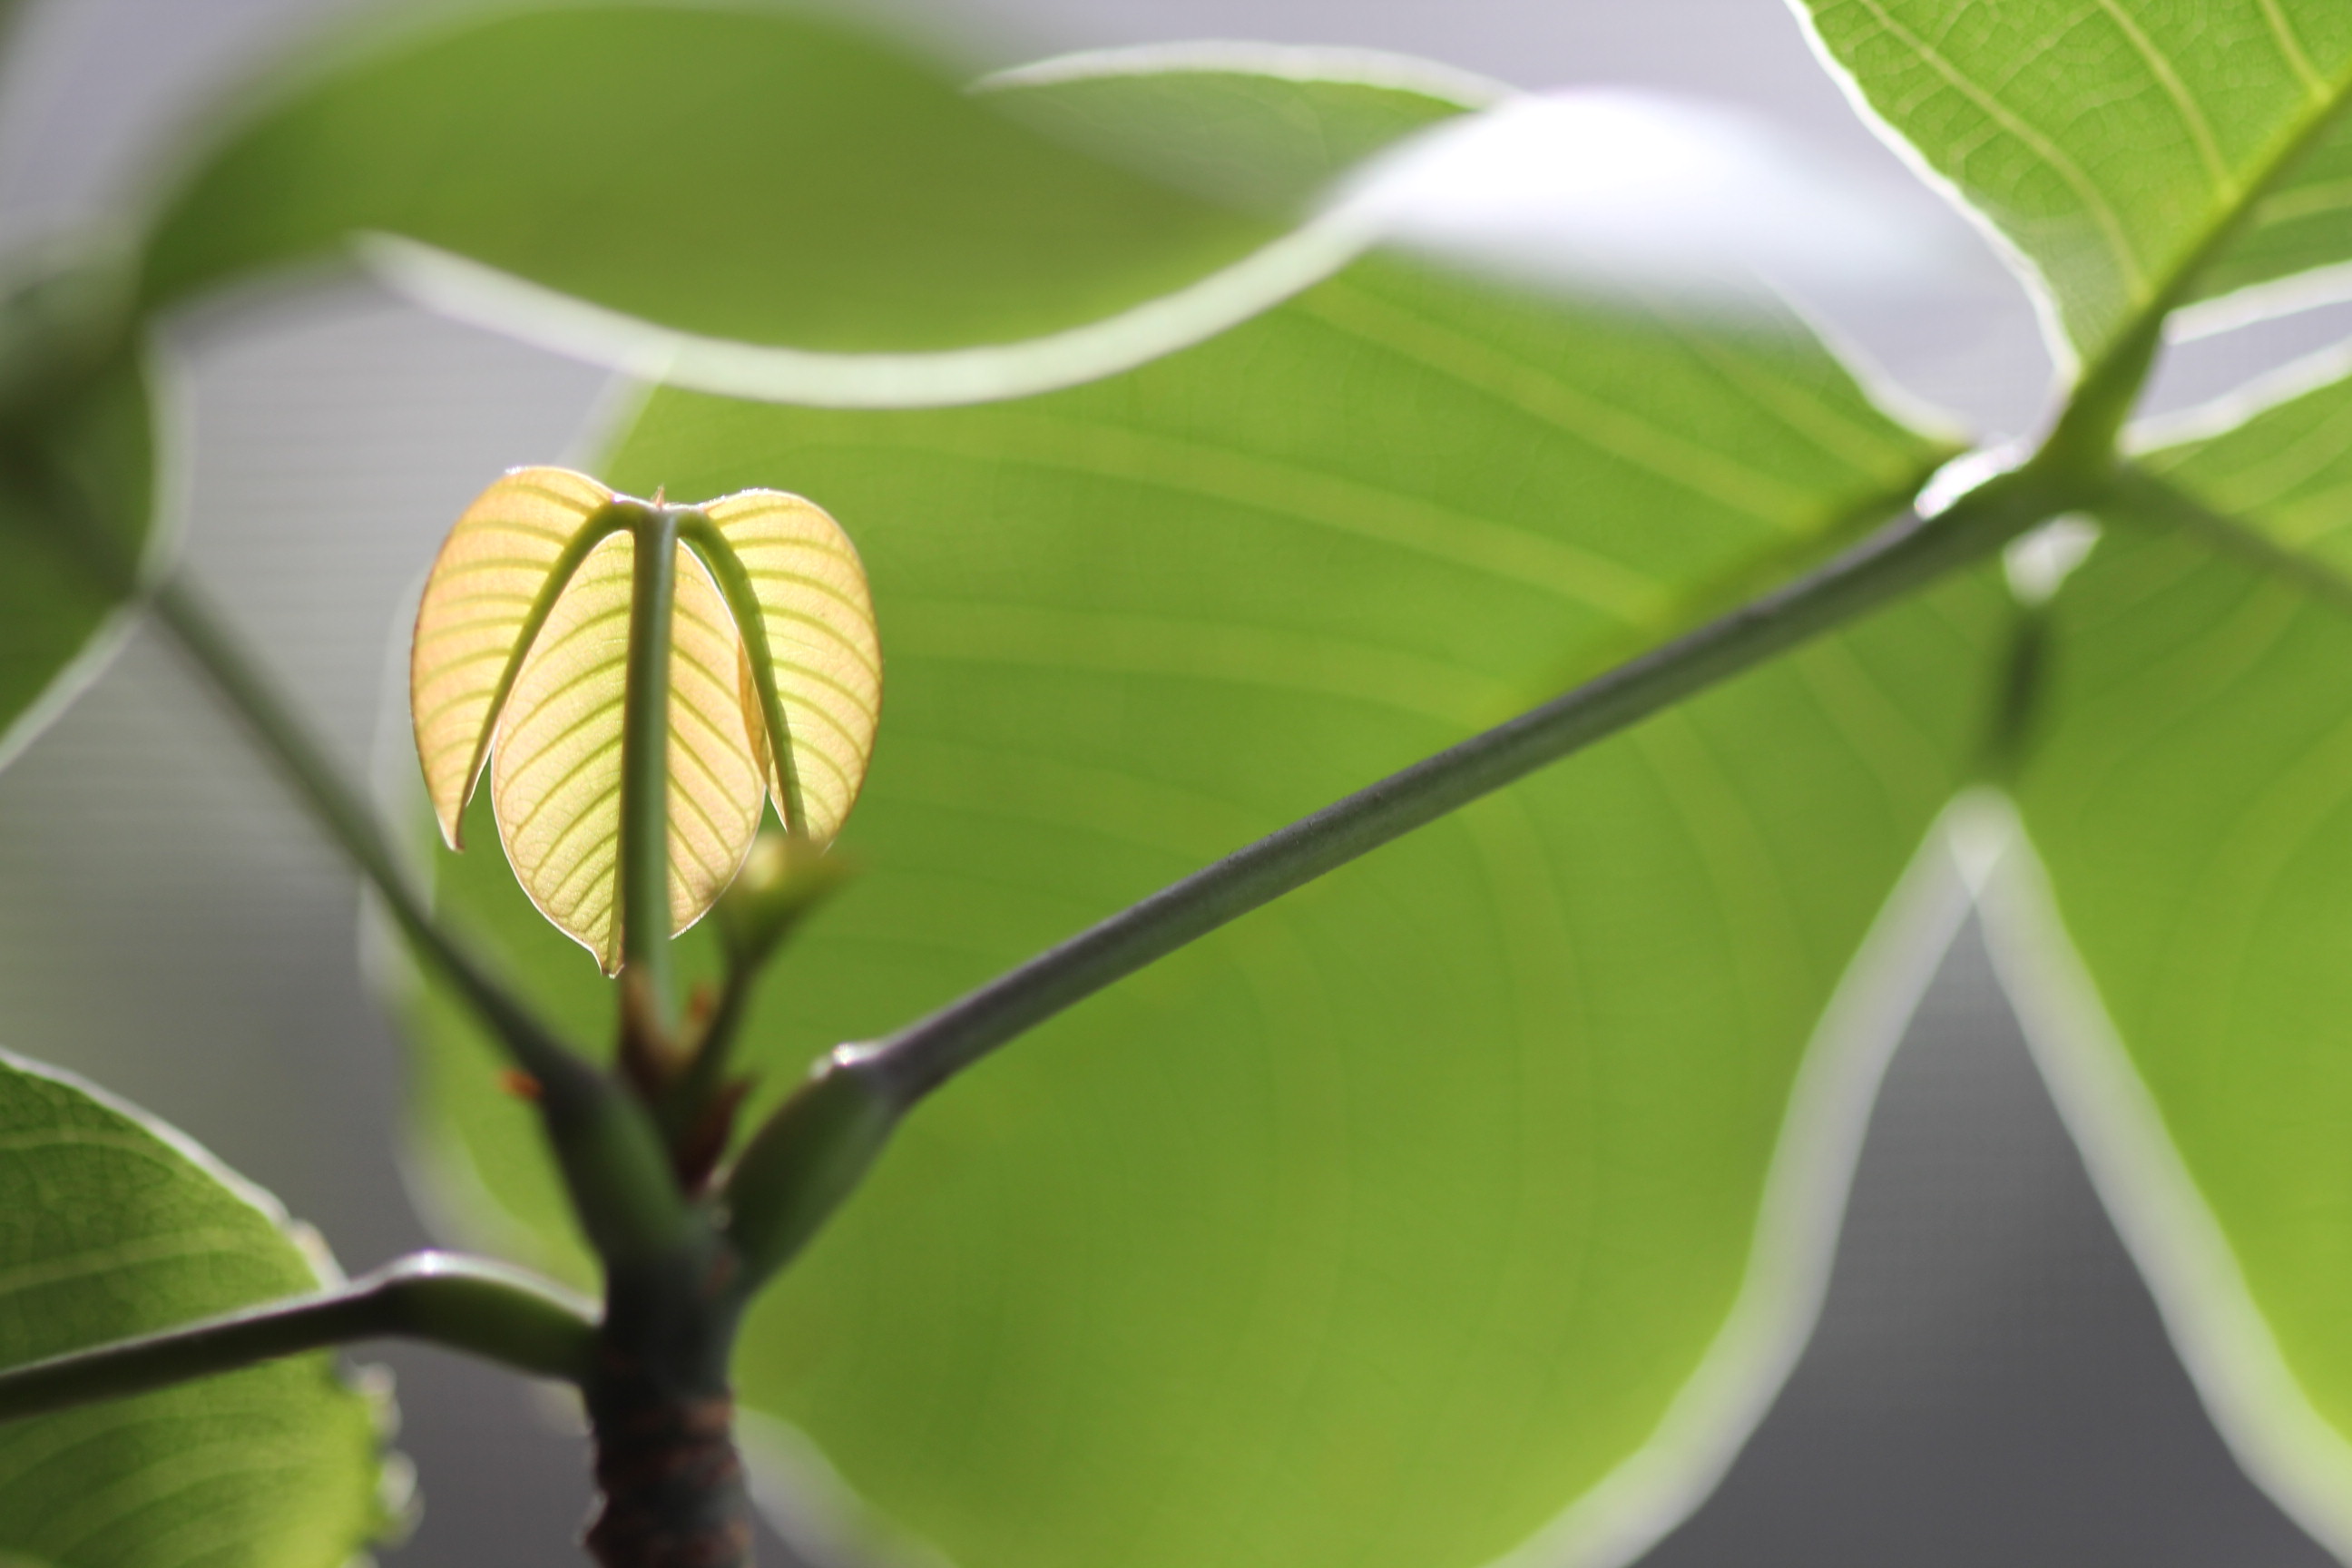
While most plants do have a period of dormancy that usually takes place during the coldest months, if your region doesn’t experience long stretches of low temperatures, it’s possible your succulents won’t go completely dormant. This seems like a good thing until you factor in the decreasing daylight hours of winter and what that can do to certain varieties, especially cacti. If succulents are still actively growing but not getting enough time in the sun, they will become etiolated. Luckily, the cold tends to slow their growth naturally.
During the hottest months, many succulents grow more slowly to conserve energy. Like Aeoniums, some are inherently summer dormant. However, the majority are ‘opportunistic’ growers, meaning whether kept indoors or out, they continue to grow when given the right temperatures, water, and light. But there are times when you might need to intervene and create your own dormant period for some plants.
For instance, since I keep my plants outdoors, my eye is always on the forecast because I don’t want my succulents trying to grow in poor sunlight. So if there’s a good chance the weather is going to be cruddy and gray for two or more days in a row later that week, I don’t want to encourage them to grow. Instead, I’ll wait to water or feed my plants until the report shows clear skies for at least two or three days back to back. I also use this method when I leave town for less than a week. It’s kind of like pushing pause on your succulents’ growth so you don’t have to worry over the weather as much while you’re gone.

Summer Dormant Varieties
While some summer dormant varieties still act like opportunistic growers, others have an ‘obligate’ dormancy and can die if you encourage growth when they need to rest. I only have a few succulents that are truly summer dormant because my home doesn’t get a lot of good light inside where it’s nice and cool, and that’s what these types of plants really need.
One is an Albuca spiralis that drops its curly leaves by early summer. I put the potted bulb inside by a bright window and water it maybe once or twice in the four months it’s kept indoors. When I start to see new growth, I put it back outside and start watering it again.
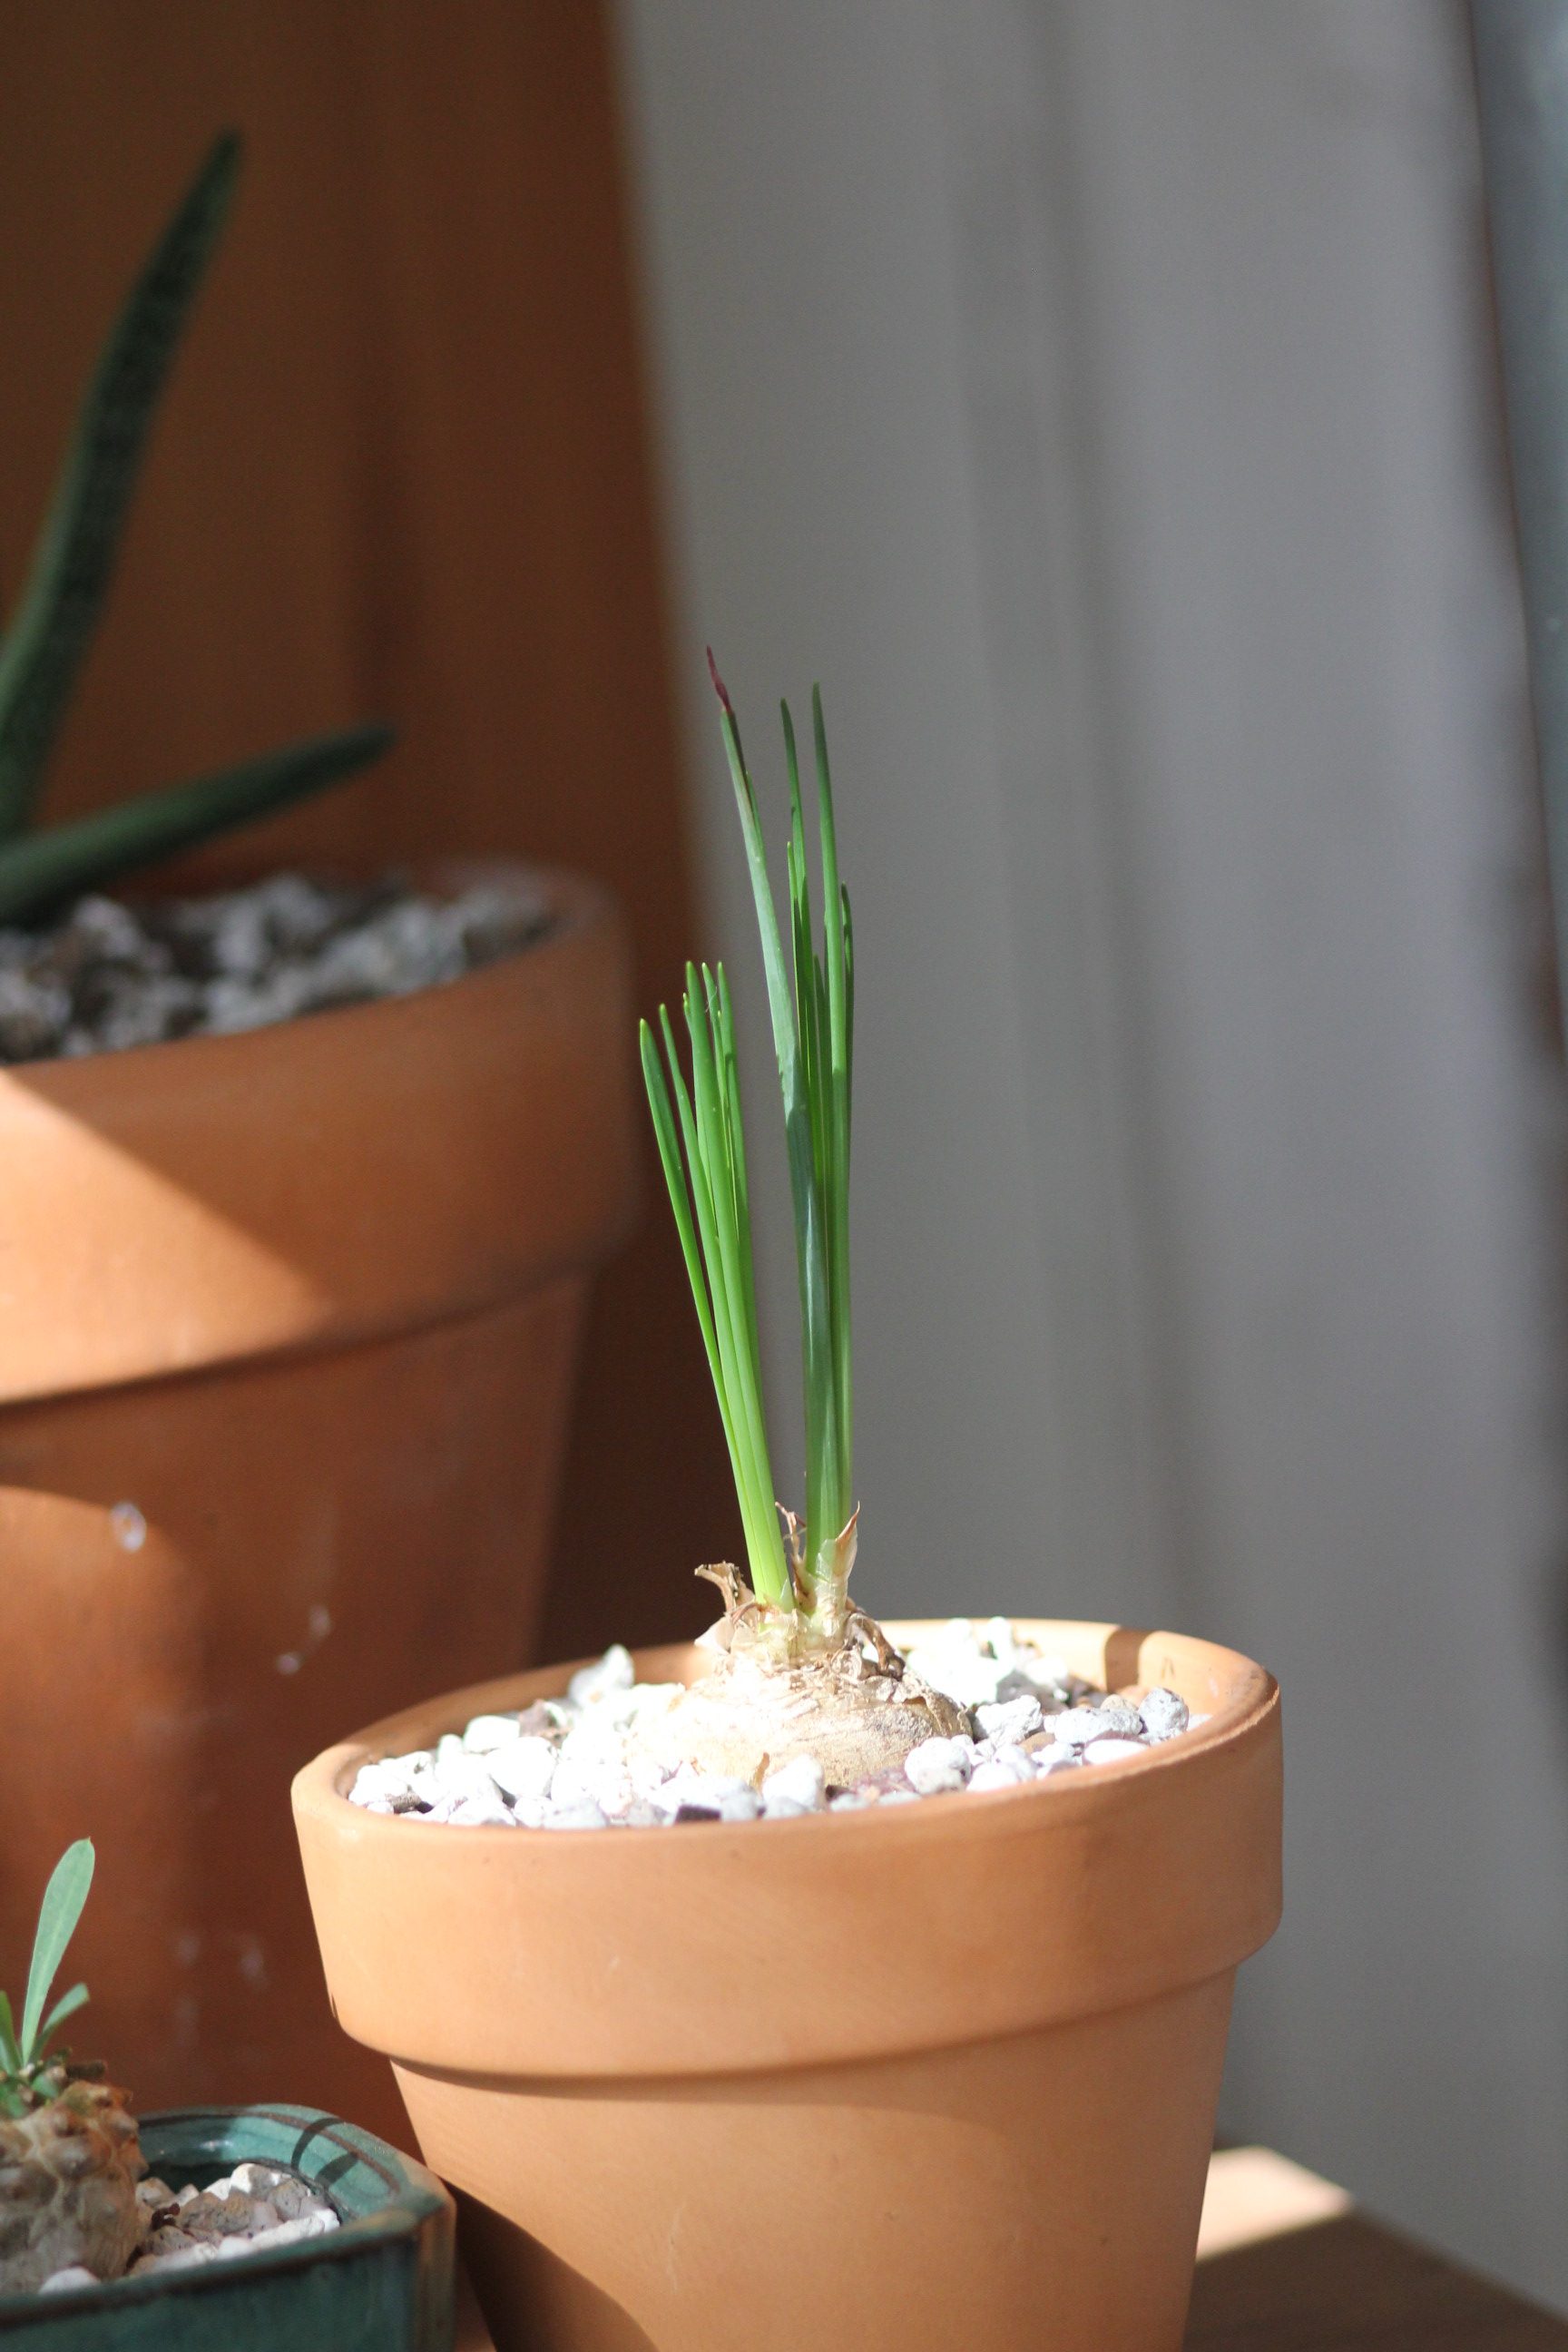
Aeoniums also tend to be summer dormant. They may drop leaves and tighten up their rosettes. My friend gave me a cutting from her Oakland garden in late spring, and luckily I was able to get it rooting indoors since it would try to go dormant in the heat outside and be less likely to put out any new growth.
Wake Up!
You’ve made it through the winter and you can’t wait for spring to awaken your plants. This is when you will be rewarded for keeping them alive through the most trying months of heat or cold. I can’t help but feel like they’re telling me I’ve done a good job as they proudly display new leaves, new life! Nothing quite compares to the satisfaction of watching the results of your care and patience unfurl in the garden. That is, until you see your first sign of flowers…
Basic Tips: Flowers, Seeds
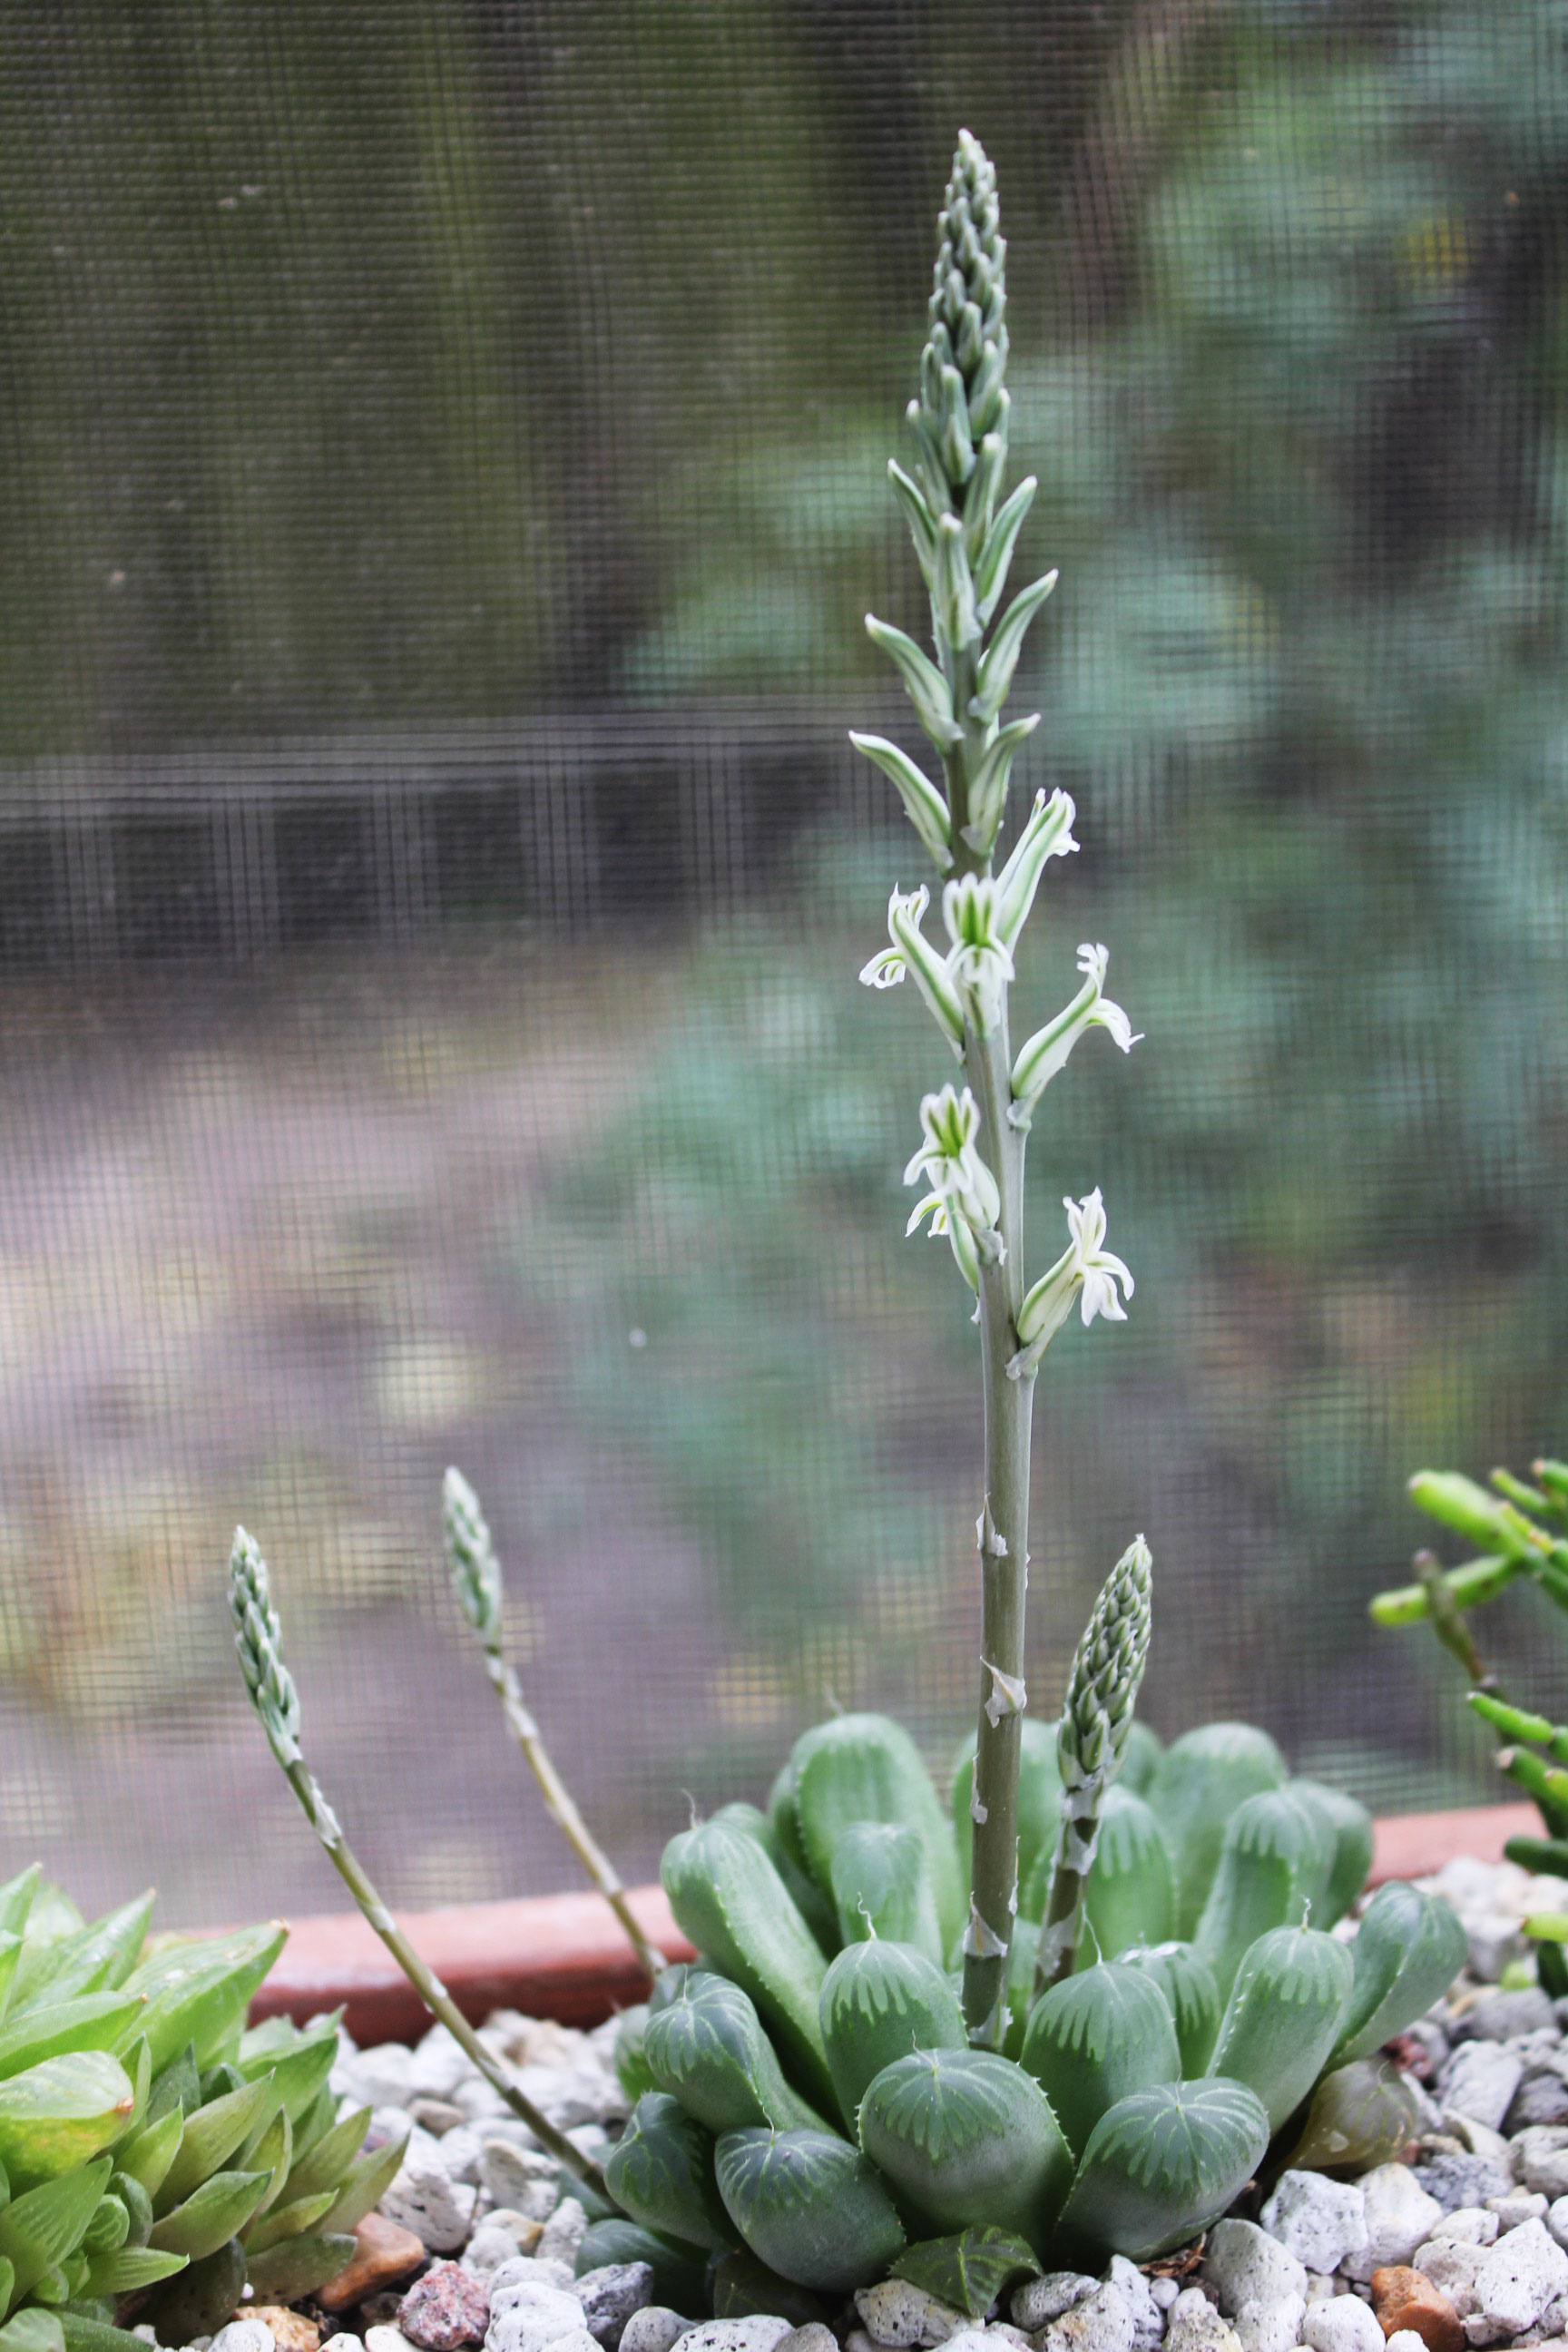
Good news y’all: Succulents are angiosperms (they flower) and the majority of them are polycarpic, meaning they bloom multiple times in their lives. Granted, there are many varieties whose flowers aren’t exactly exciting compared to others, but that doesn’t detract from the pleasure of watching them grow. For instance, a lot of Haworthias will put out flower stalks that are laughably long, especially when you finally see their tiny white blooms. Overcompensating perhaps? Maybe. But the nectar of these tiny flowers are sweeter than the brightest coral Aloe maculata blooms. I’ve tasted Echeveria Lola nectar too, and my Haworthia cooperi is still sweeter.
Most of my succulents don’t bear scented flowers, but the handful that do reveal a range of fragrances from delightful to ‘Oh my gosh, why did I just smell that again?’ The blooms of my Crassula ‘Morgan’s Pink’ and Echinopsis subdenudata ‘Domino Cactus’ would make the loveliest perfumes, while the flowers of Stapeliads have evolved to attract flies as pollinators and smell like everything from fish food to a small dead rodent. But these ‘stankflowers’ (not a botanical term, but feel free to use it) are so wild and unearthly in form, you can’t pass them up just because they stink. There are plenty of varieties with smaller blooms that you can’t smell unless you’re really close to the flowers. Just hang them somewhere downwind while they’re in bloom if their odor is too strong.

The majority of succulents tend to flower from spring through fall. Many types require vernalization, which is the need for a period of cold weather to induce blooms. And at first, it can be hard to tell if your plant is making a bloom or a new plant. The flower stalk usually starts higher up the stem but a few varieties, such as Echeveria prolifica, grow babies on long stems that look very much like a flower stalk.
Flowers are a great help in confirming the identities of those unknown succulents in your collection (see ‘Identification’). Some varieties create leaves along the stalk that you can propagate, and on rare occasion, particularly with certain Haworthia, a new plantlet will form high up on the stalk. These are called bulbils or keikis, a Hawaiian word for ‘little one.’ I’ve only had this happen twice—once with an Echeveria diffractens and a Graptoveria Fred Ives. They’re such a lucky surprise!
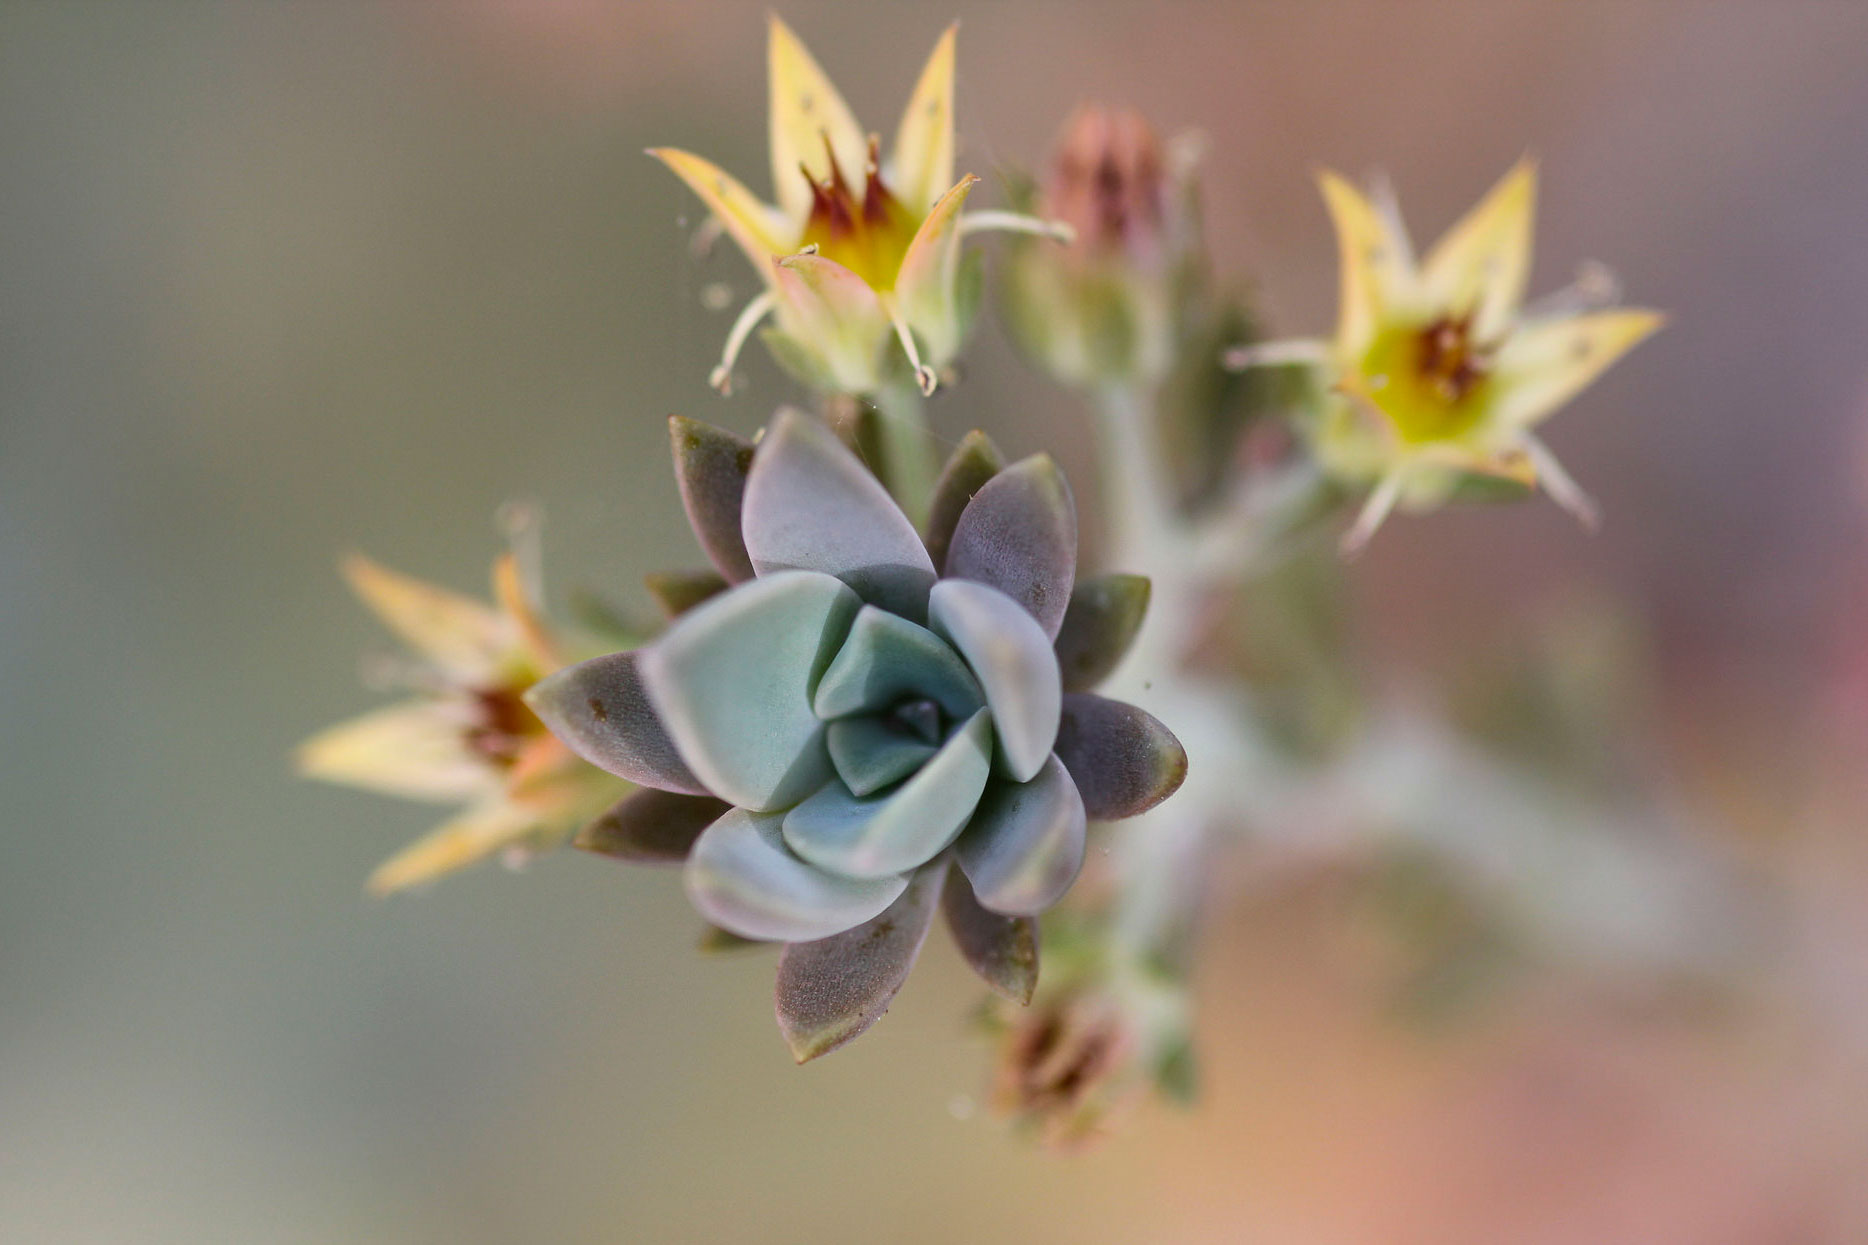
Succulent blooms can last a long time and can put on a colorful display for months. Once the show is over, just trim back the flower stalk at the bottom to remove it, or if you have seen pollinators enjoying the blooms, you may want to wait to see if it goes to seed. Some genera are self-fertile while others require cross-pollination.
The only downsides to flowers are they take a lot of energy from the main plant to grow, the nectar can attract sooty mold, and they can be very attractive to mealybugs. If your succulent seems weak, you can cut the flower stalks off and enjoy them in an empty vase. And if you see mealies on the blooms, trim them off and throw them away…far, far away from your other plants, and make sure the rest of that plant is free from pests (see ‘Succulent SOS—Symptoms: Signs of Common Pests’).
I encourage you to try starting succulents from seed at some point. Not only will the plants be highly more likely to thrive, it’s very gratifying to watch them grow under your care (see ‘Make More Sucs—By Seed’).
I thought I wouldn’t have success so I didn’t bother trying for years, though I had collected several batches of seeds from an Aloe maculata my grandmother gave me. It was only when a friend brought me some cacti seeds from Spain that I decided to take the plunge and put them in soil. Lo and behold, a few months later…life! Since I got those going without much effort, I went ahead and started some of the Aloe seeds which did what seeds do when the mood is right, and now I have several baby Aloe seedlings growing larger everyday.
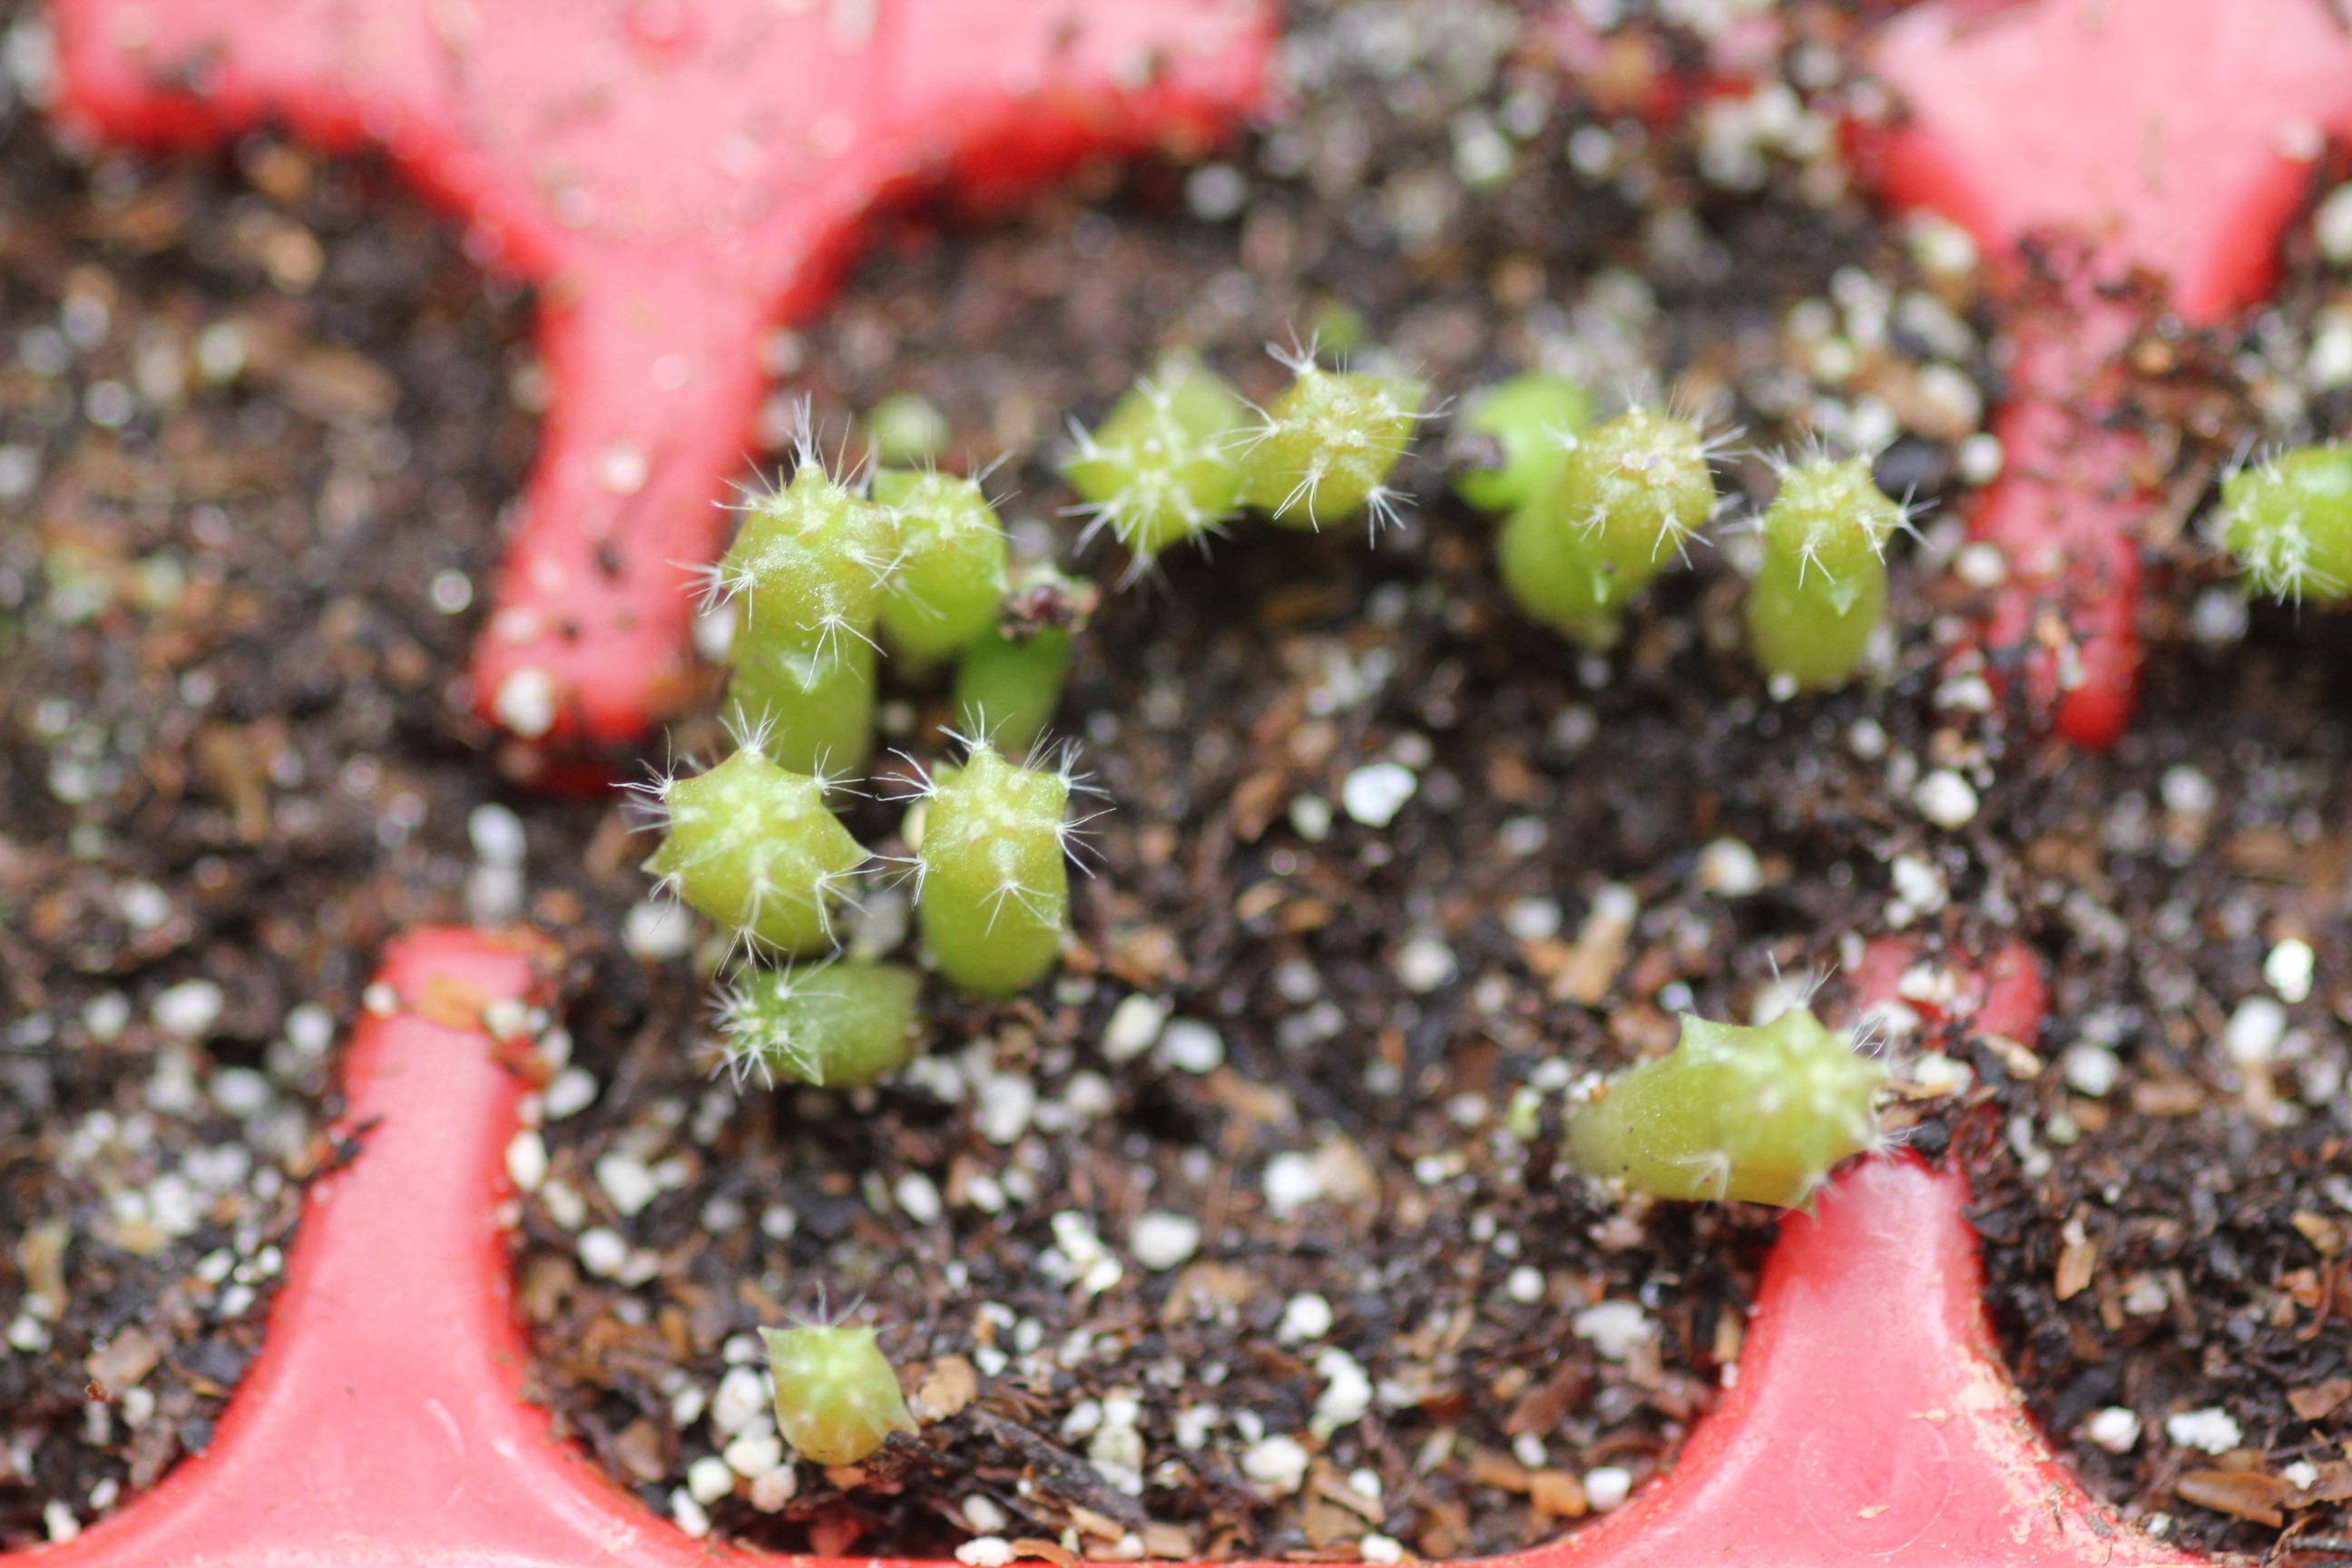
If you purchased a plant while it was in flower and you keep it happy enough to see it flower again, pat yourself on the back, especially if you’re located somewhere less than ideal for keeping succulents. It’s no small feat to provide the balance a succulent needs to produce a flower, and you should feel pride in your accomplishment. And if you haven’t seen your plant in flower, get ready for a real treat! I often forget they flower, then—surprise!
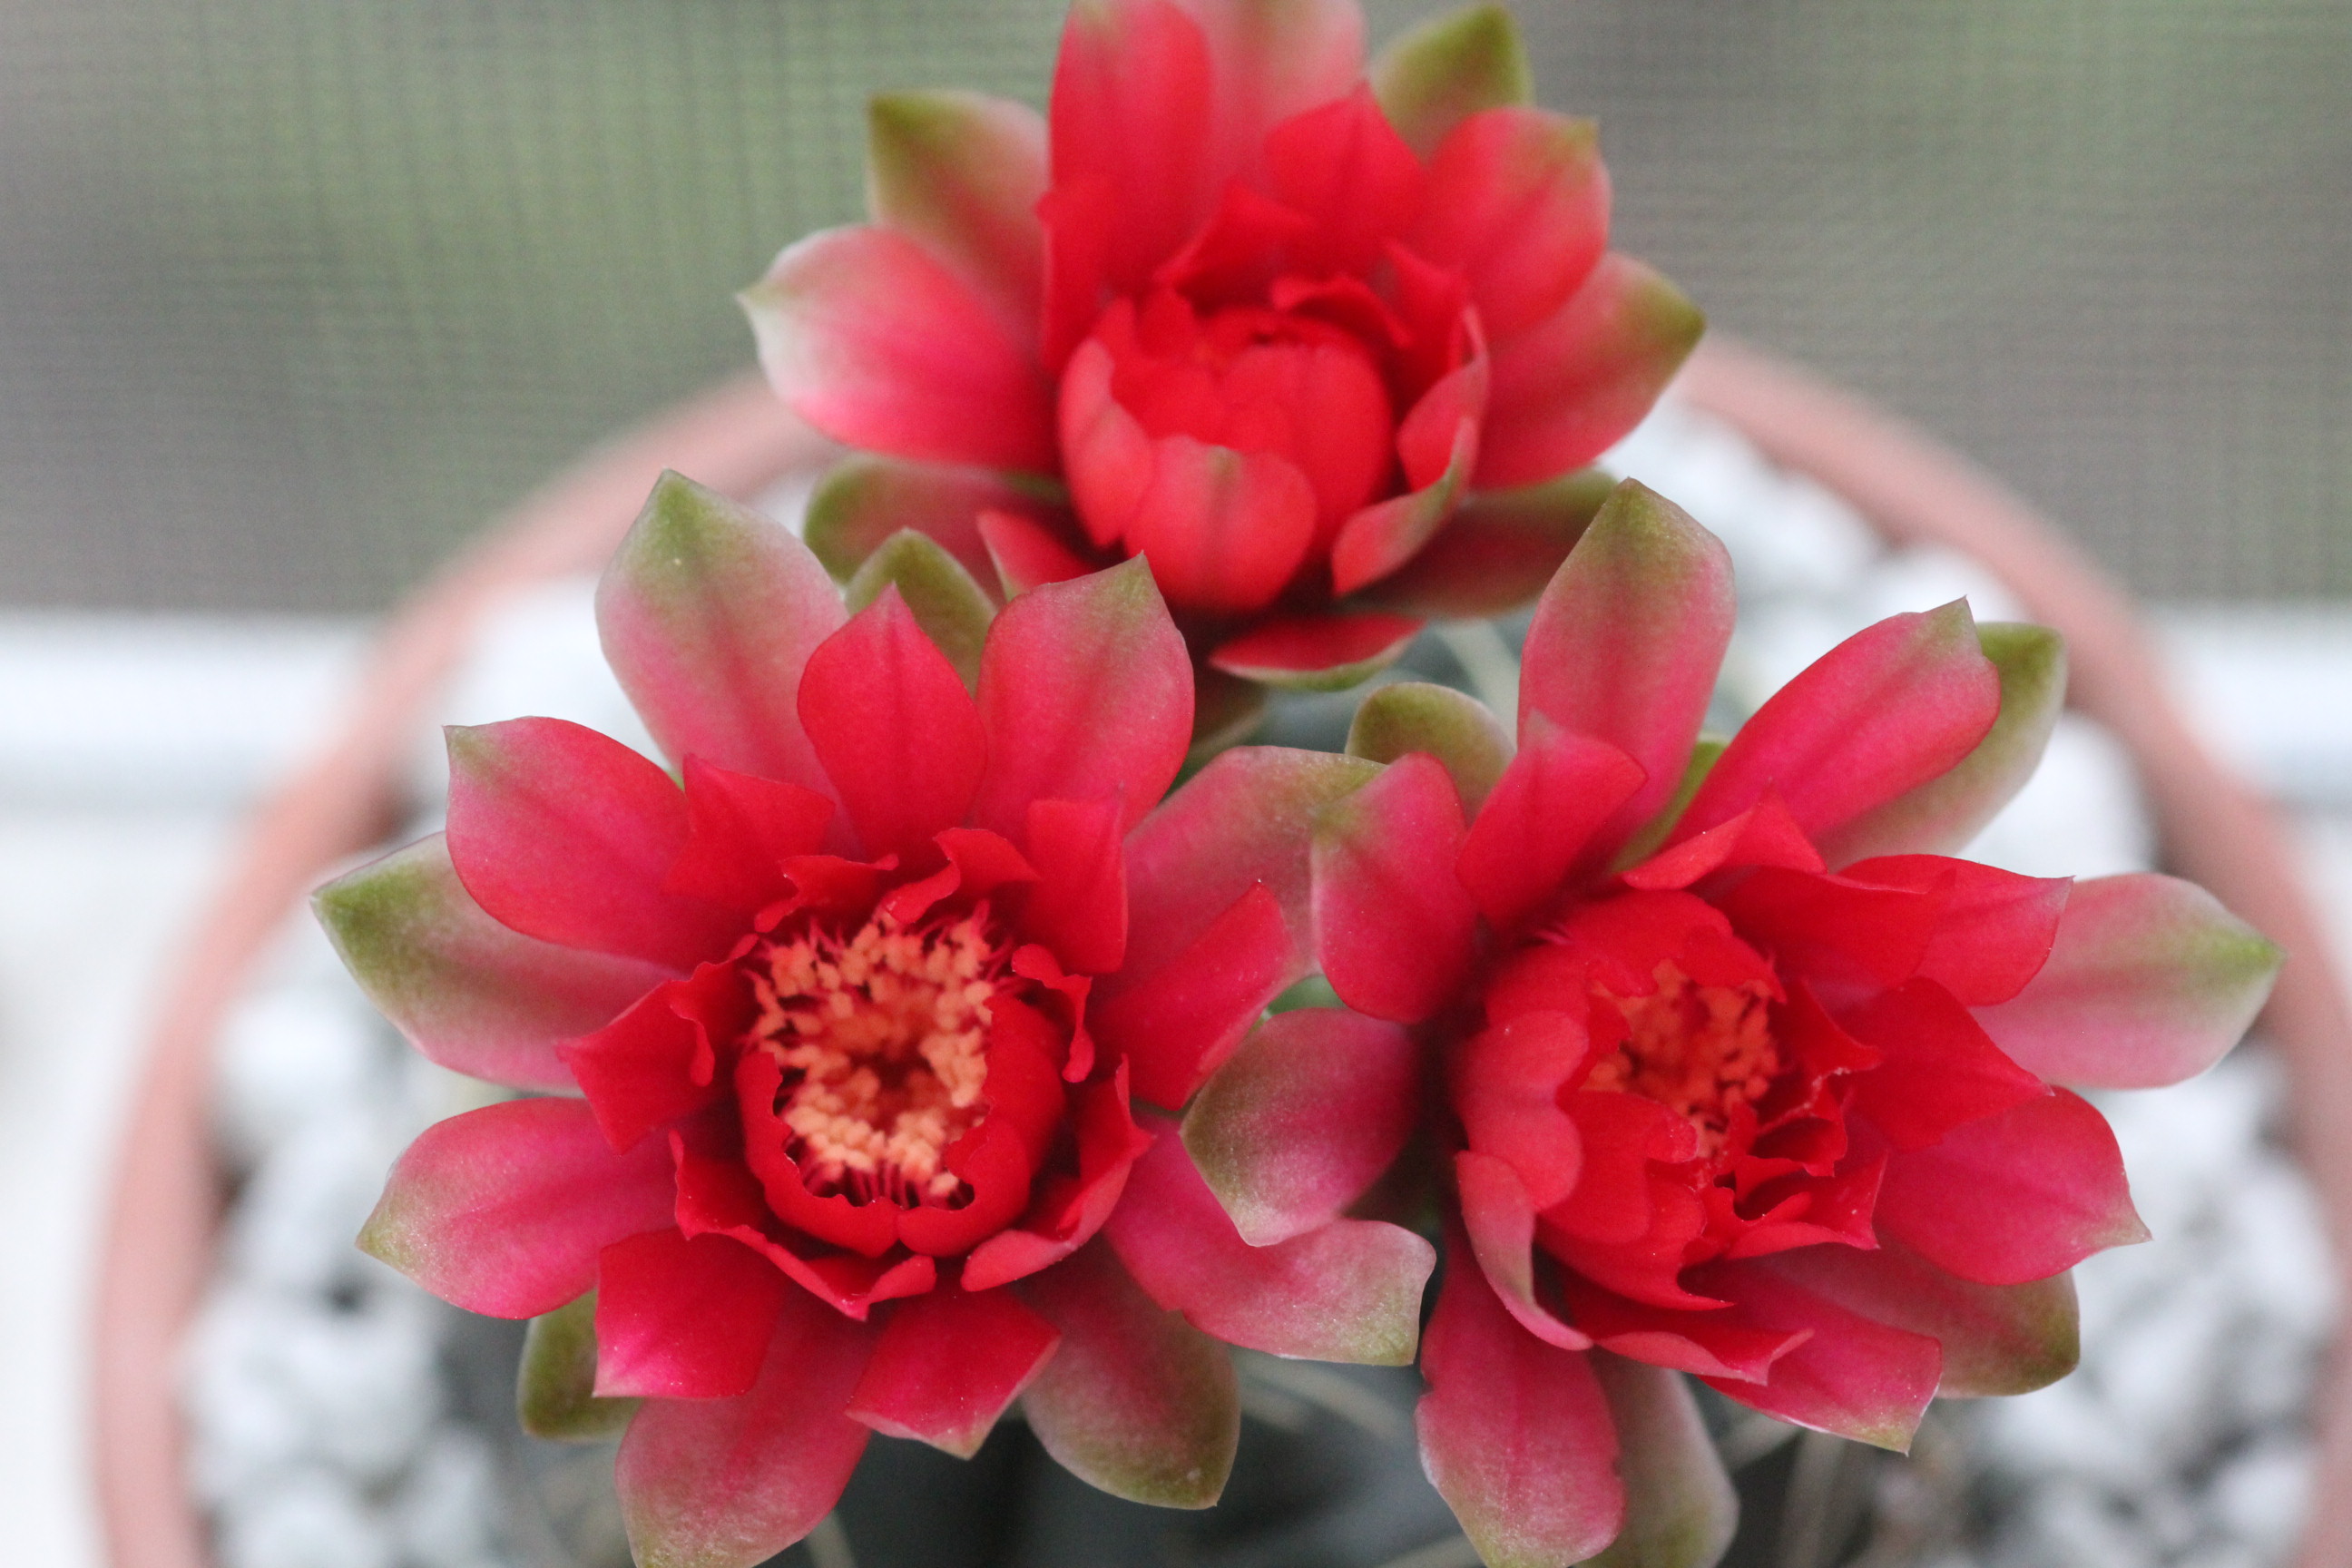
I think cacti are the most surprising to watch flower. They’re so stoic and unrevealing most of the year, then, hello, what’s that? A bloom? Yes! They’re also the easiest to harvest seeds from as the fruits tend to be much more obvious than other succulents.
Okay, so this is amazing! So much info and so well said. I mean, reading this is like having a conversation rather than “hitting the books.” I love it. It flows so nicely and is not overwhelming and your pictures are stunning! This is going to be great!
Woo hoo!! First live comment is a go! <3
And you’ve got your profile stylin! Thanks so much @SewEasy!!
Awesome stuff! Kept me reading for the last couple hours so far and I’m loving it!
Thanks so much Kathy!!!
Same
hello!
I’m having so much fun. The pop quiz is an awesome detail that has quite an impact on learning. I hope to see more!
Thank you Thalia! New quizzes and other fun stuff are going to be added regularly to keep everyone on their toes 😀
It’s got a lot of information but I have a few questions. What is a large caudex? Maybe that should be explained.
If you mention mealy bugs should you post a picture so readers don’t have to look in another section?
Can you show a picture of root rot?
These are just ideas- I like it !
Thanks Kelly! I do want people to click through to the relevant sections – you’ll see root rot and mealybug photos under Succulent SOS and the definition of caudex in the Knowledge Bank 🙂
Hi from Australia! Just saying Hi. That was a good chapter. I just checked a flower I didn’t realise had grown – from Echeverias pulidonis – and it had a million aphids. Yuk. Those things are ugly! I just picked the flower off and threw it off the verandah- go and infect the weeds you buggers!
Hi Annette!! I’m sorry you’re battling aphids in AUS too :/ The winter ought to help control pests… hopefully!